
How to Make LED Neon Signs.
How to make LED Neon signs with only a router and a bandsaw.
Easy Woodworking Project.
A quick a fun project that involves some freehand routing into plywood or MDF. Easy to make with just a bandsaw and a router. And here’s the thing, you don’t even need a router! Watch the video above to see how it’s done.
Supples


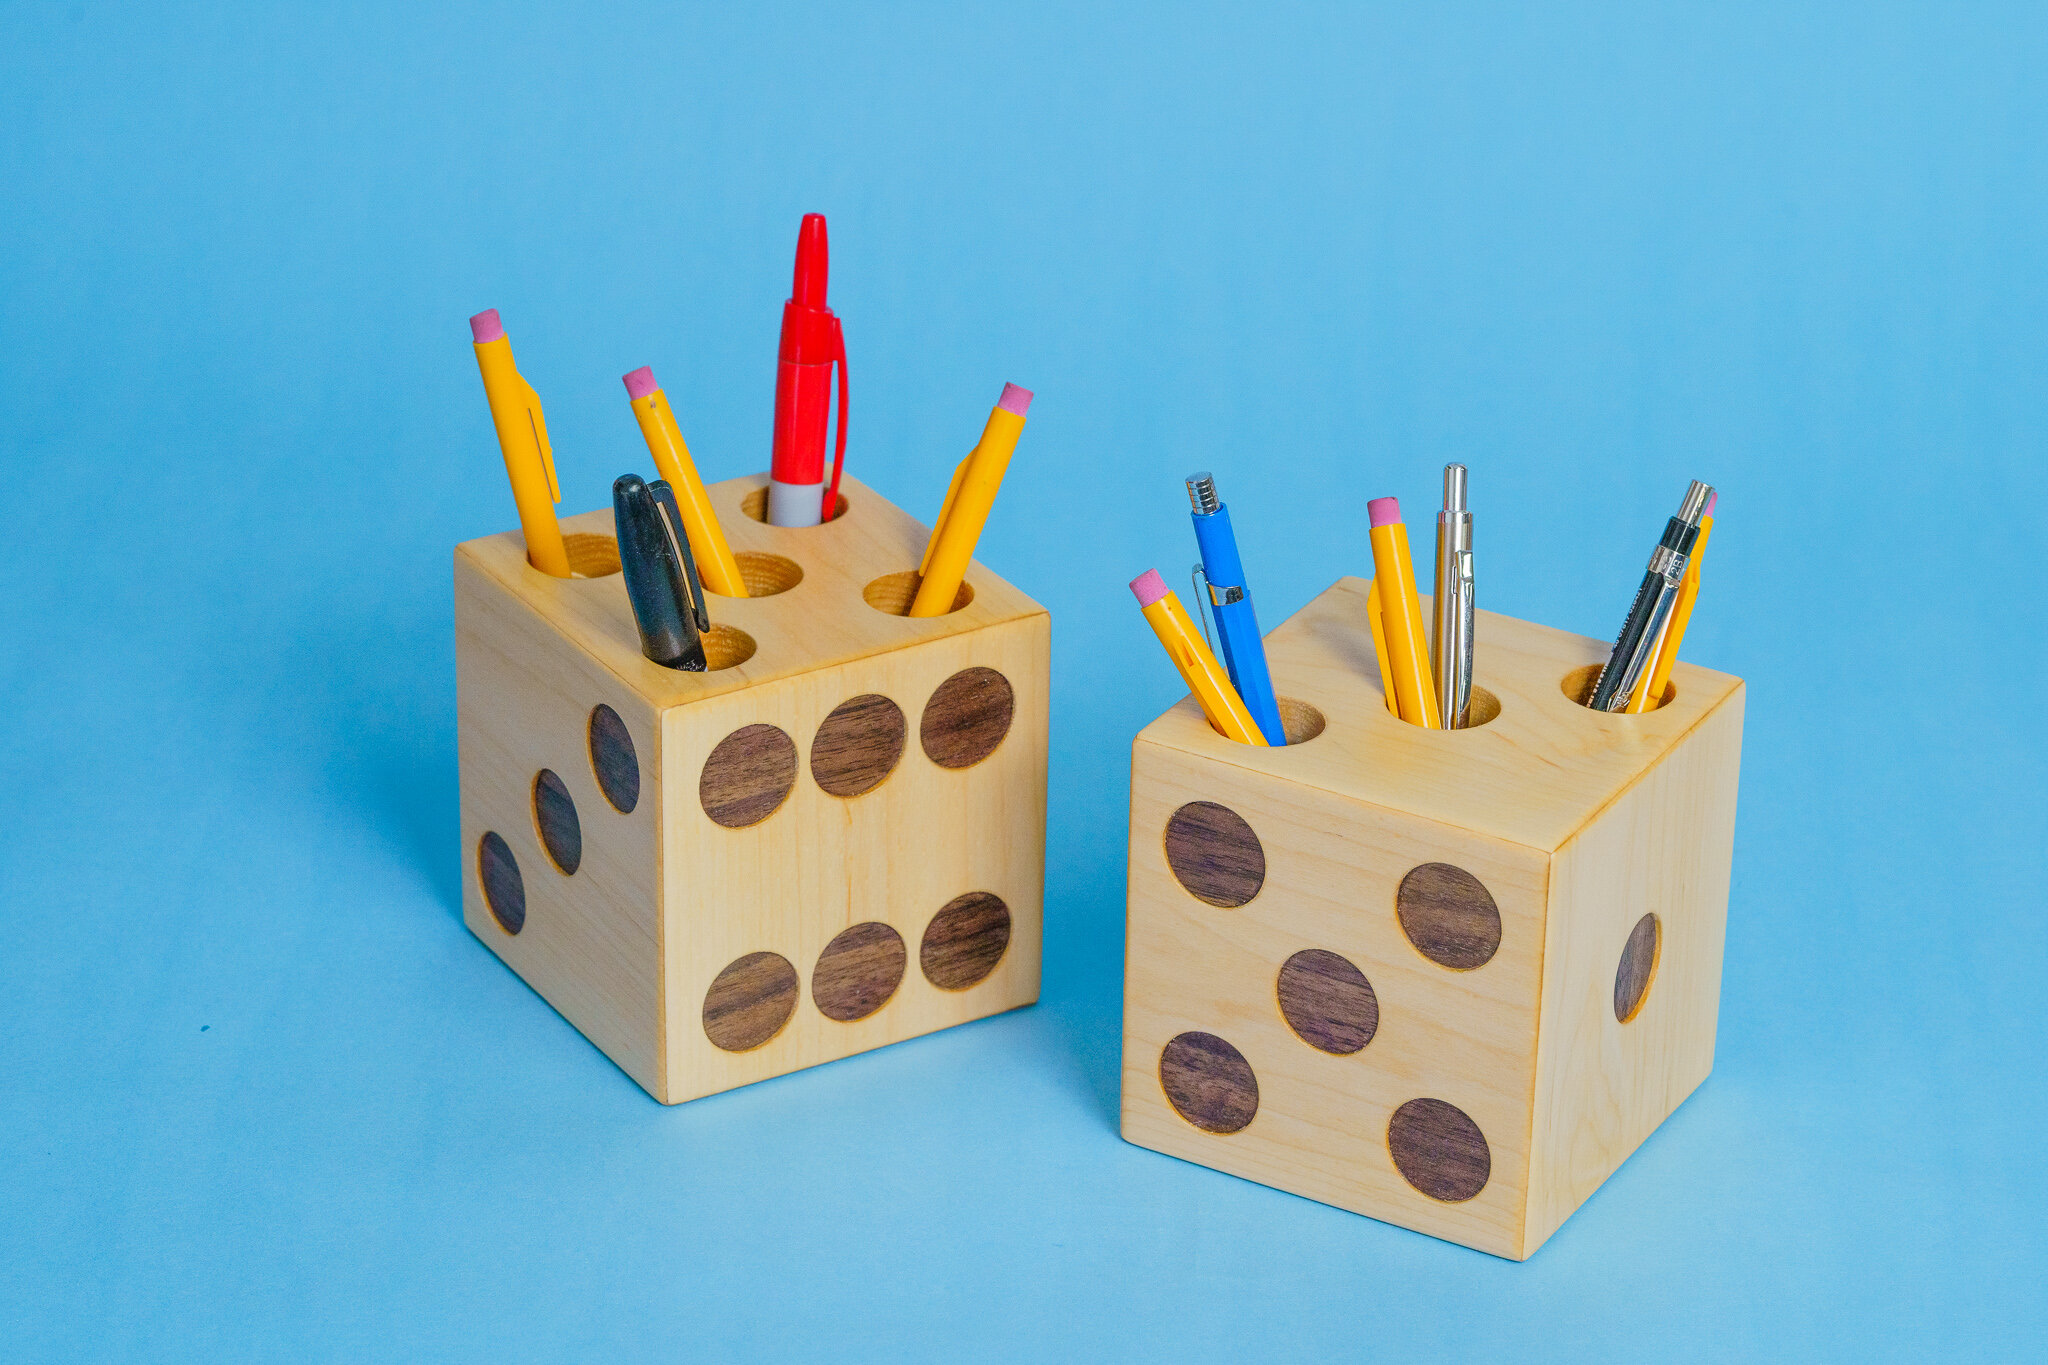
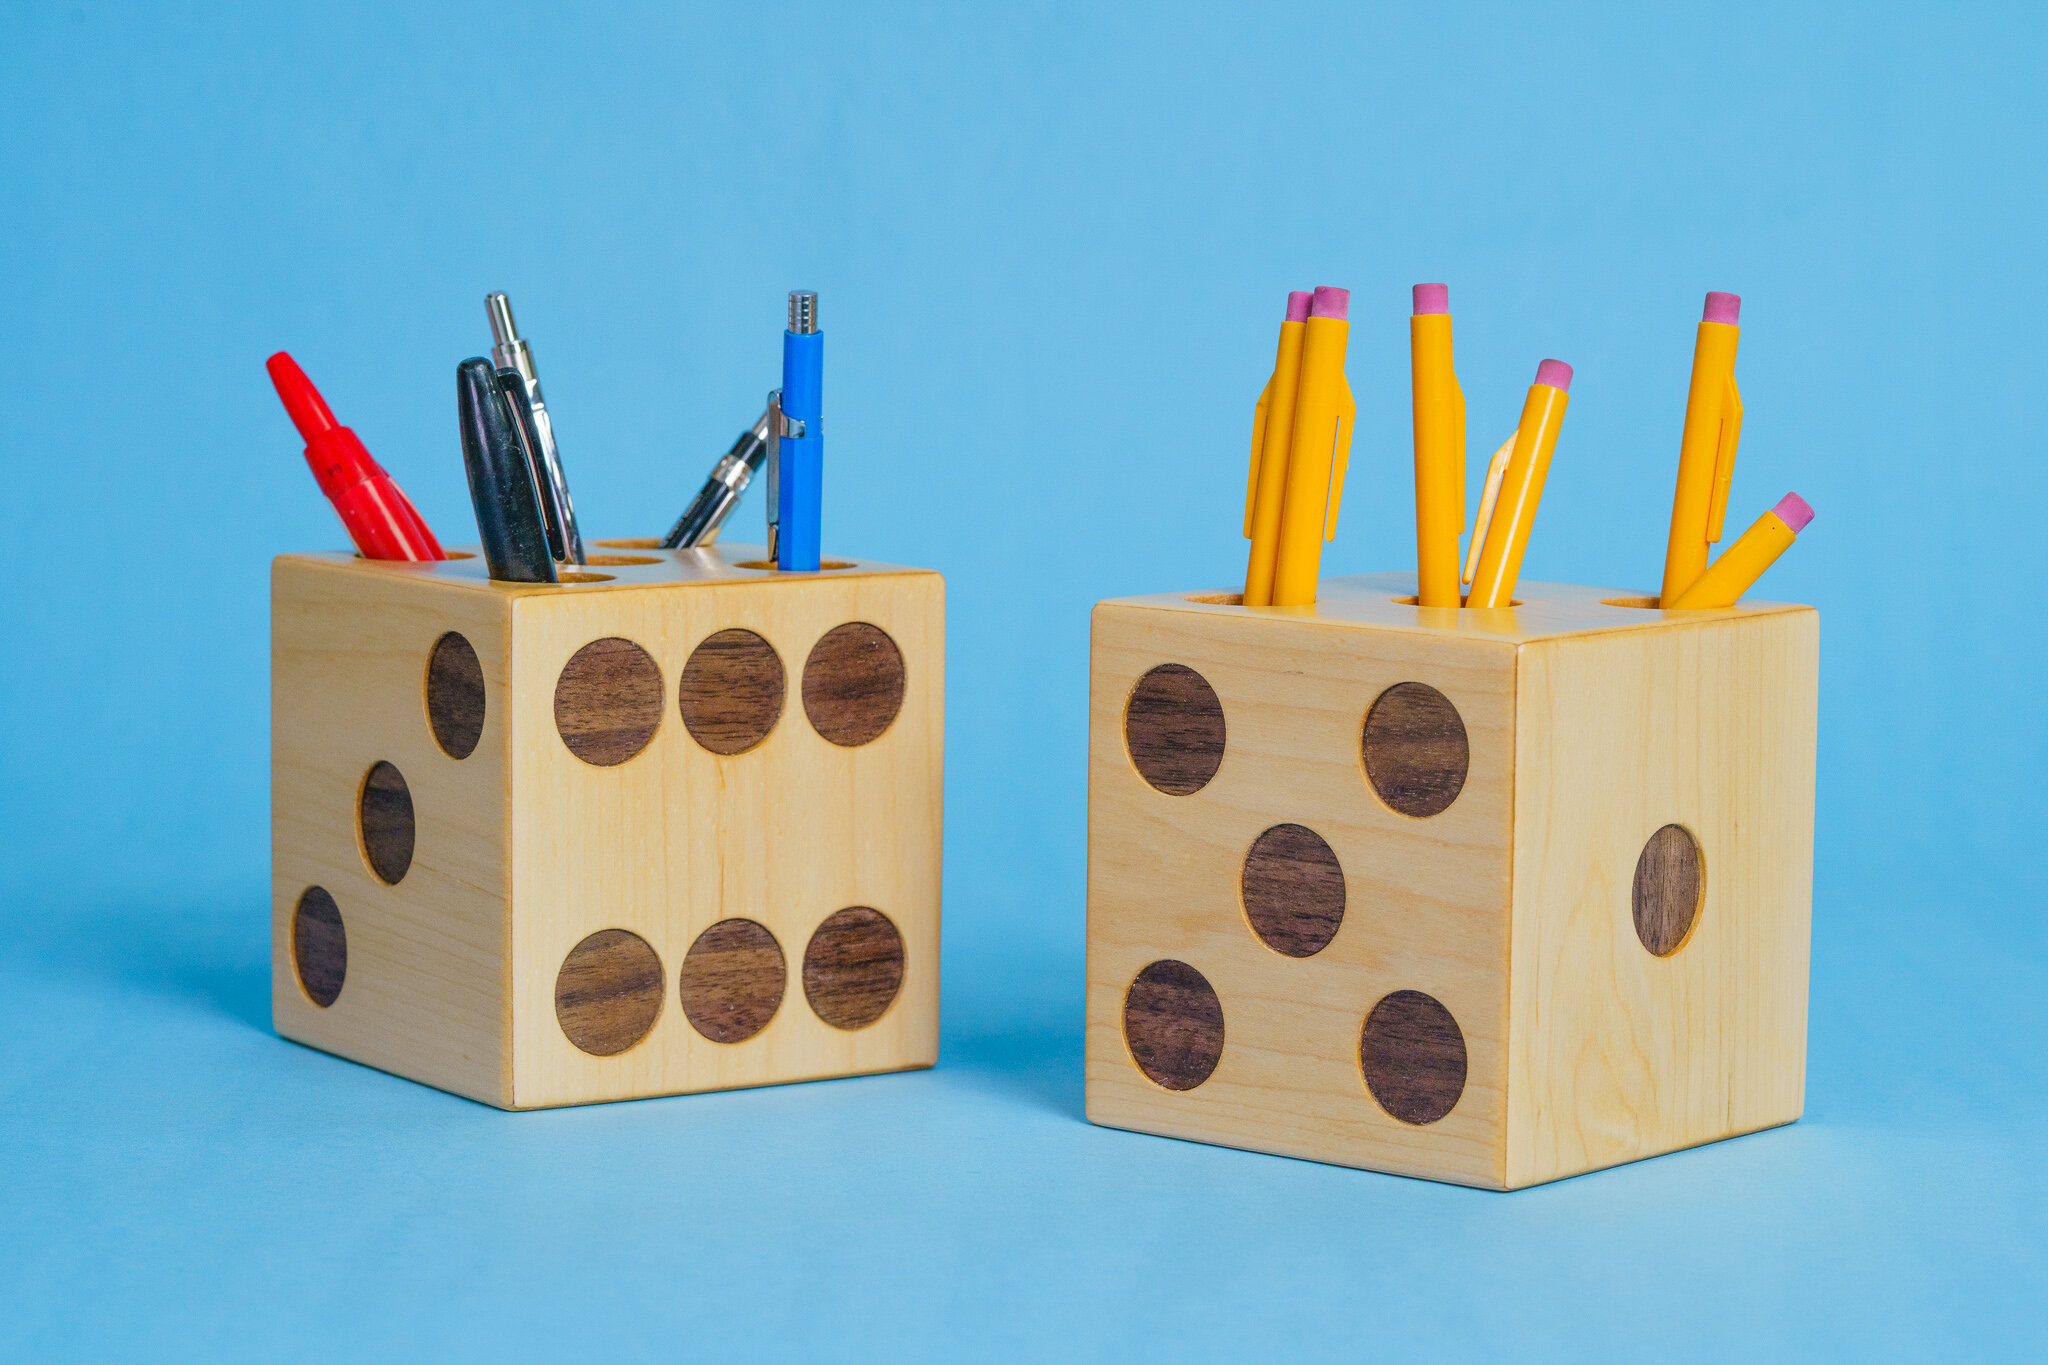
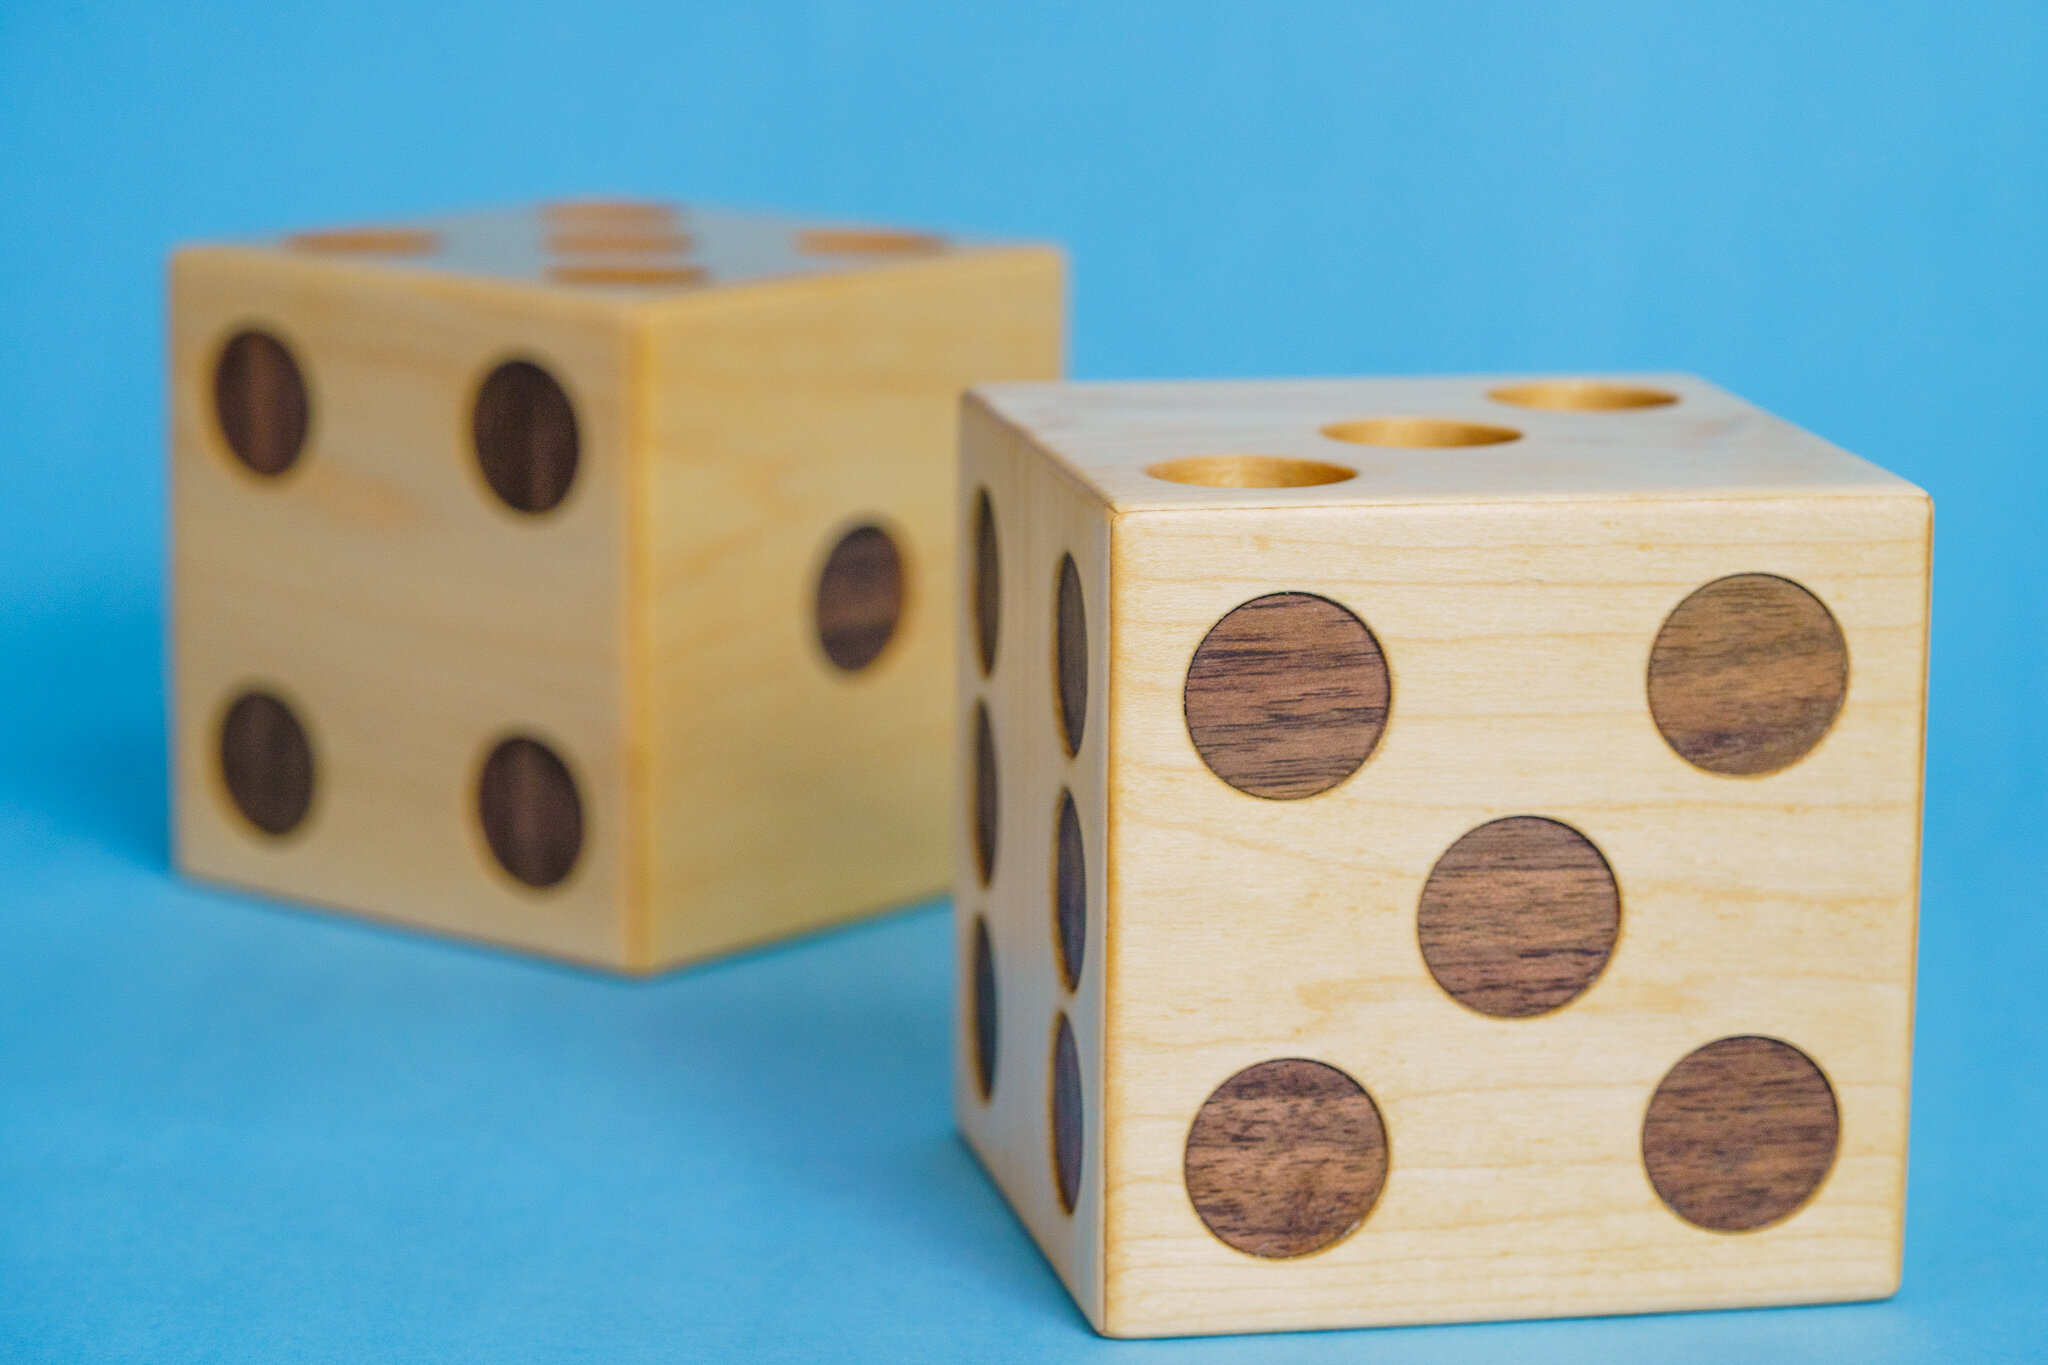
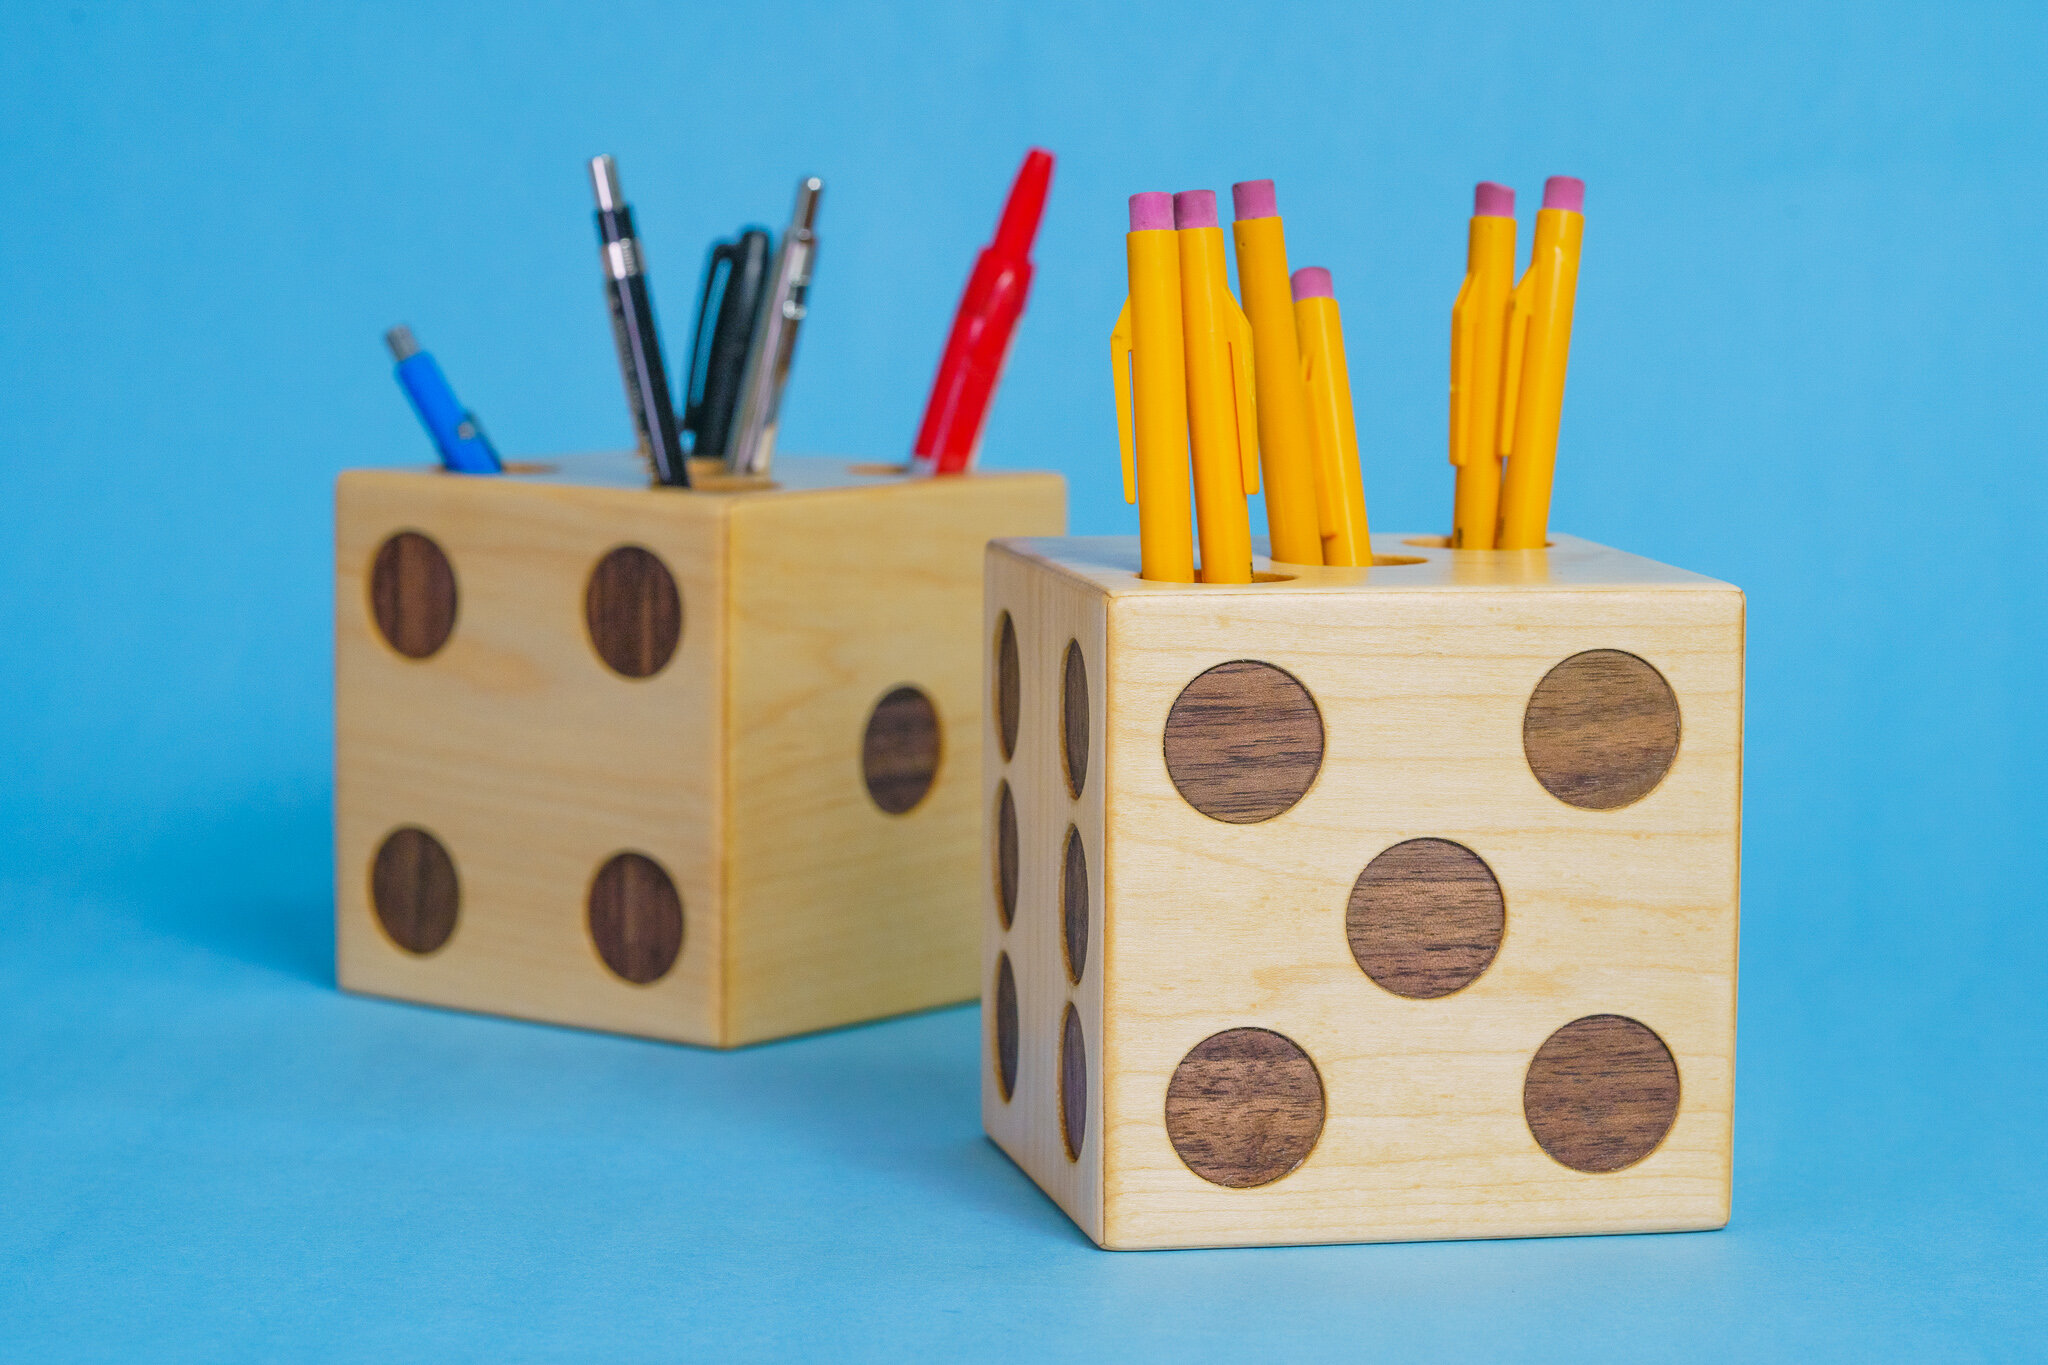
How to Make Dice Pencil Holders
How to make a pair of dice pencil holders.
Easy Woodworking Project.
How to make a pair of dice pencil holders out of maple. This is a fun weekend project you can make for yourself or batch out for selling at crafts shows and online. Get the plans here!


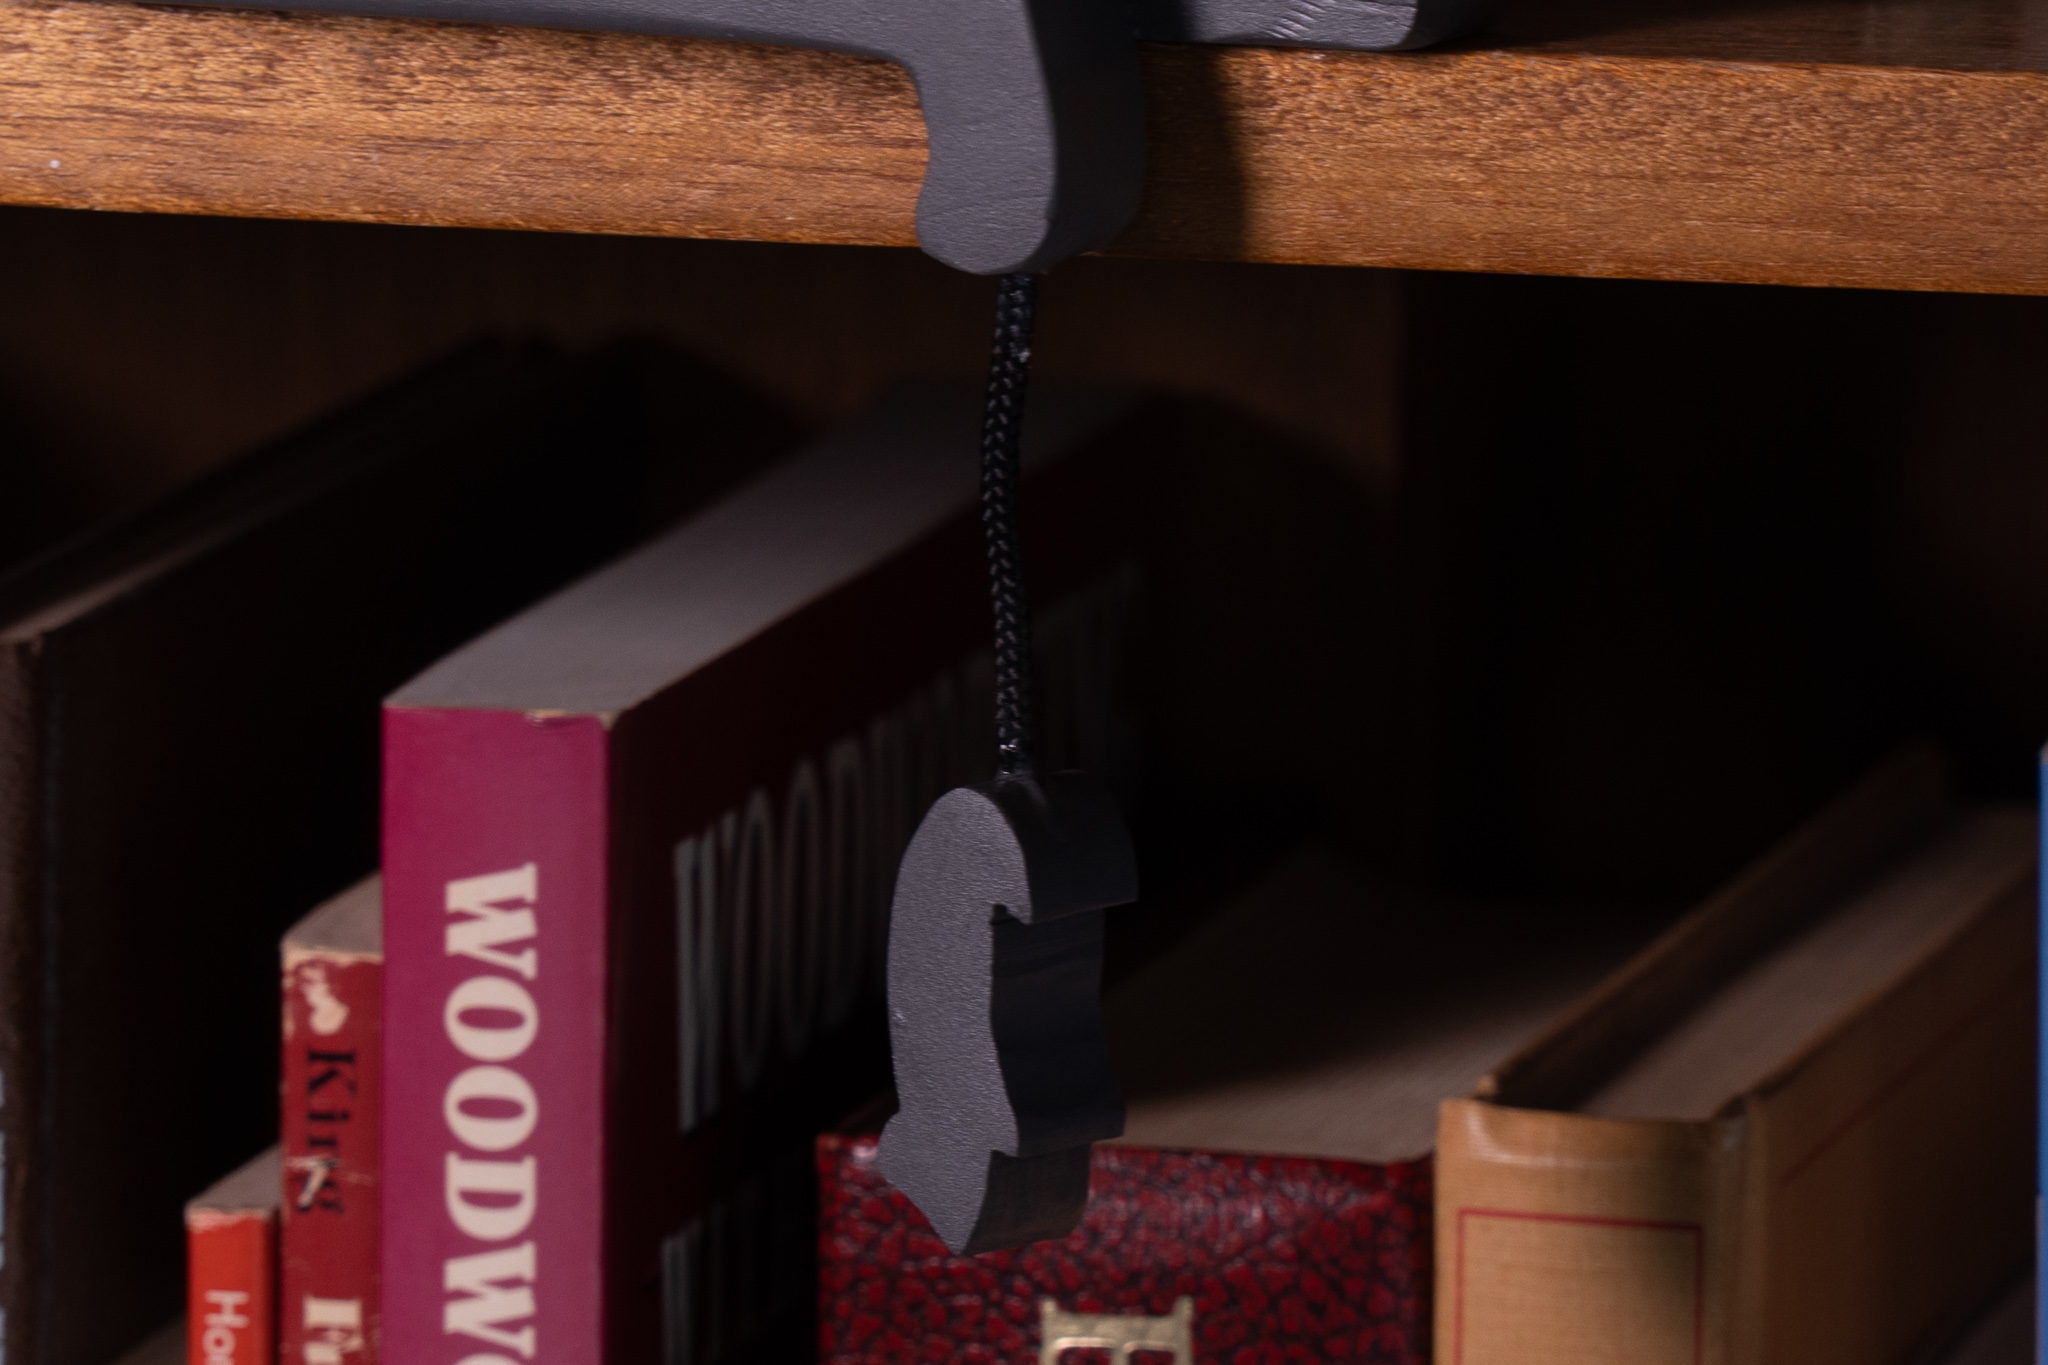
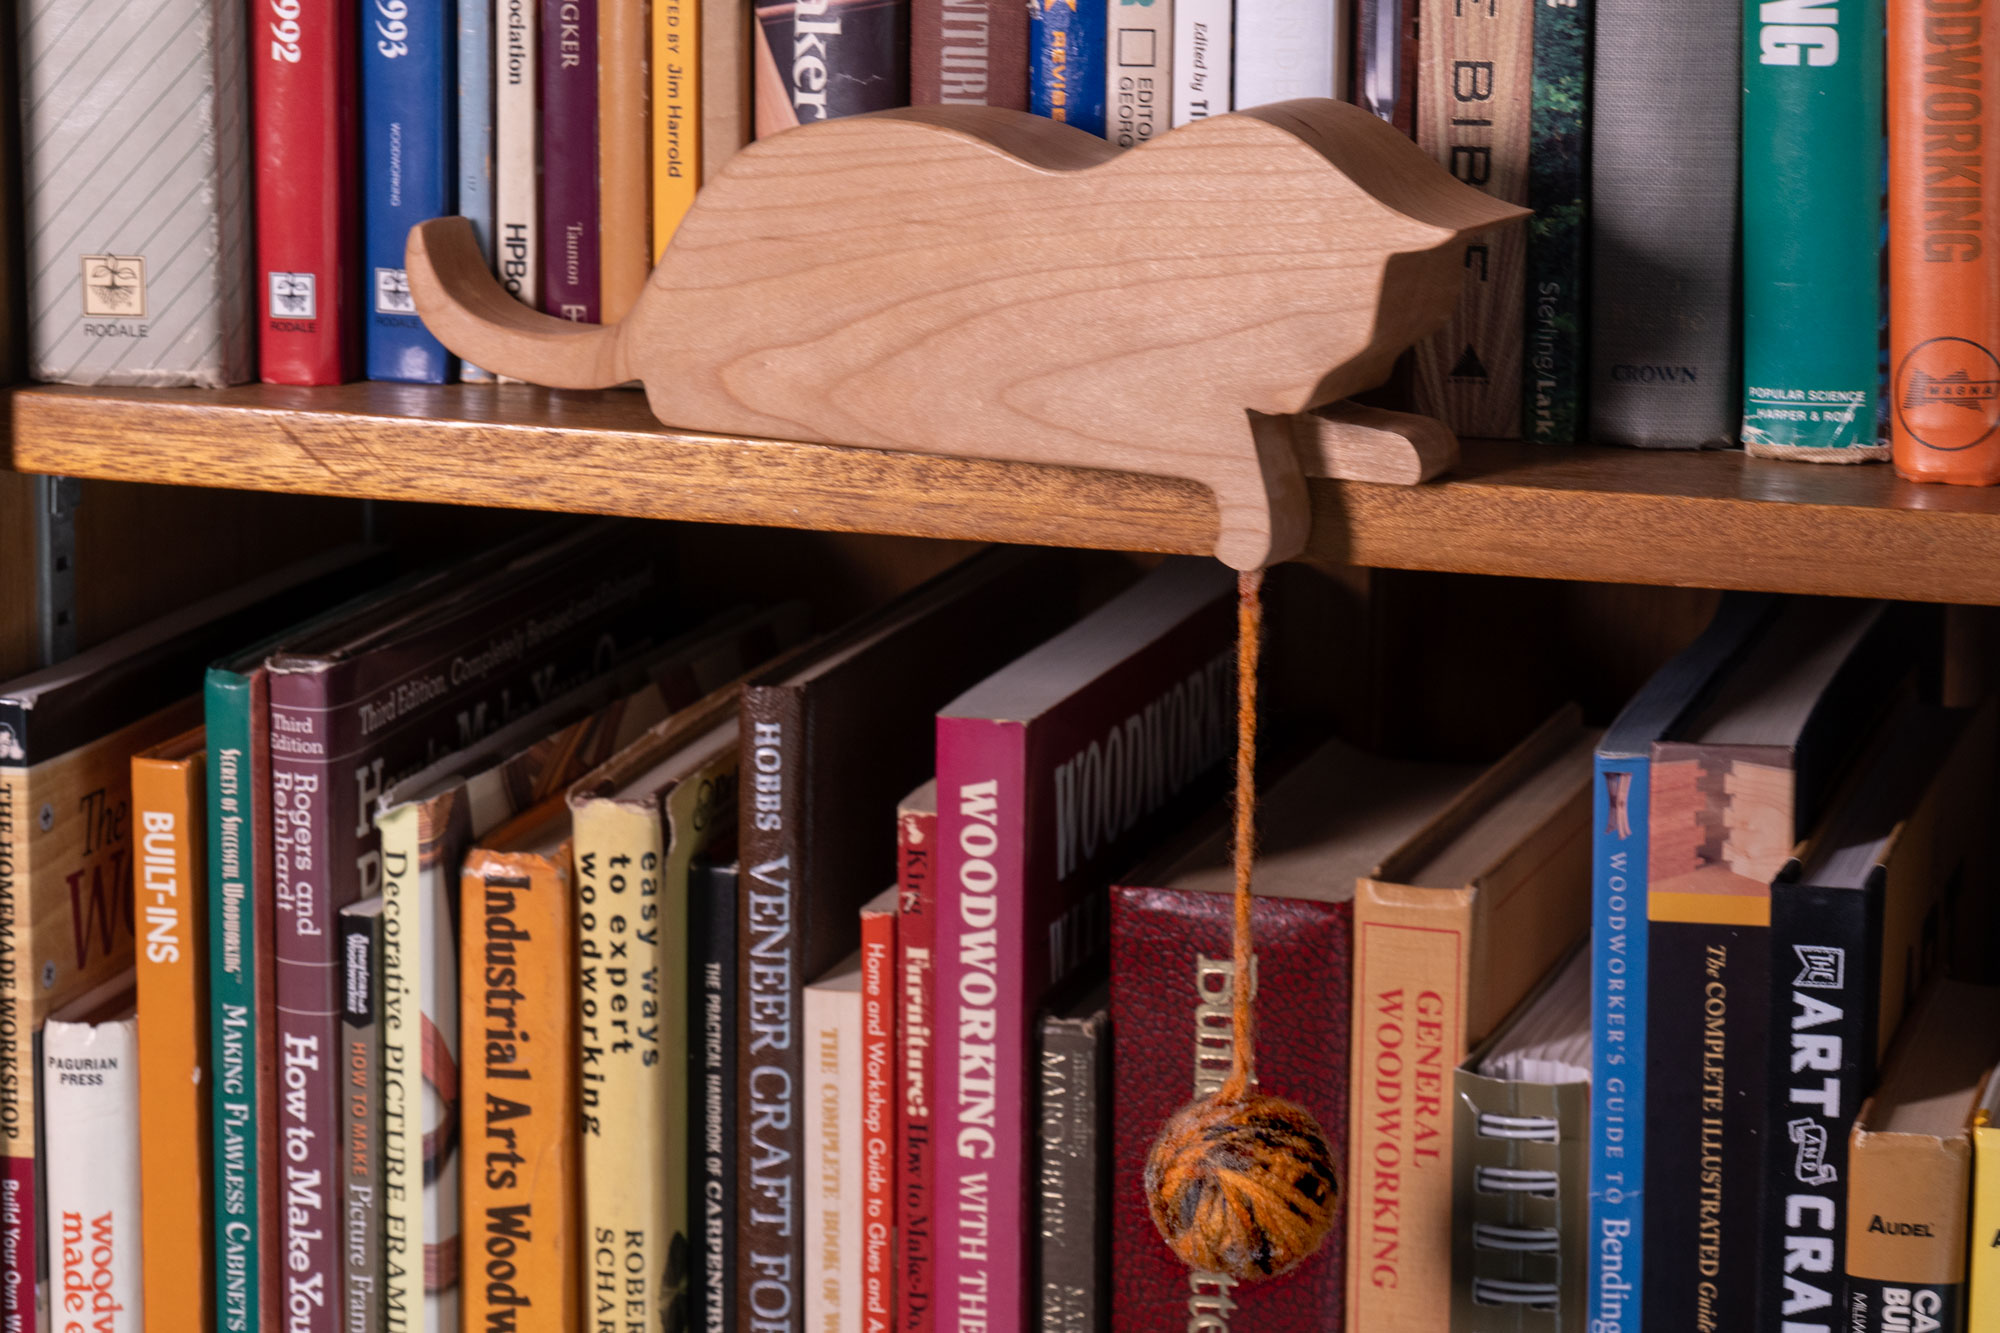
How to Make a Bookshelf Cat Decoration
Easy to make woodworking project. Great for a Mother’s Day gift and craft shows!

Easy Woodworking Project. Perfect for a Mother’s Day Gift!
Looking for something you can batch out quickly for craft shows or a gift? Wooden shelf cat decoration is the perfect project. You don’t need a shop full of tools to make this. Mainly you need a bandsaw or scroll saw and some sandpaper. Watch the tutorial video above to see how easy and quickly this project can be made! Get the plans and Make Something!
Tools and Supplies Used In This Woodworking Project


How to Make a Wood Tissue Box Cover
Easy to make woodworking project. Great for Christmas gifts and craft shows!
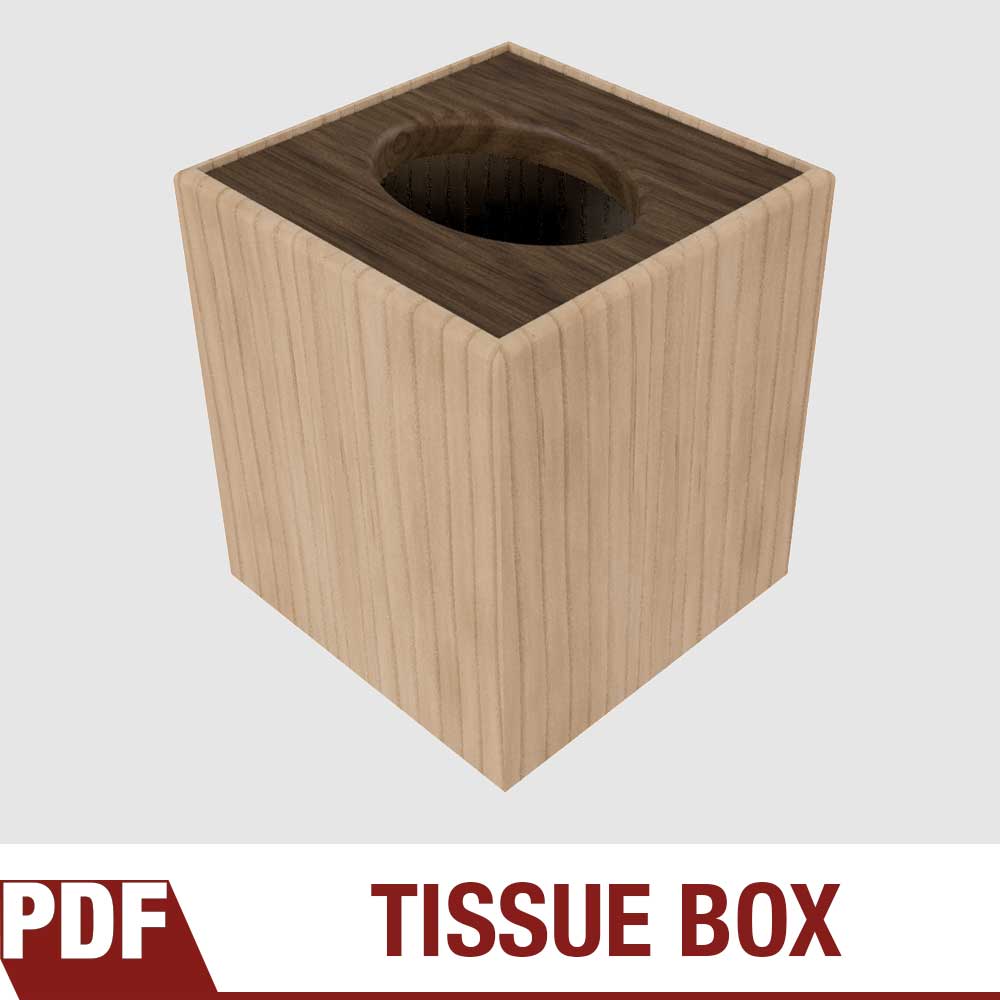
Easy Woodworking Project That Can Be Batched Out as Gifts
Looking for something you can batch out quickly for holiday gifts or craft shows? This wood tissue box is the perfect project. Easy joinery with basic woodworking tools. Watch the tutorial video above to see how this simple design can turn an ordinary tissue box into a center piece on your coffee table! Get the plans and Make Something!
Tools and Supplies Used In This Woodworking Project


How to Make Gift Wine Boxes With Finger Joints
Easy to make woodworking project. Great for Christmas gifts and craft shows!
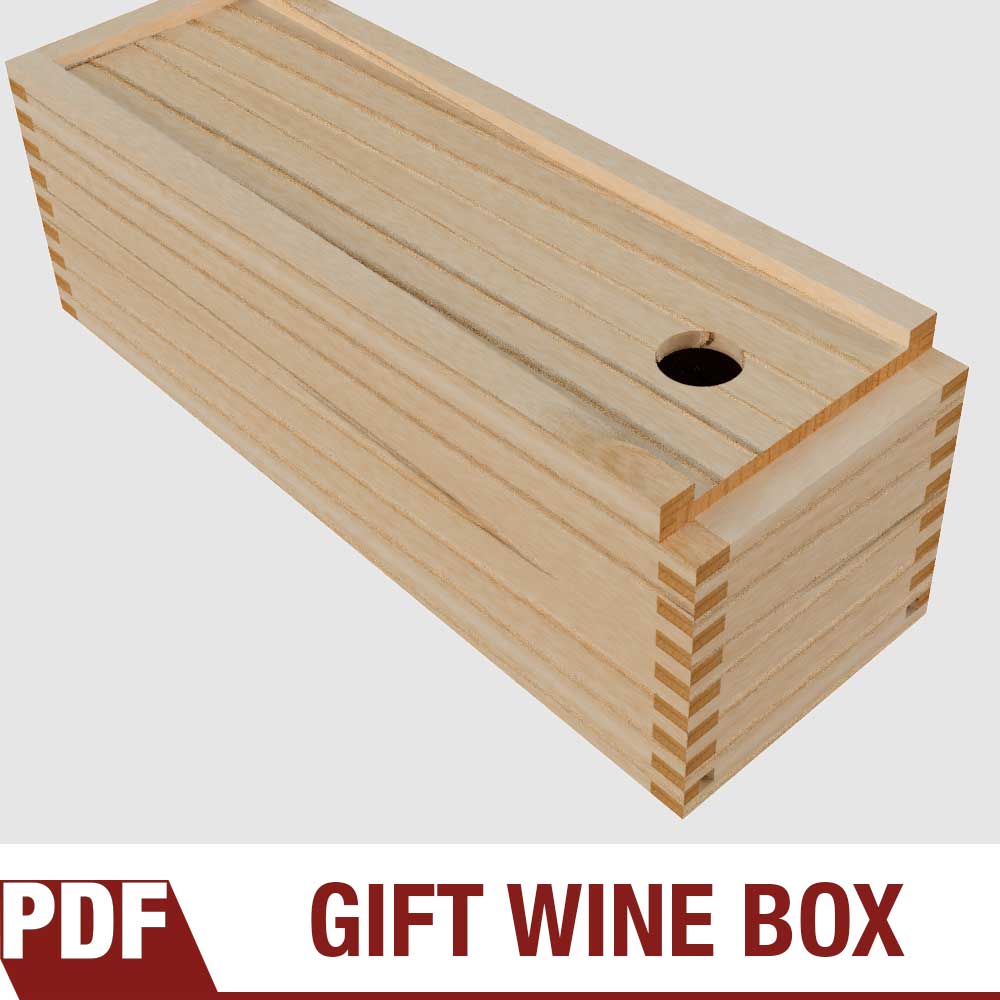
Quick and Easy Woodworking Project Just In Time For Christmas Gifts!
These easy to make wine boxes make for a great gift when pared with a bottle of wine and also sell well at craft shows. I like to make mine from pine and leave them unfinished for that natural softwood feel, smell and look. If you’ve never made finger joints (also known as box joints) then check out this video that’ll get you up a running quickly and easily. Looking to batch out a few of these? Get the plans and Make Something!
Tools and Supplies Used In This Woodworking Project


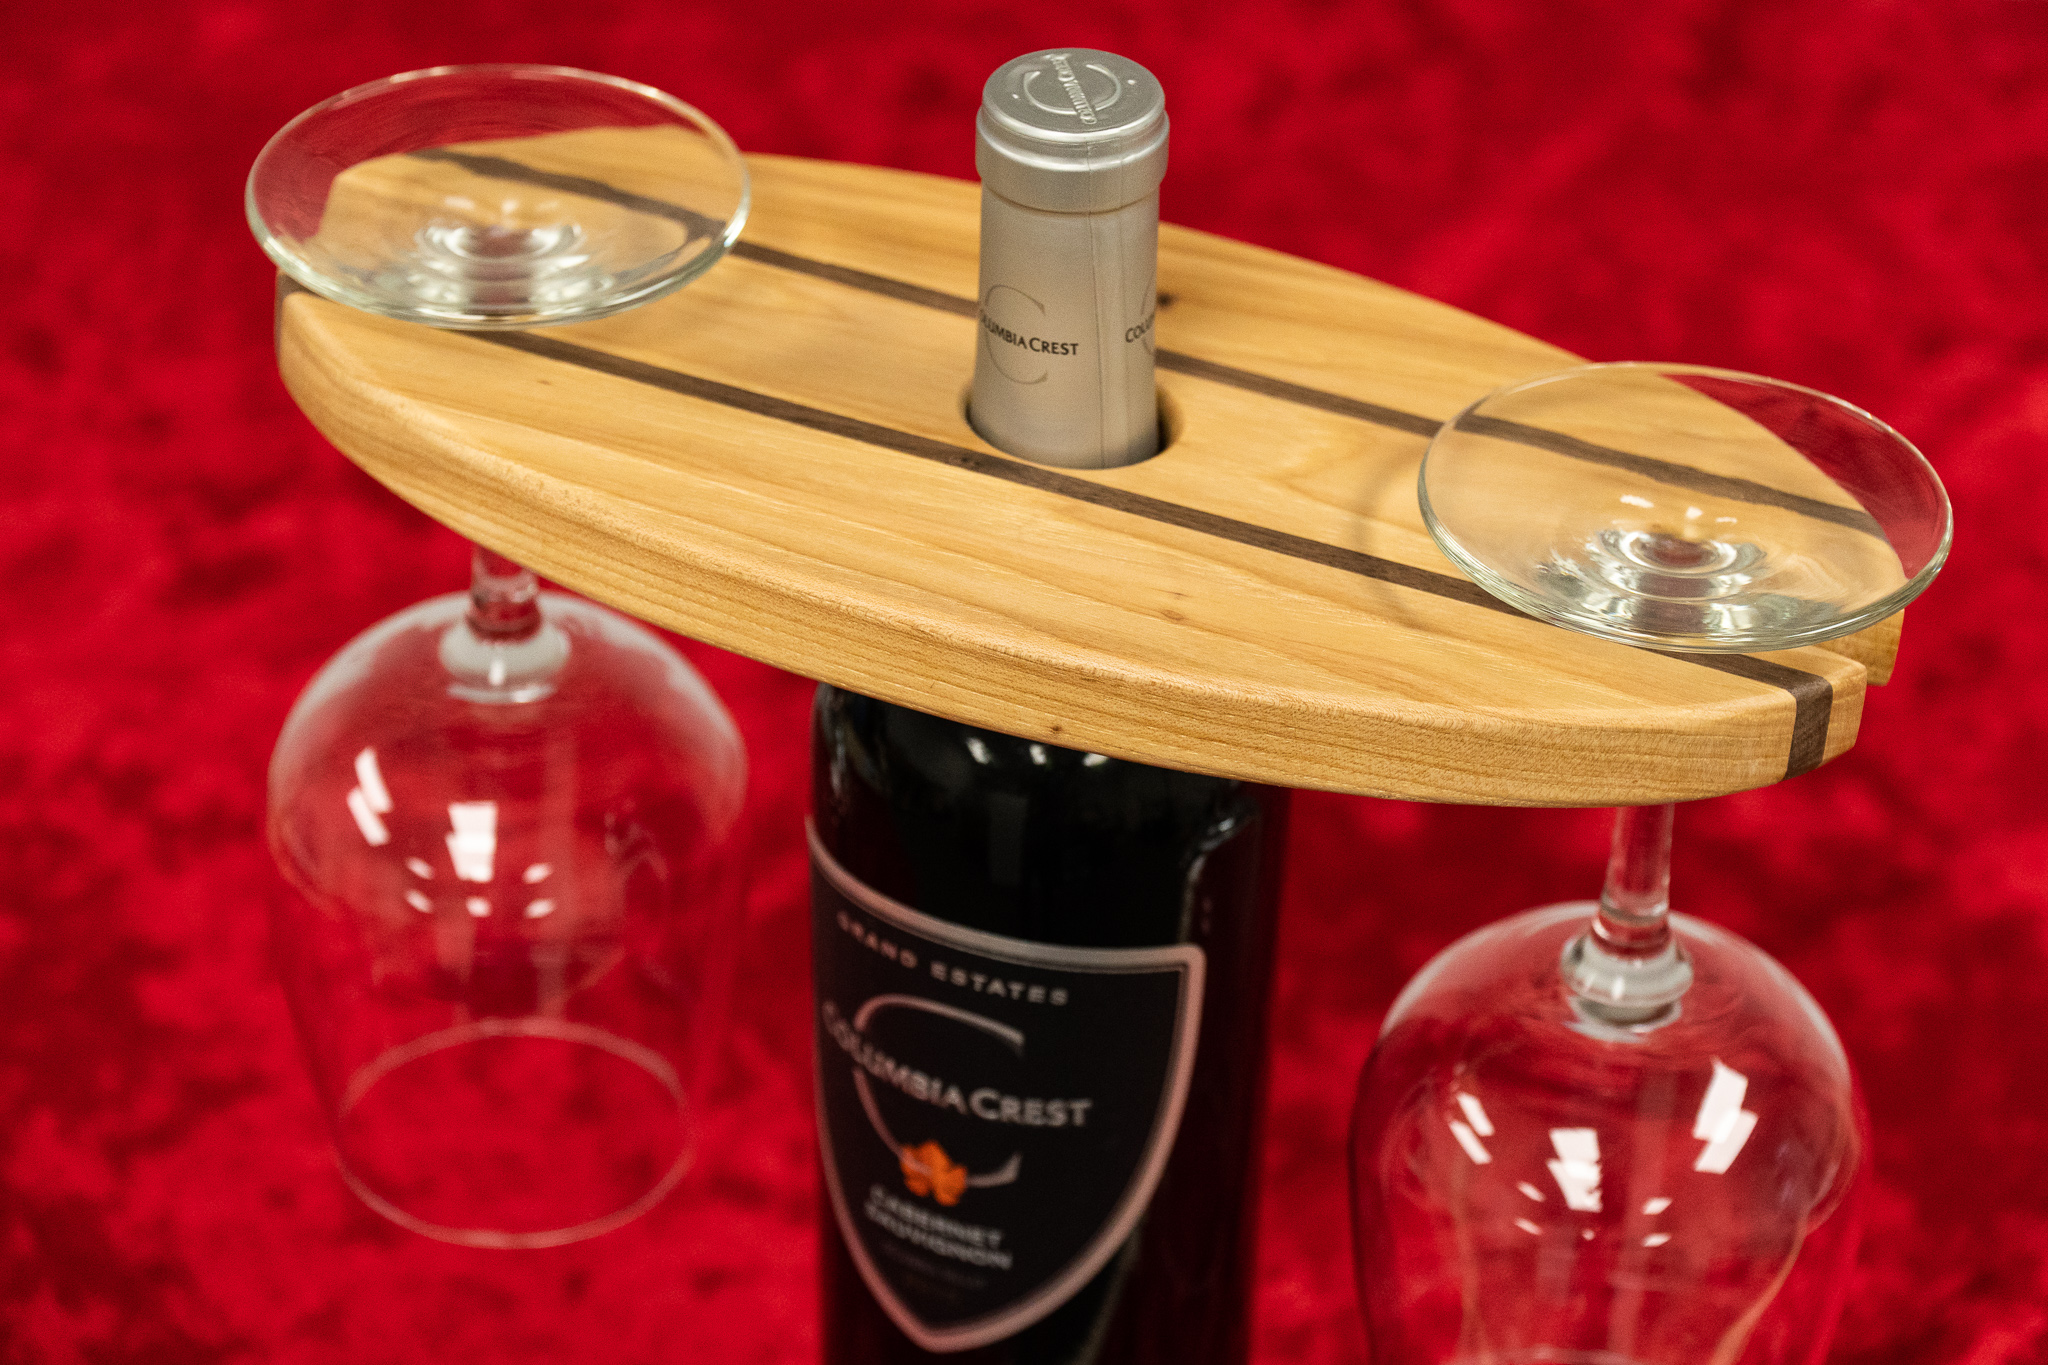
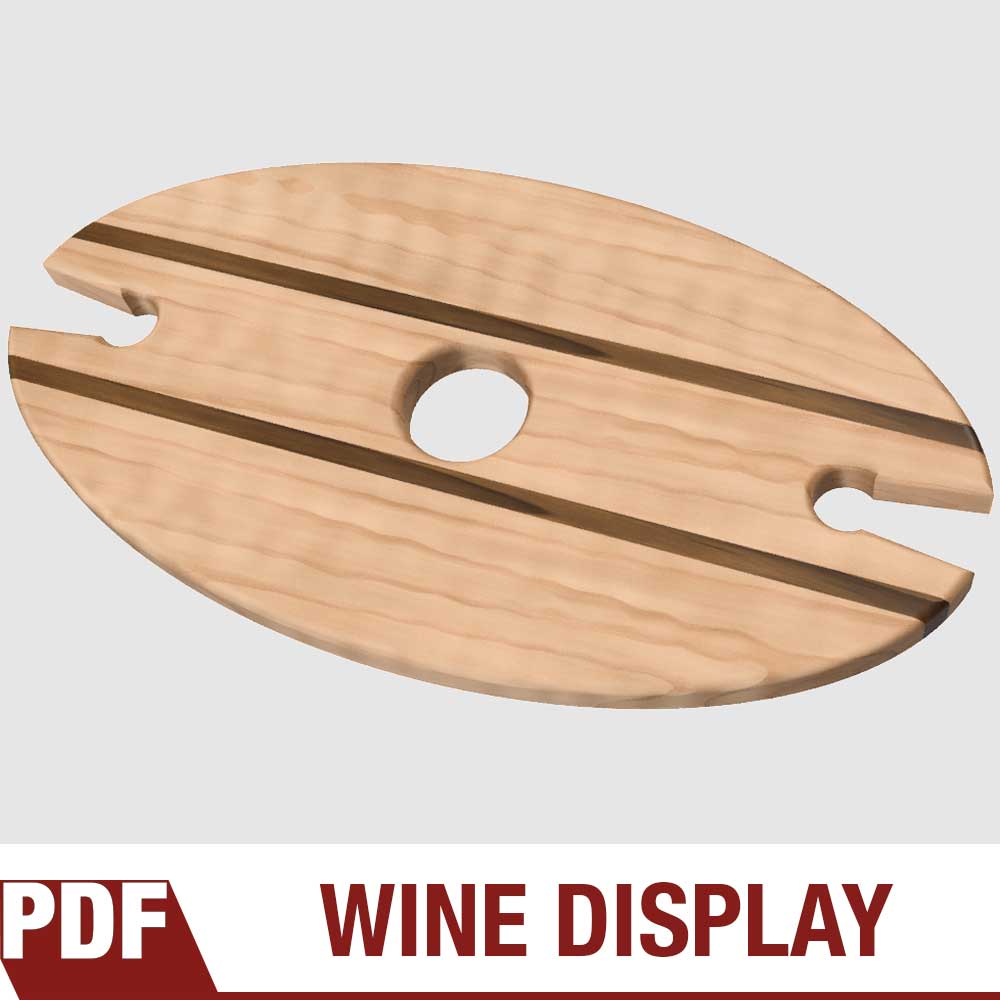
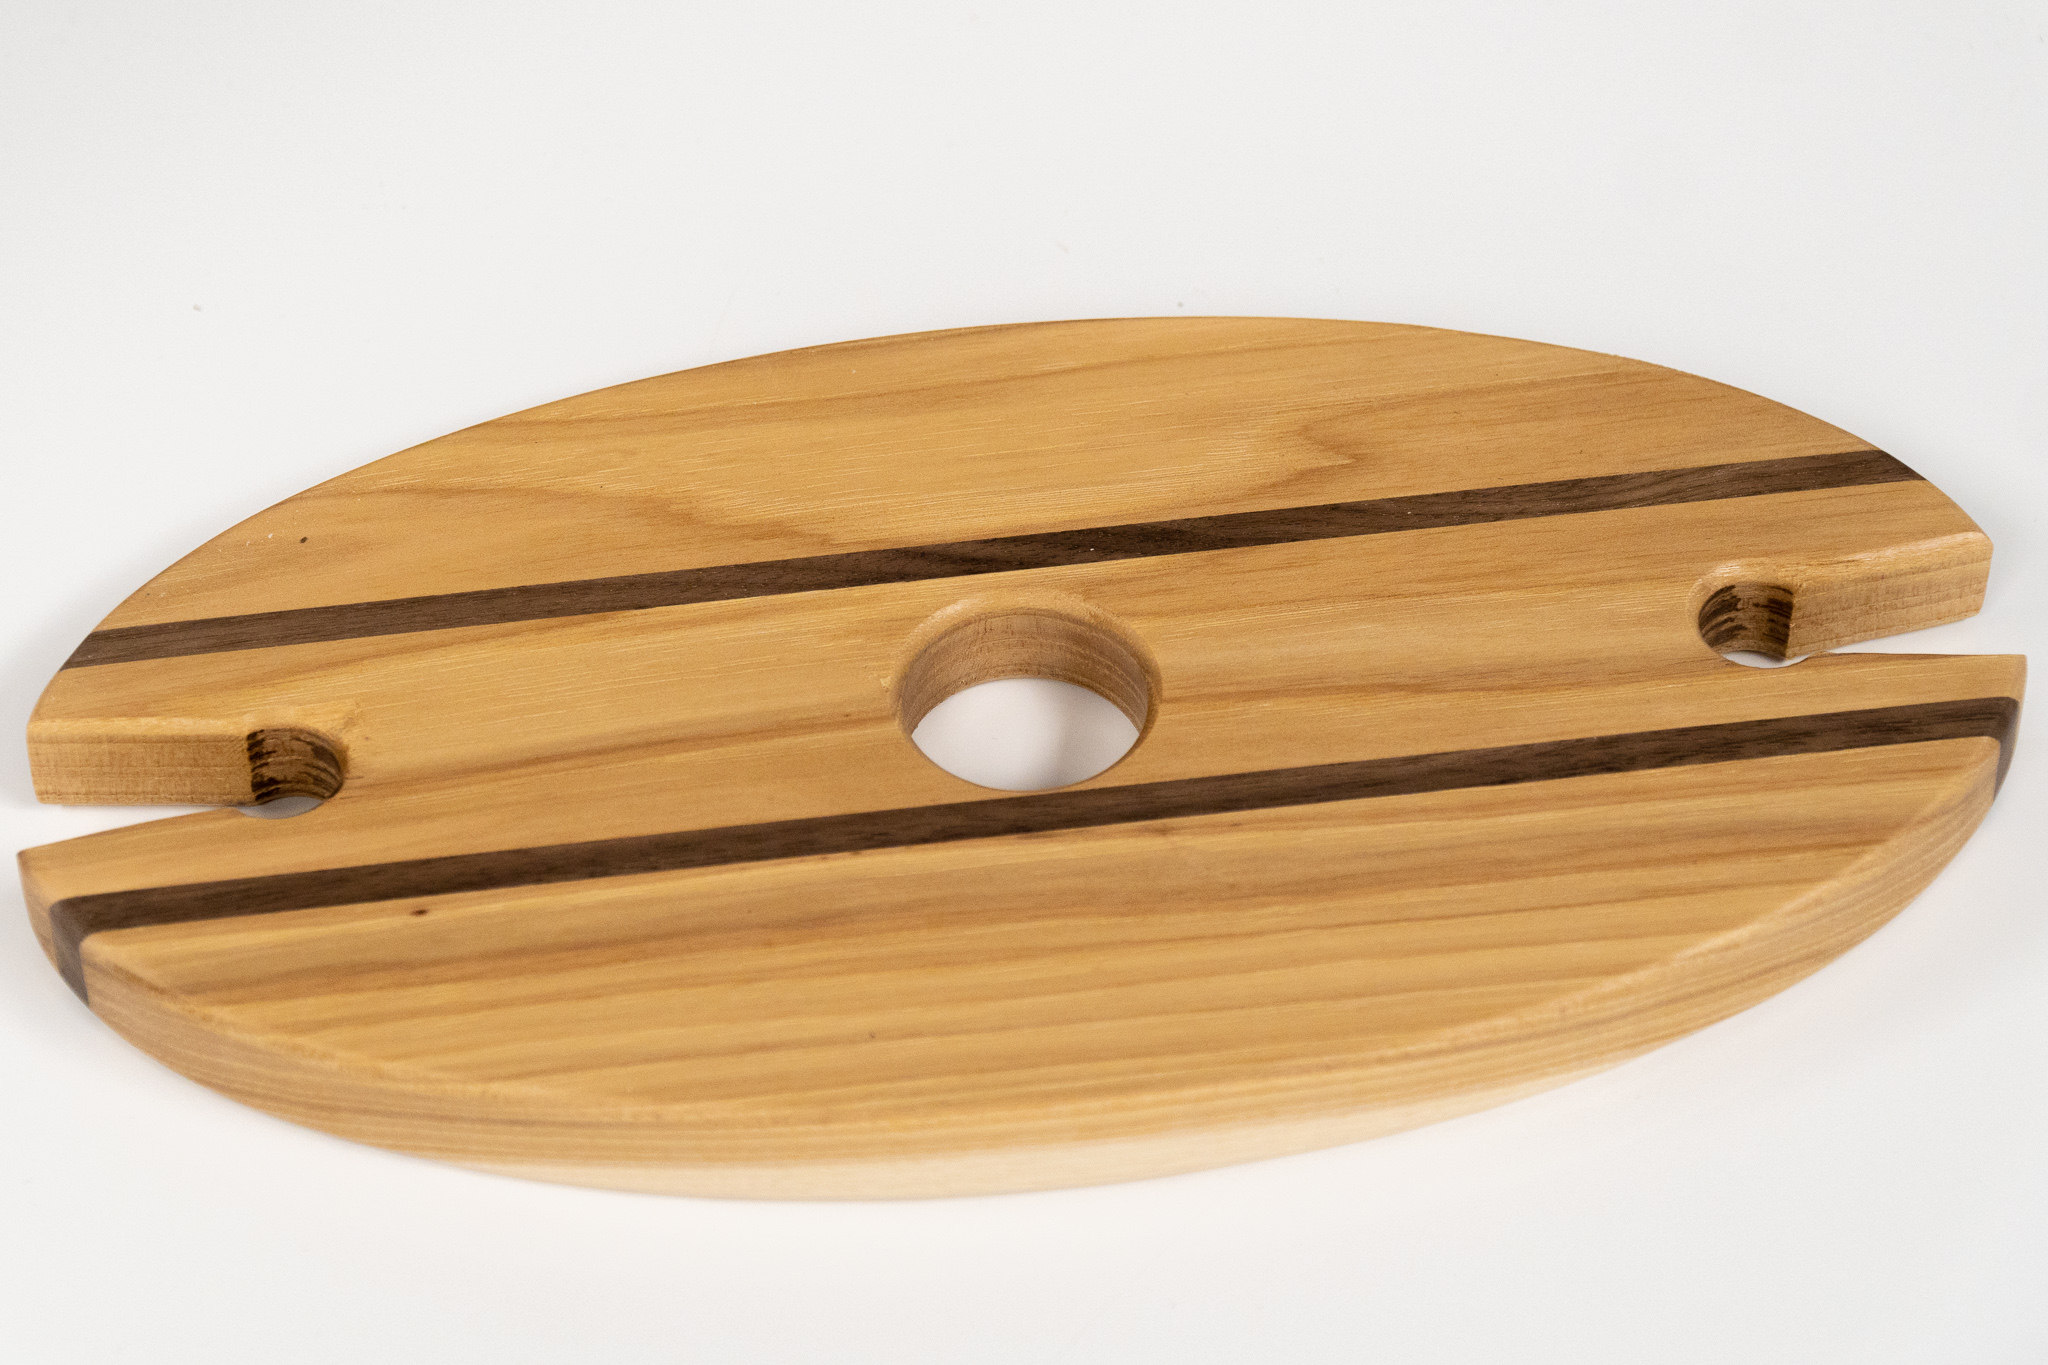
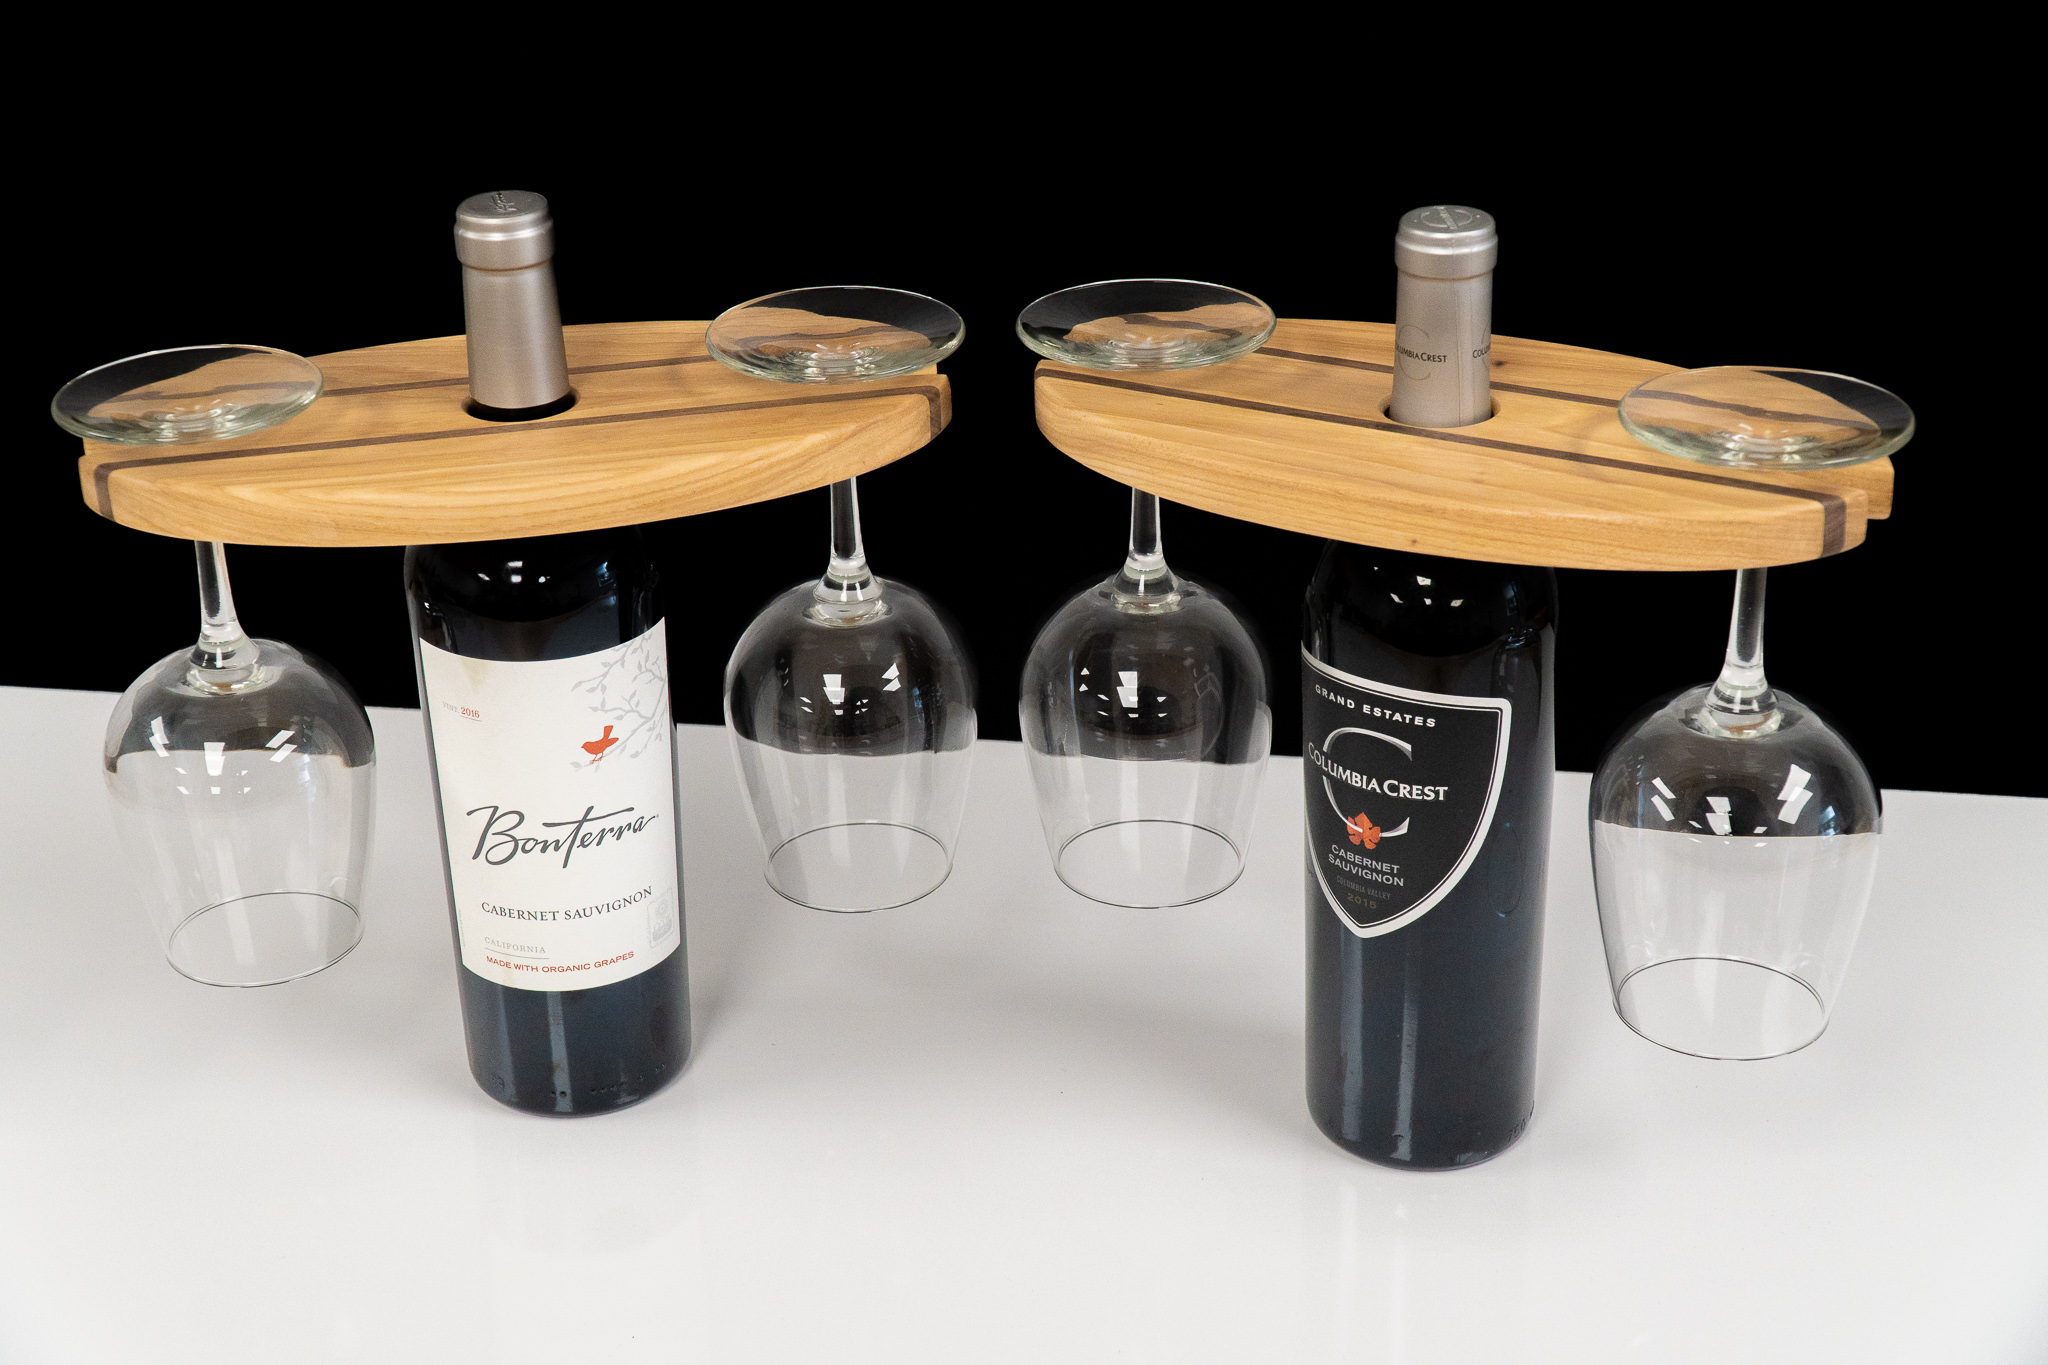
How to Make a Wine Bottle and Glass Display
A quick and simple woodworking project that can easily be batched out for selling at craft shows.
Make Money With Your Woodworking
These wine displays are constantly my biggest seller at craft shows and also one of the easiest things to make! When making these it's best to batch out and make a handful at once to make efficient use of your time. I give the customer the option of buying them with or without the glasses. You ready to dig in and Make Something? Let's go!
Trade is offering 50% OFF your first order when you subscribe to The Hookup. Use my code ‘david’


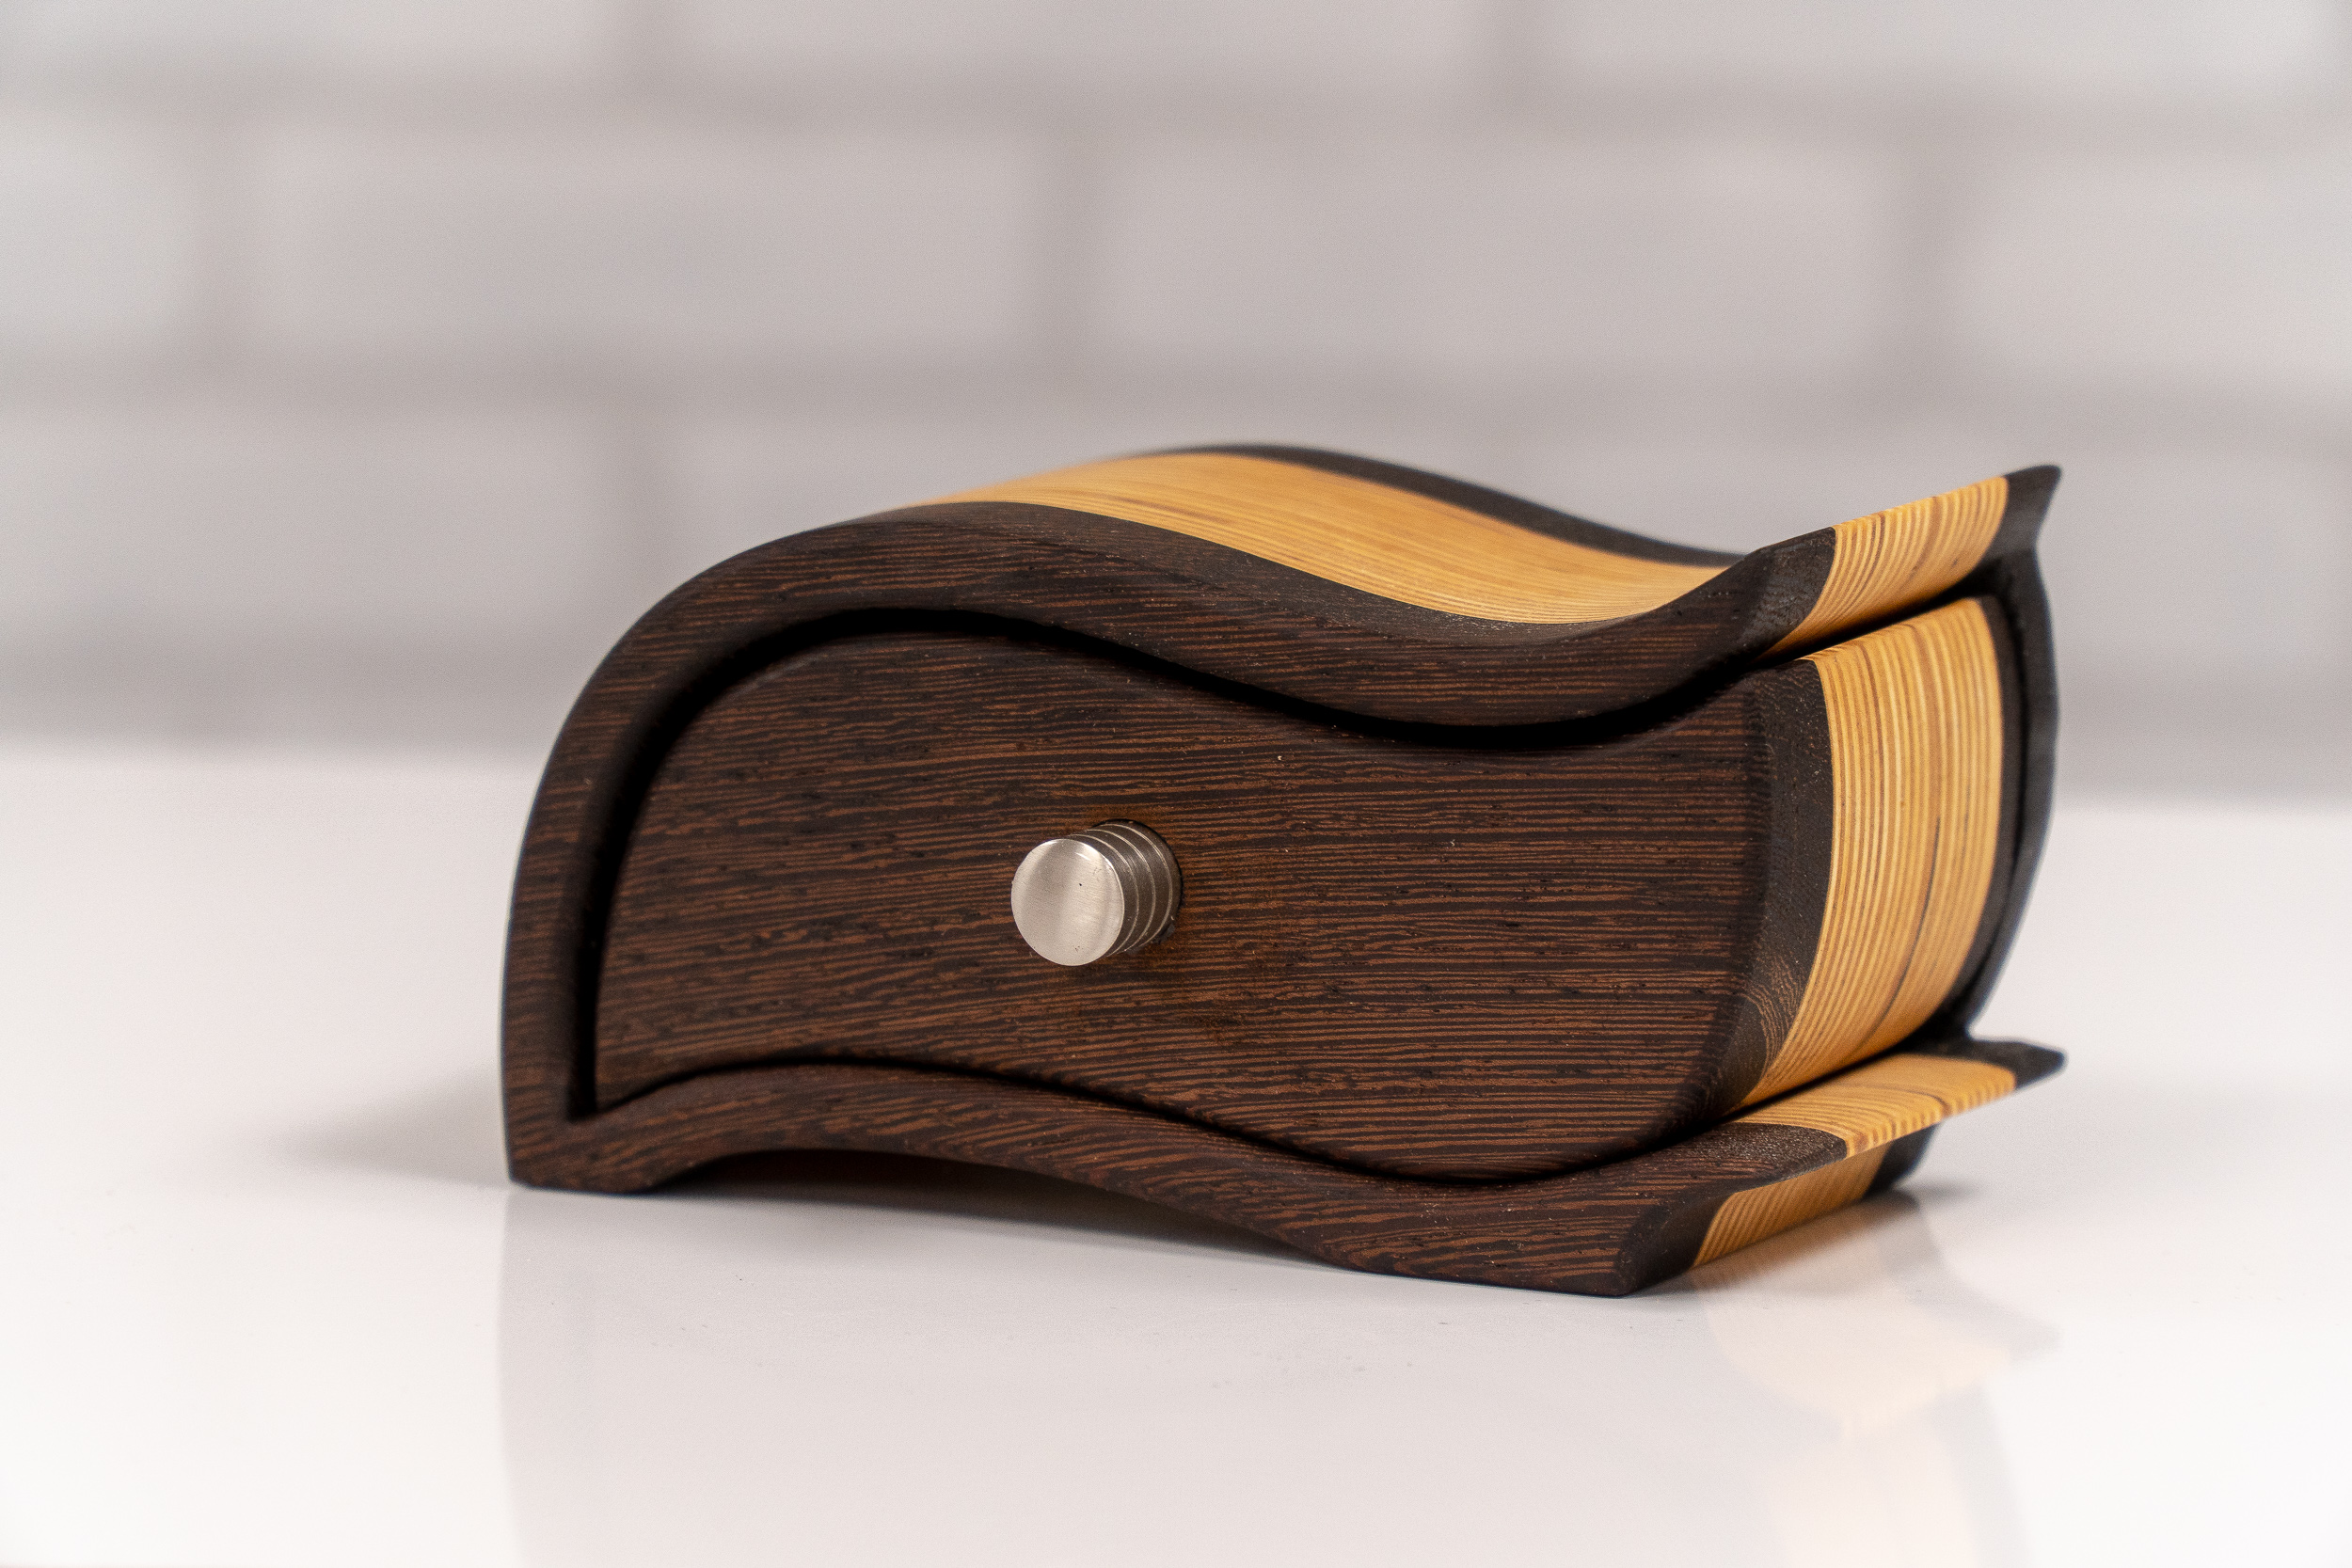
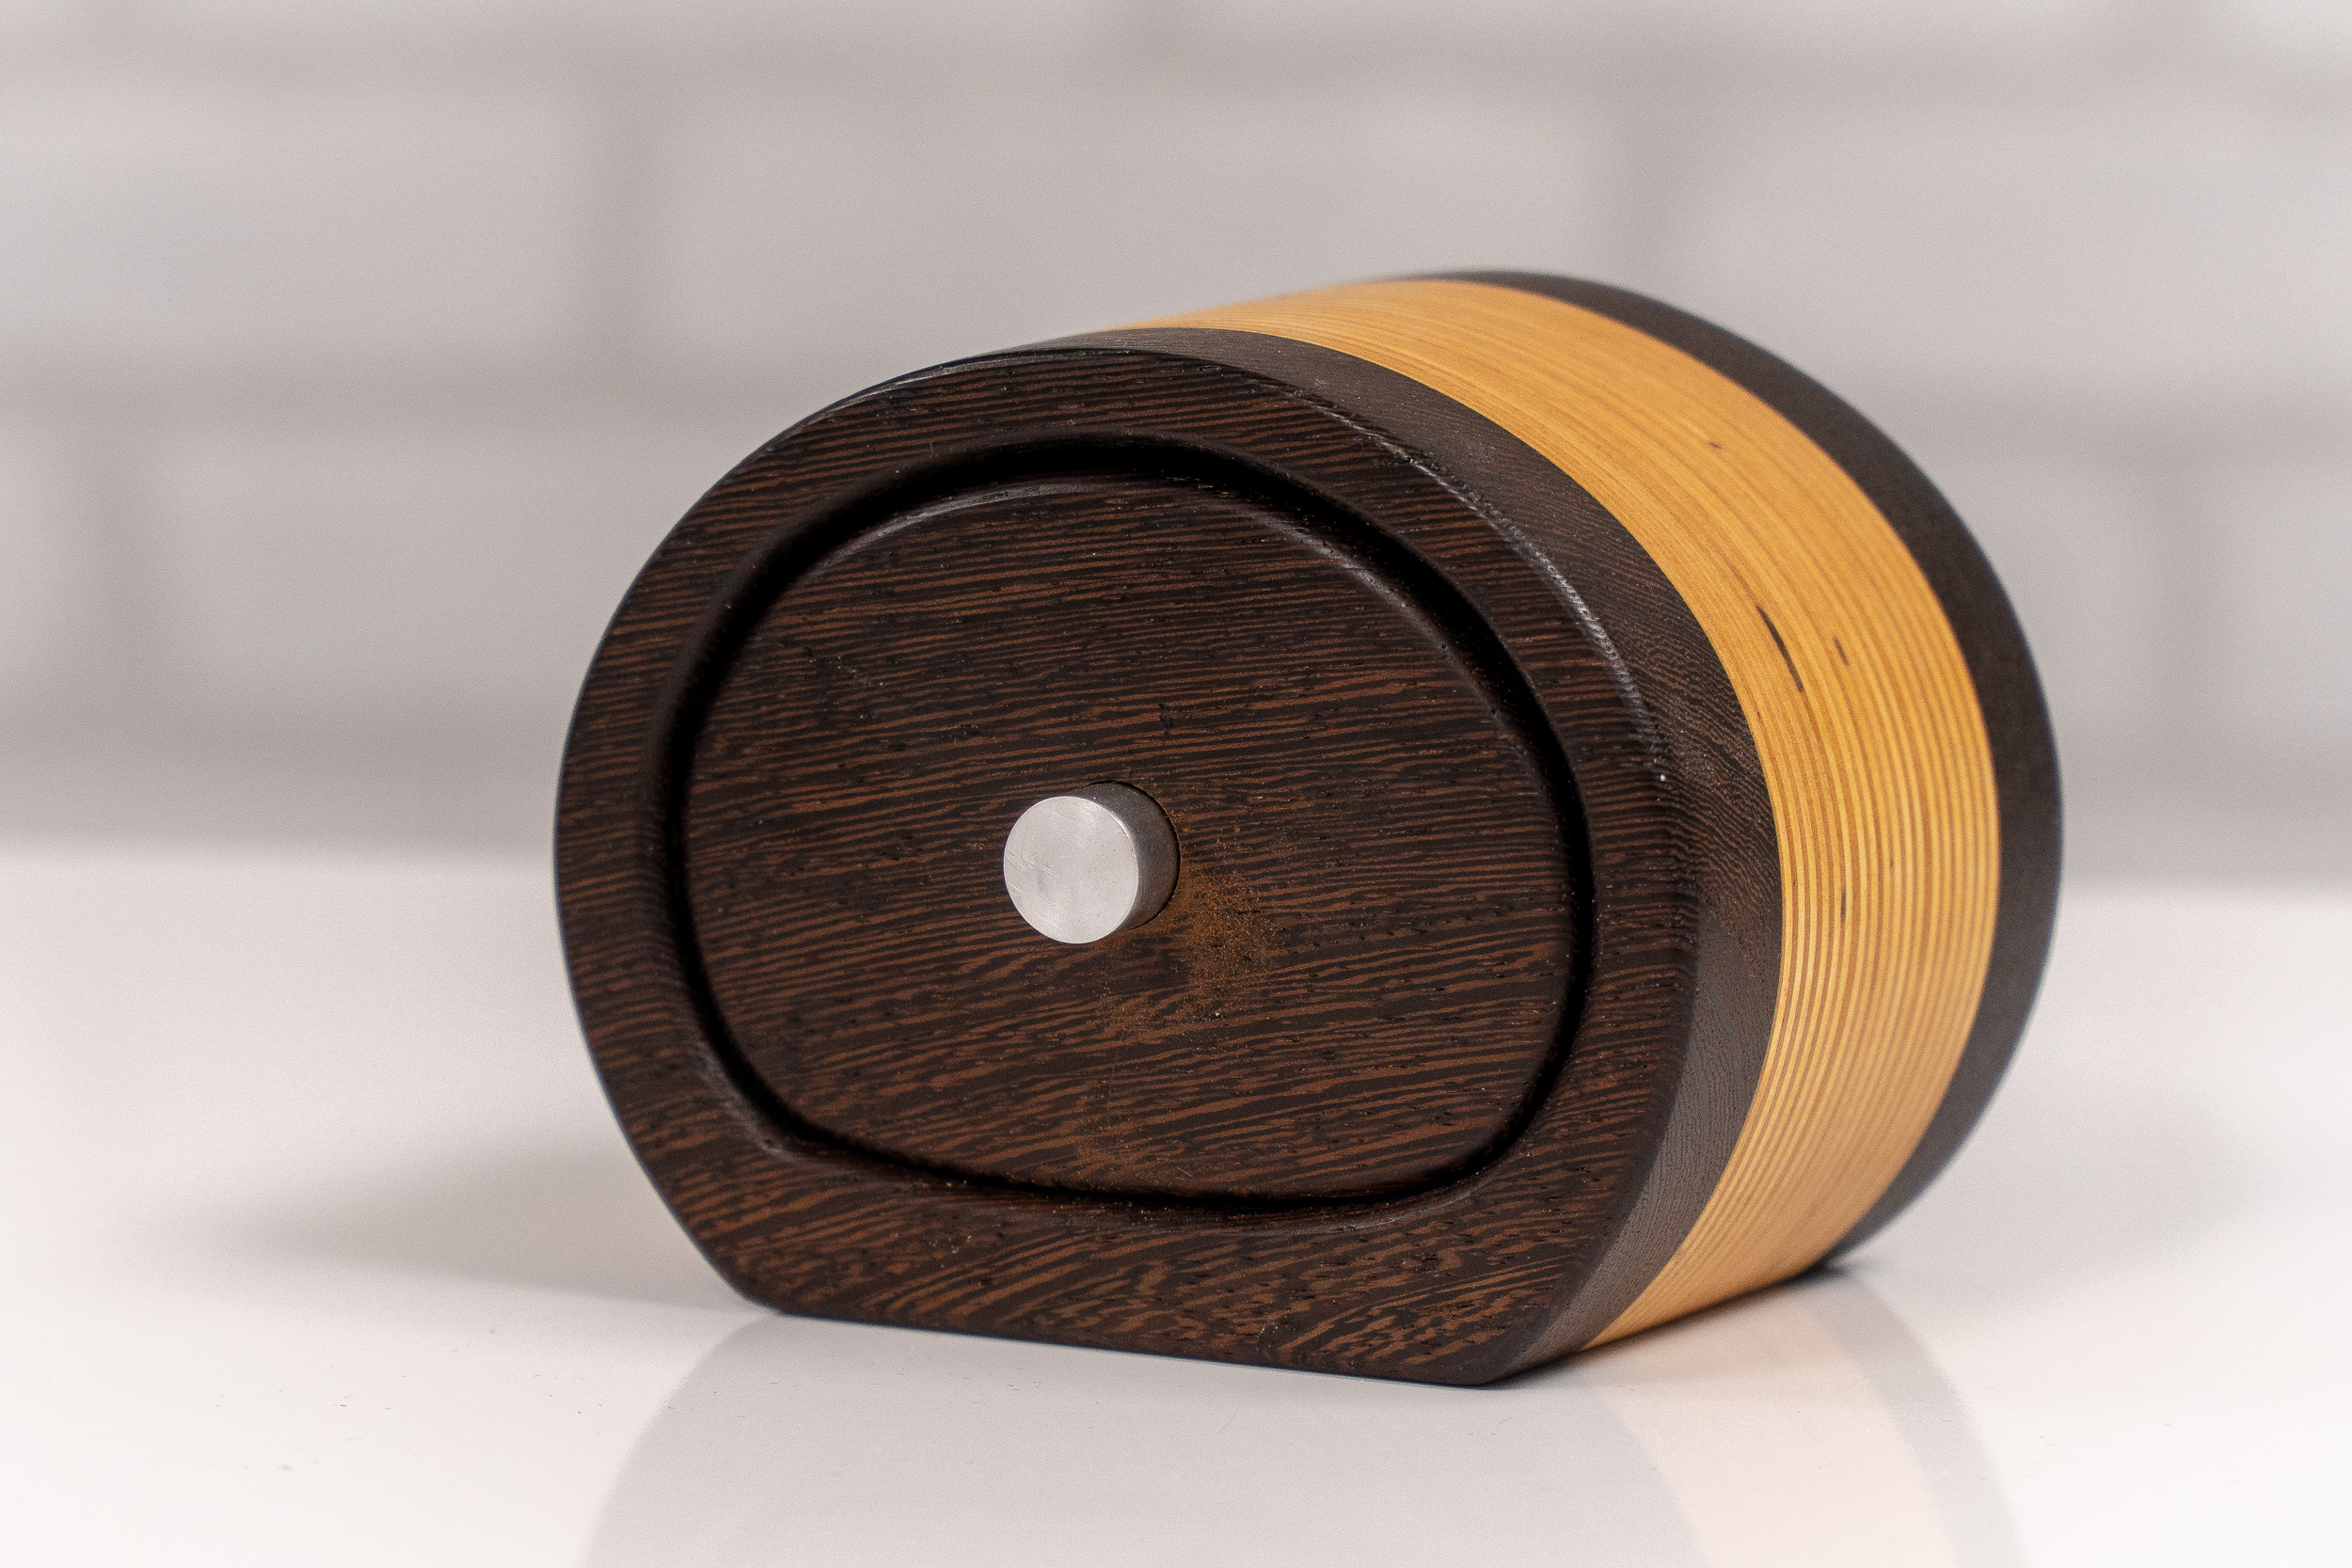
Everything You Need to Know on Making Bandsaw Boxes
Step-by-step tutorial on how to make bandsaw boxes with templates and plans. Easy and fun woodworking projects!
Making bandsaw boxes is what got me excited about woodworking! You can make them out of scraps in a day and they make for a great handmade gift. There are endless possibilities in shapes and sizes and you don't need and entire shop full of expensive tools or years of experience.
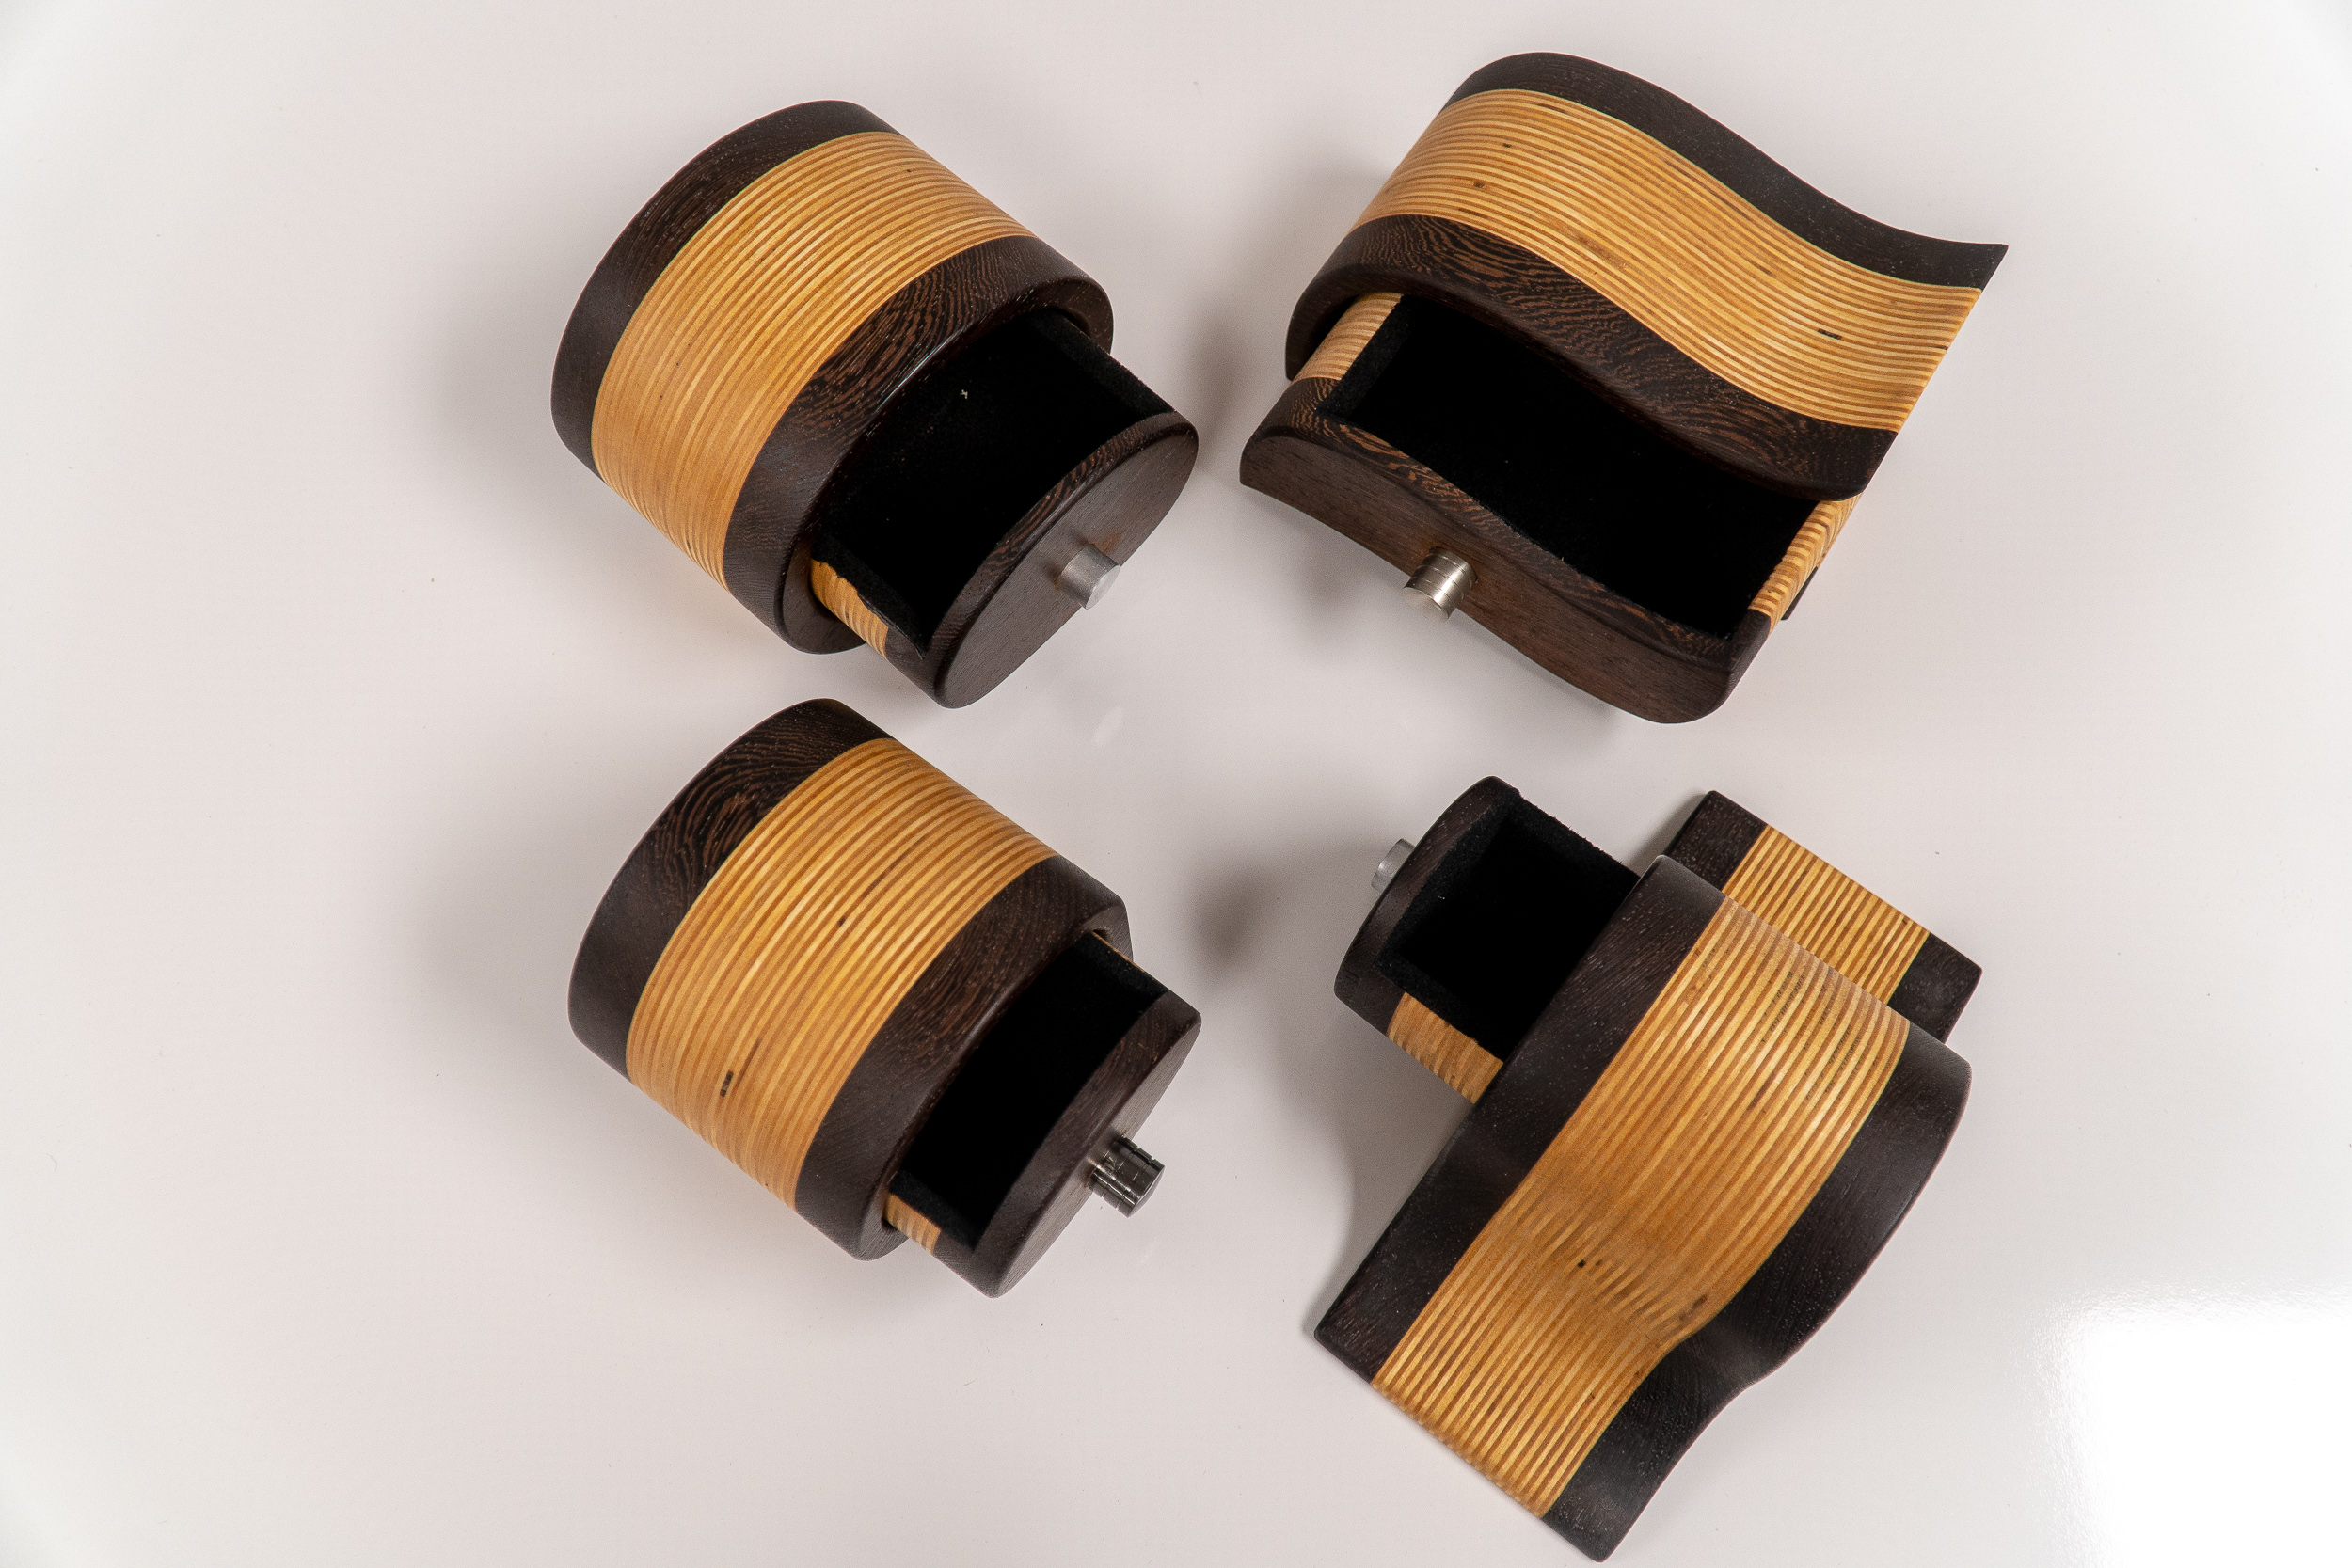
Bandsaw Box Templates and Plans
Looking to get started in making bandsaw boxes? I’ve got PDF templates for 4 simple but elegant bandsaw box designs as well as a book full of unique styles. You can find the book in all major book stores and public libraries or you can get a signed book directly from me!


The Best Blade For Making Bandsaw Boxes

I’ve made dozens of bandsaw boxes in my day and I’ve tried many blades. You need a blade small enough to cut tight curves. Generally the more teeth per inch the smoother the cut you’ll get. But when it comes to making bandsaw boxes a smooth cut is not necessary. What’s more important is large gullets between the teeth to remove all the waste dust that’s created when cutting a big 4" thick bandsaw box blank. If you have too many teeth you’ll have issues with burning and not being able to cut the curves because of all the saw dust trapped between the blade and the wood. I’ve come to the conclusion that a 3/16" blade for 4 teeth per inch is the perfect blade for these bandsaw boxes. I like this 3/16", 4 TPI, Skip Tooth blade from Highland Woodworking.

Step 1: Bandsaw Box Blank
The first thing you need to do is cut up the boards that'll make up your bandsaw box blank. The height and width will depend on which template you choose to work with. The depth can vary but I like mine to be about 4" thick. In this example I'm using Baltic birch plywood as my core with an exotic wood on the faces. You'll glue up all the pieces with wood glue on the faces of each piece. Use plenty of wood glue make sure the entire surface is covered.

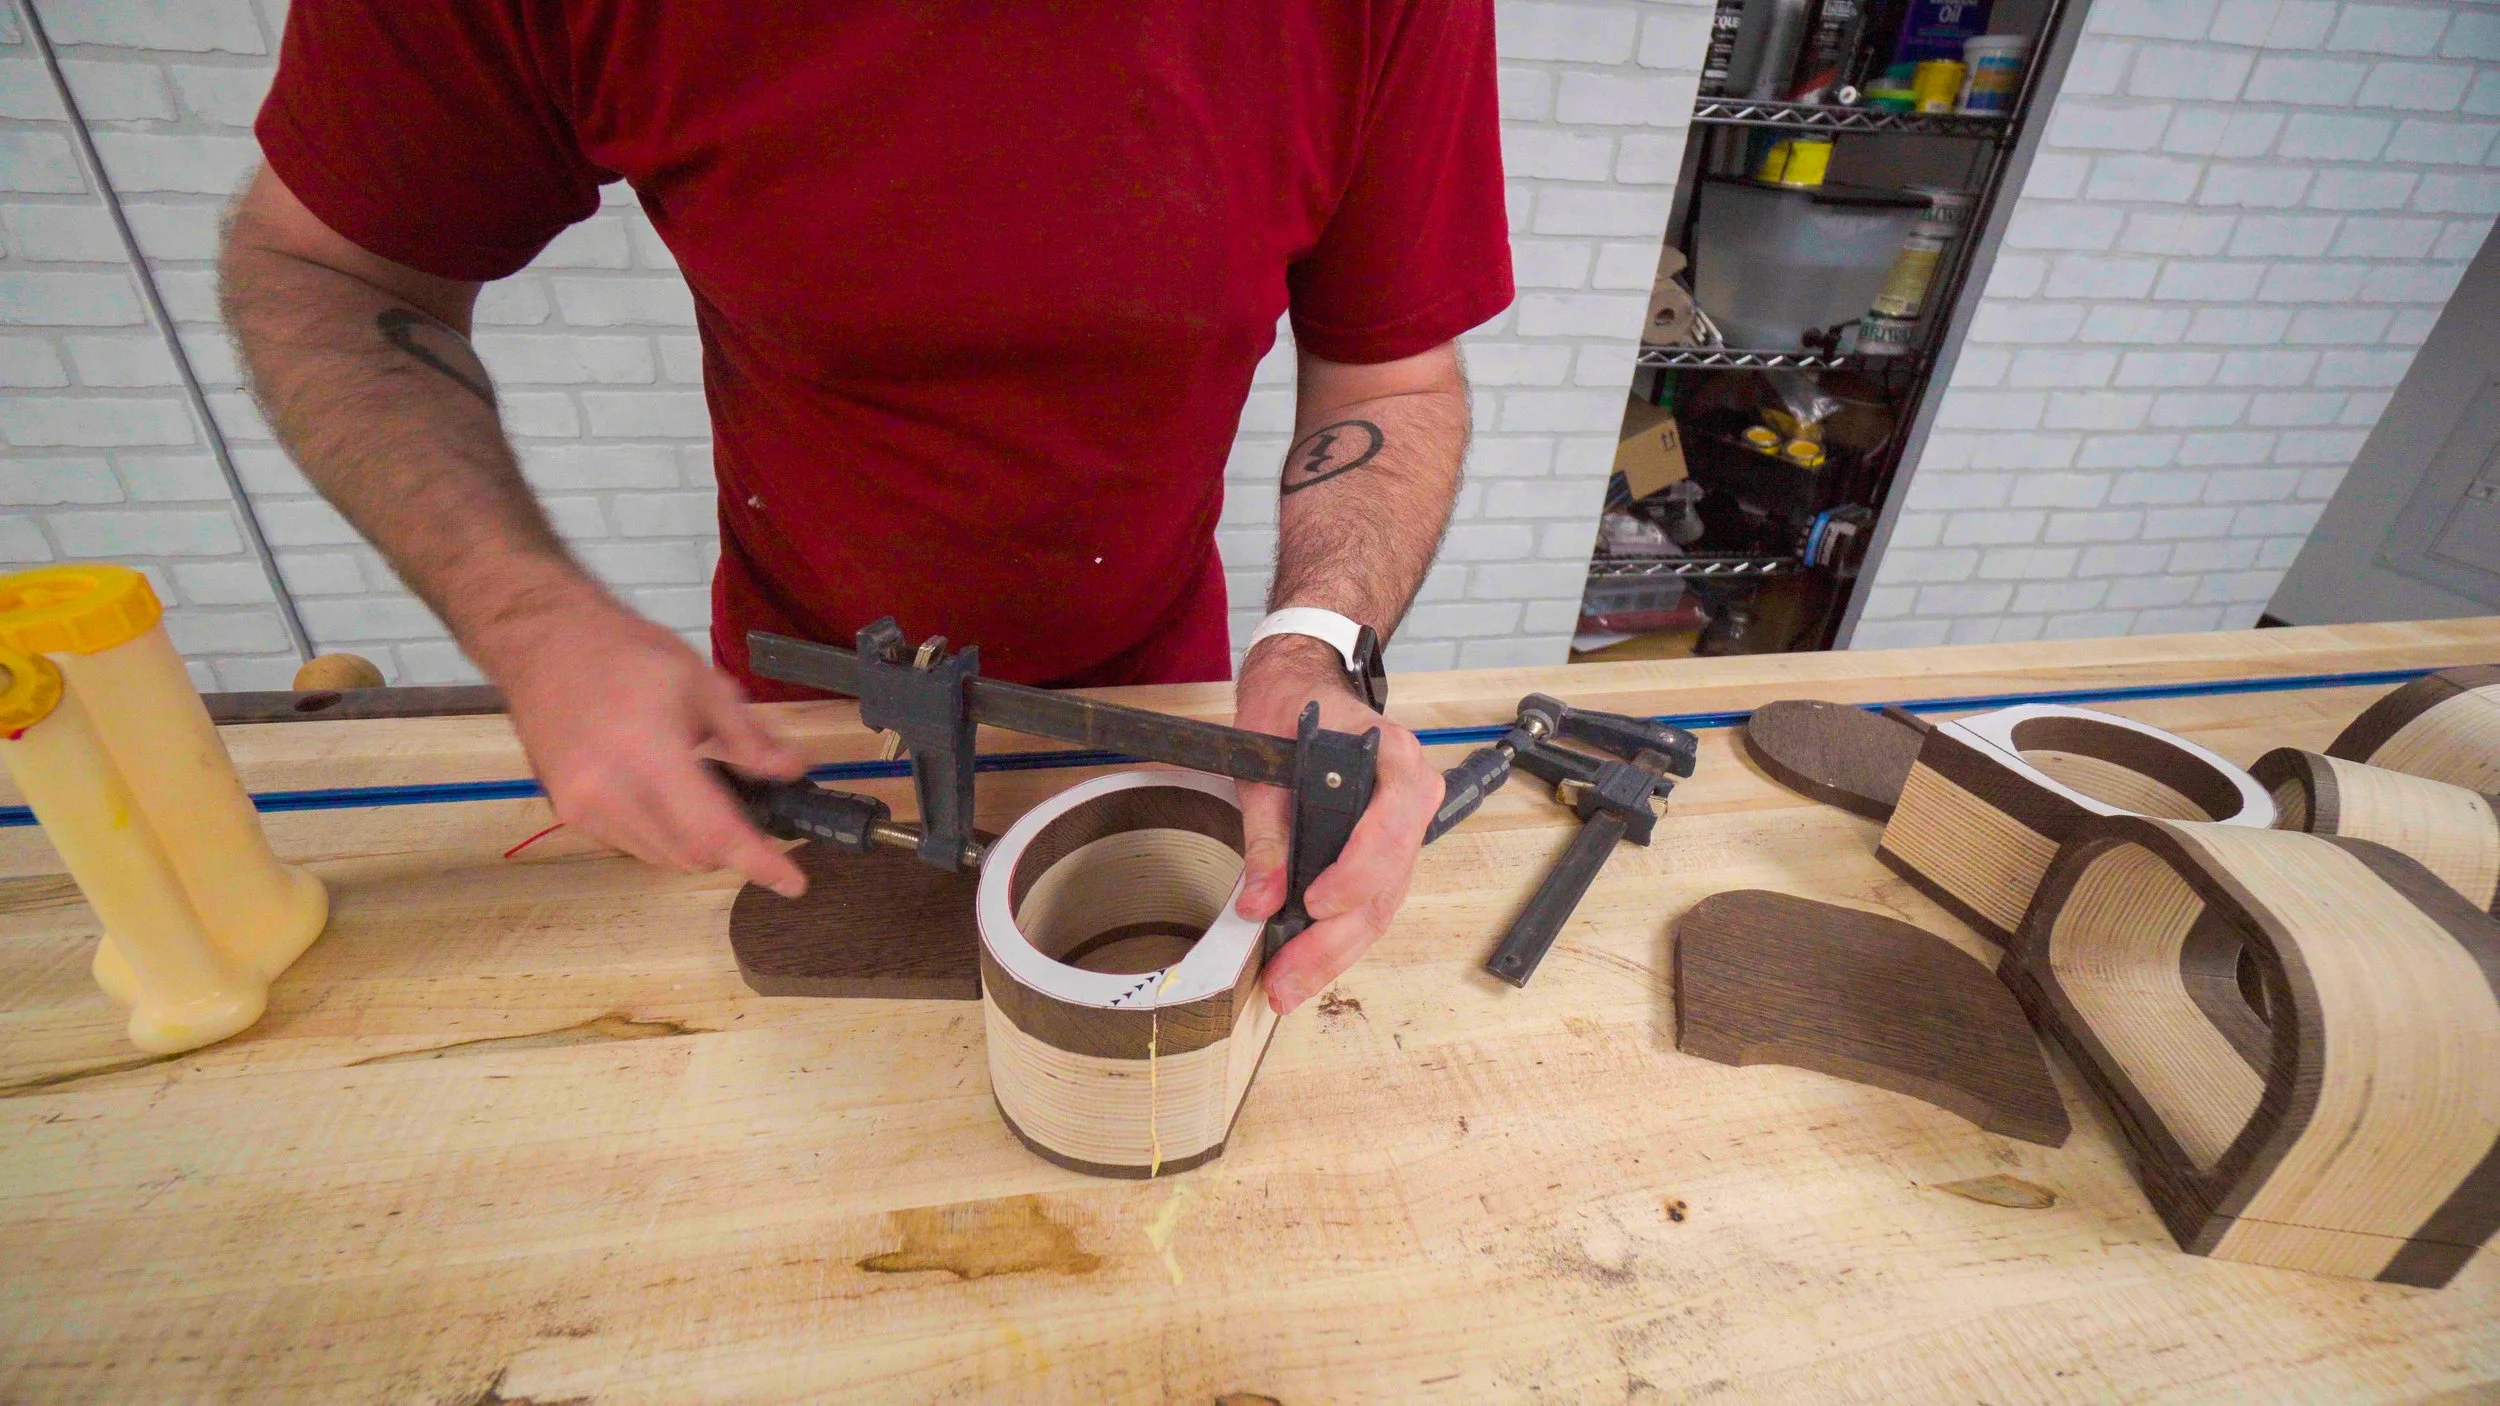
Step 2: Bandsaw Box Glue-up
Now you'll clamp everything up with plenty
of F-style clamps. You should see some glue squeeze out all around. Let this sit and dry for a few hours.
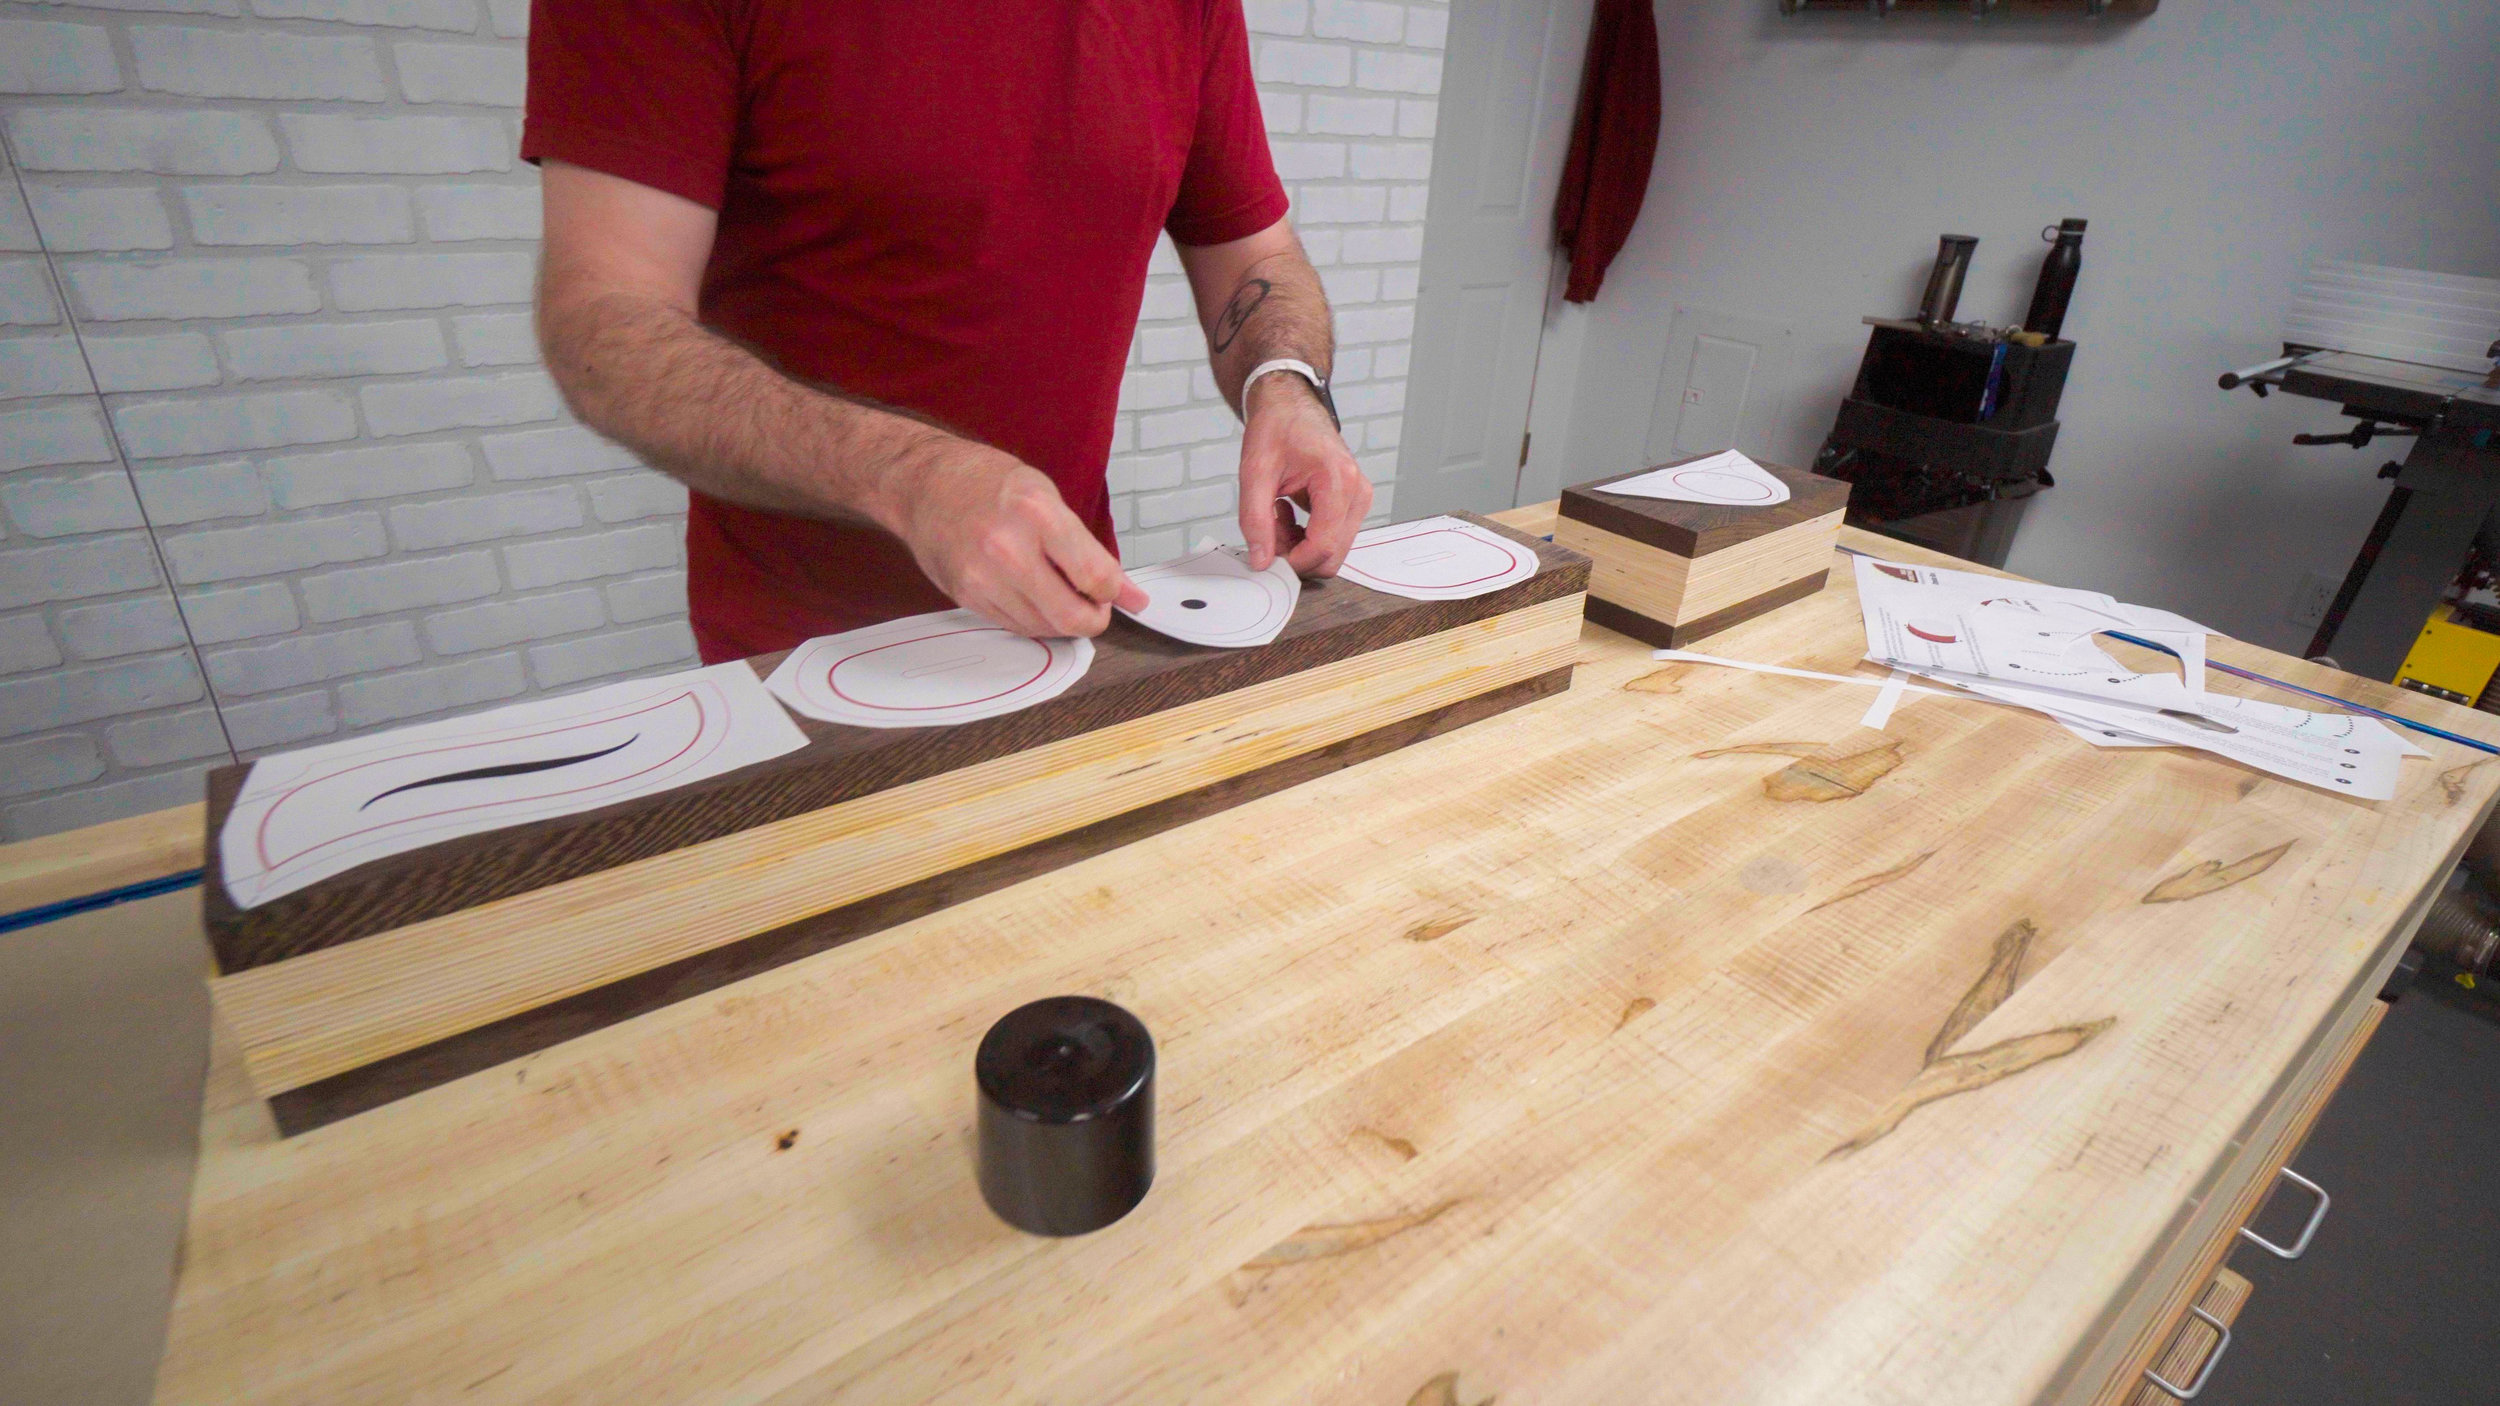
Step 3: Bandsaw Box Templates
Print out your template at 100% size (do not fit to scale) and spray the back with spray adhesive. A light even coat is all that's needed. Let it sit and get tacky for 60 seconds. Place your template and push out any air bubbles.
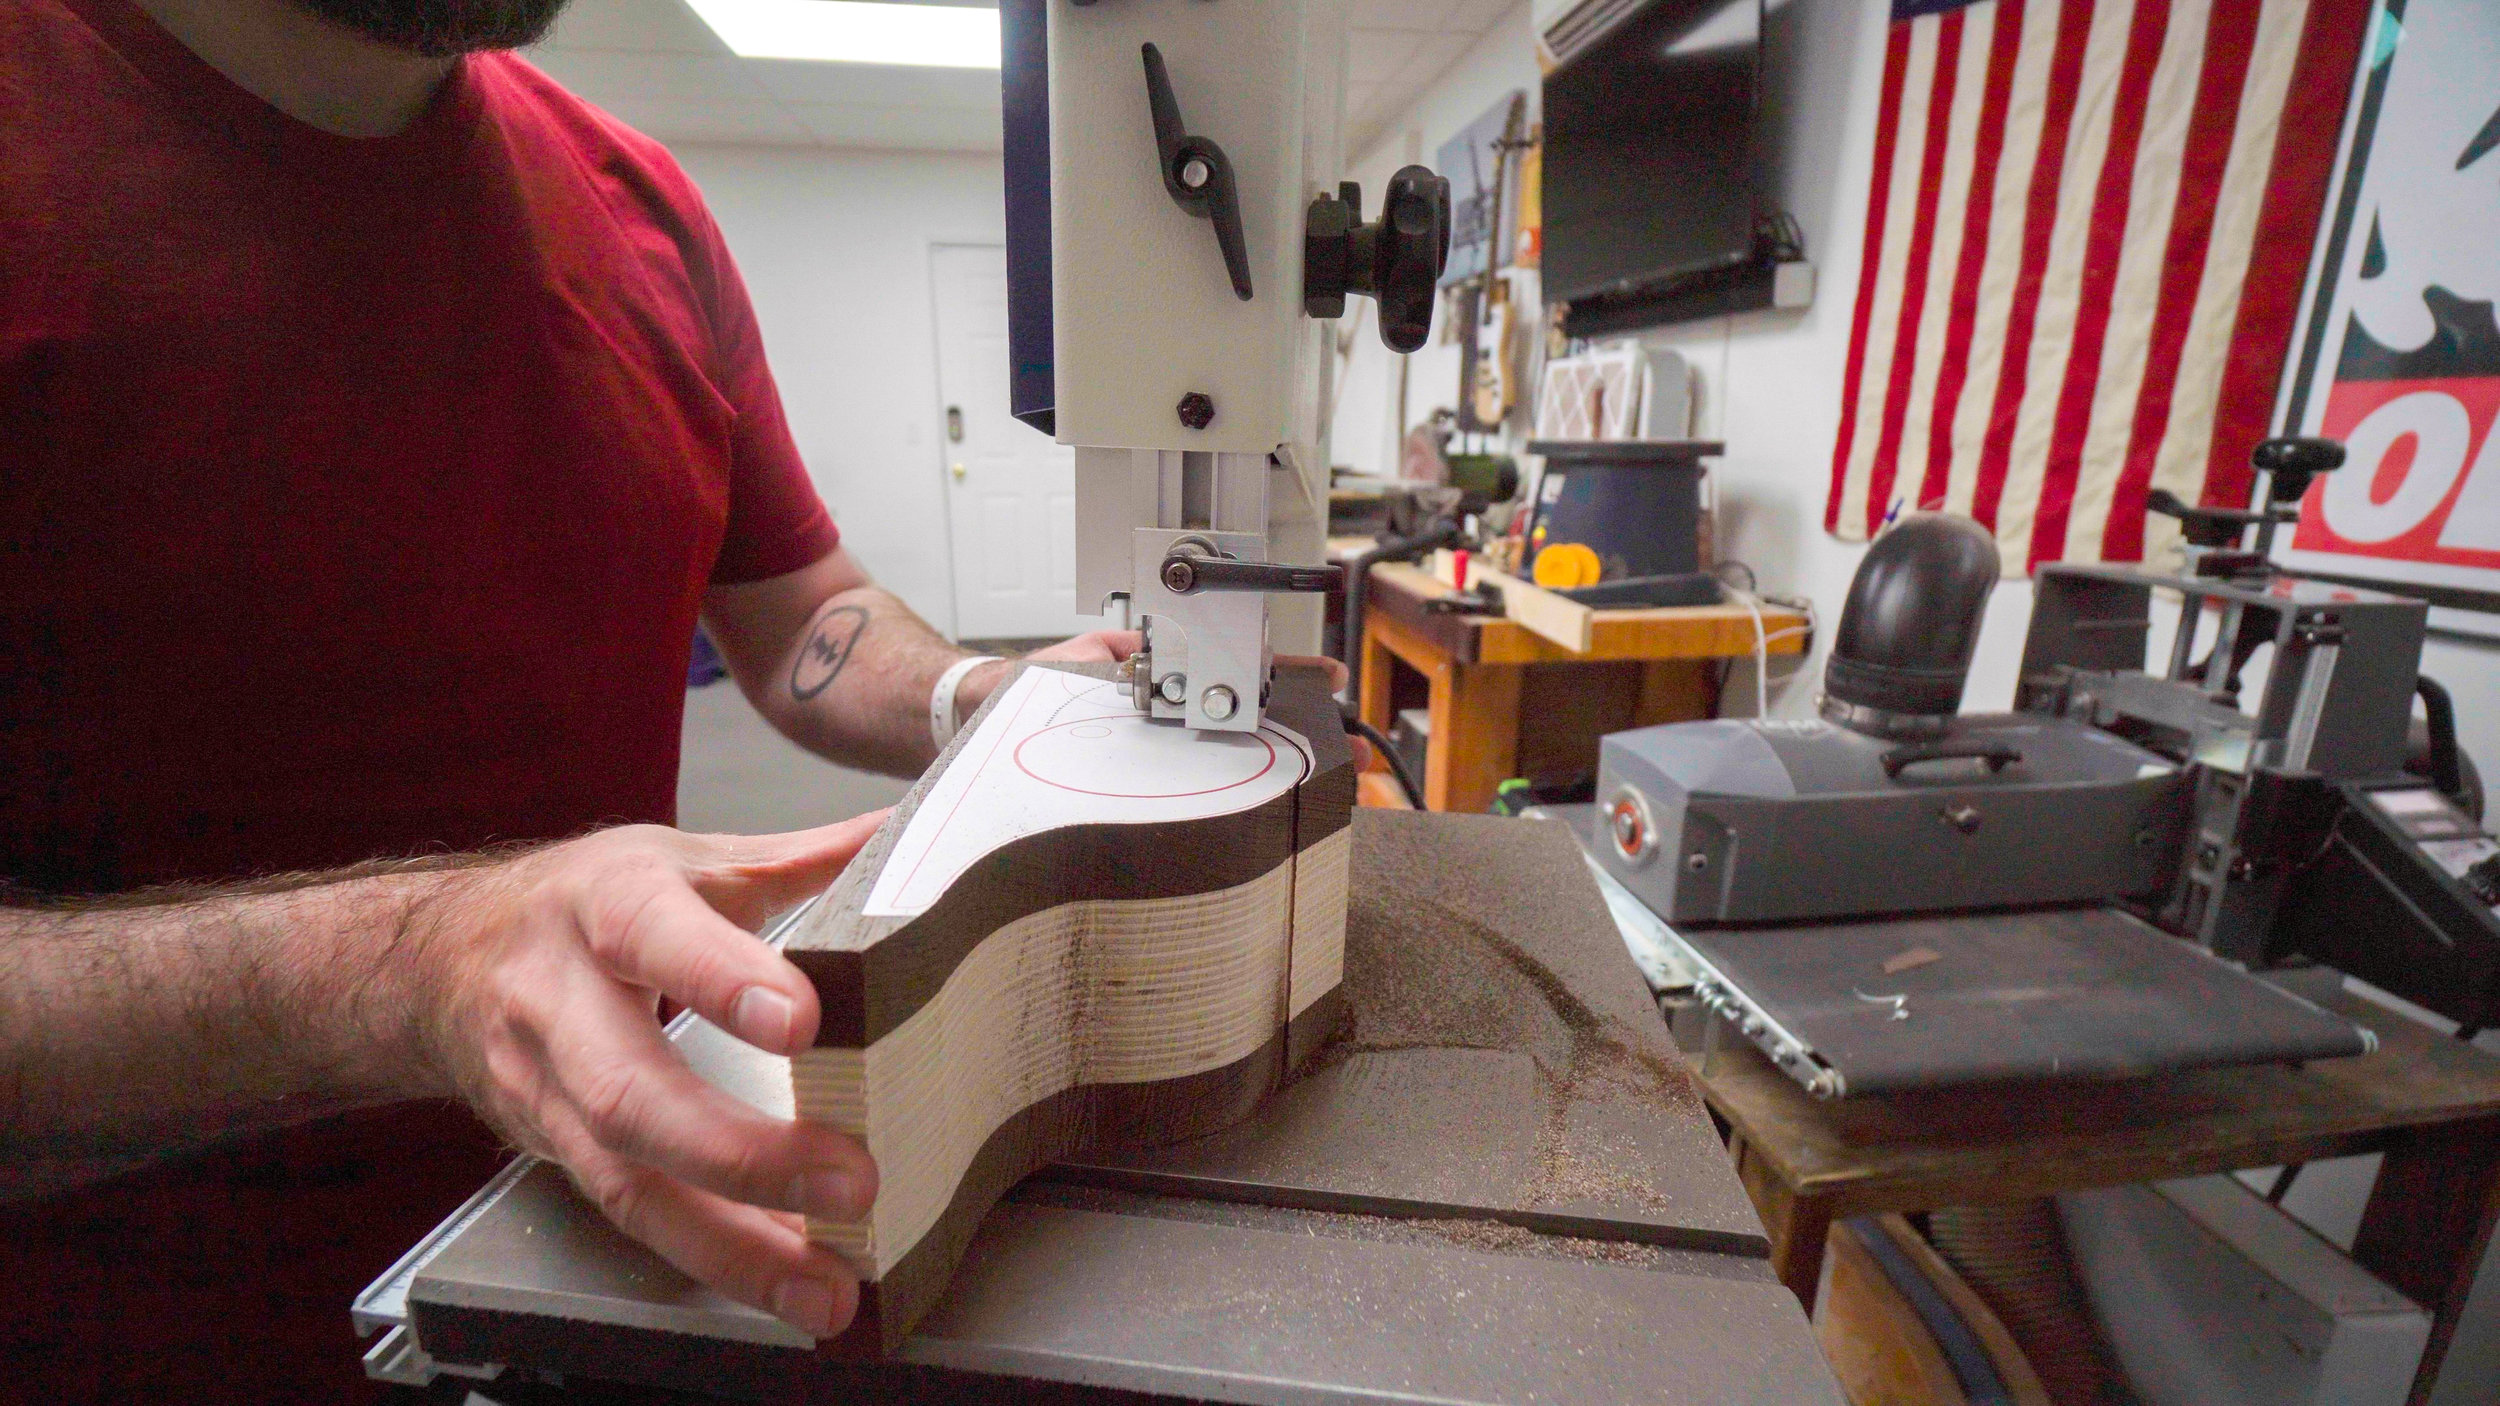
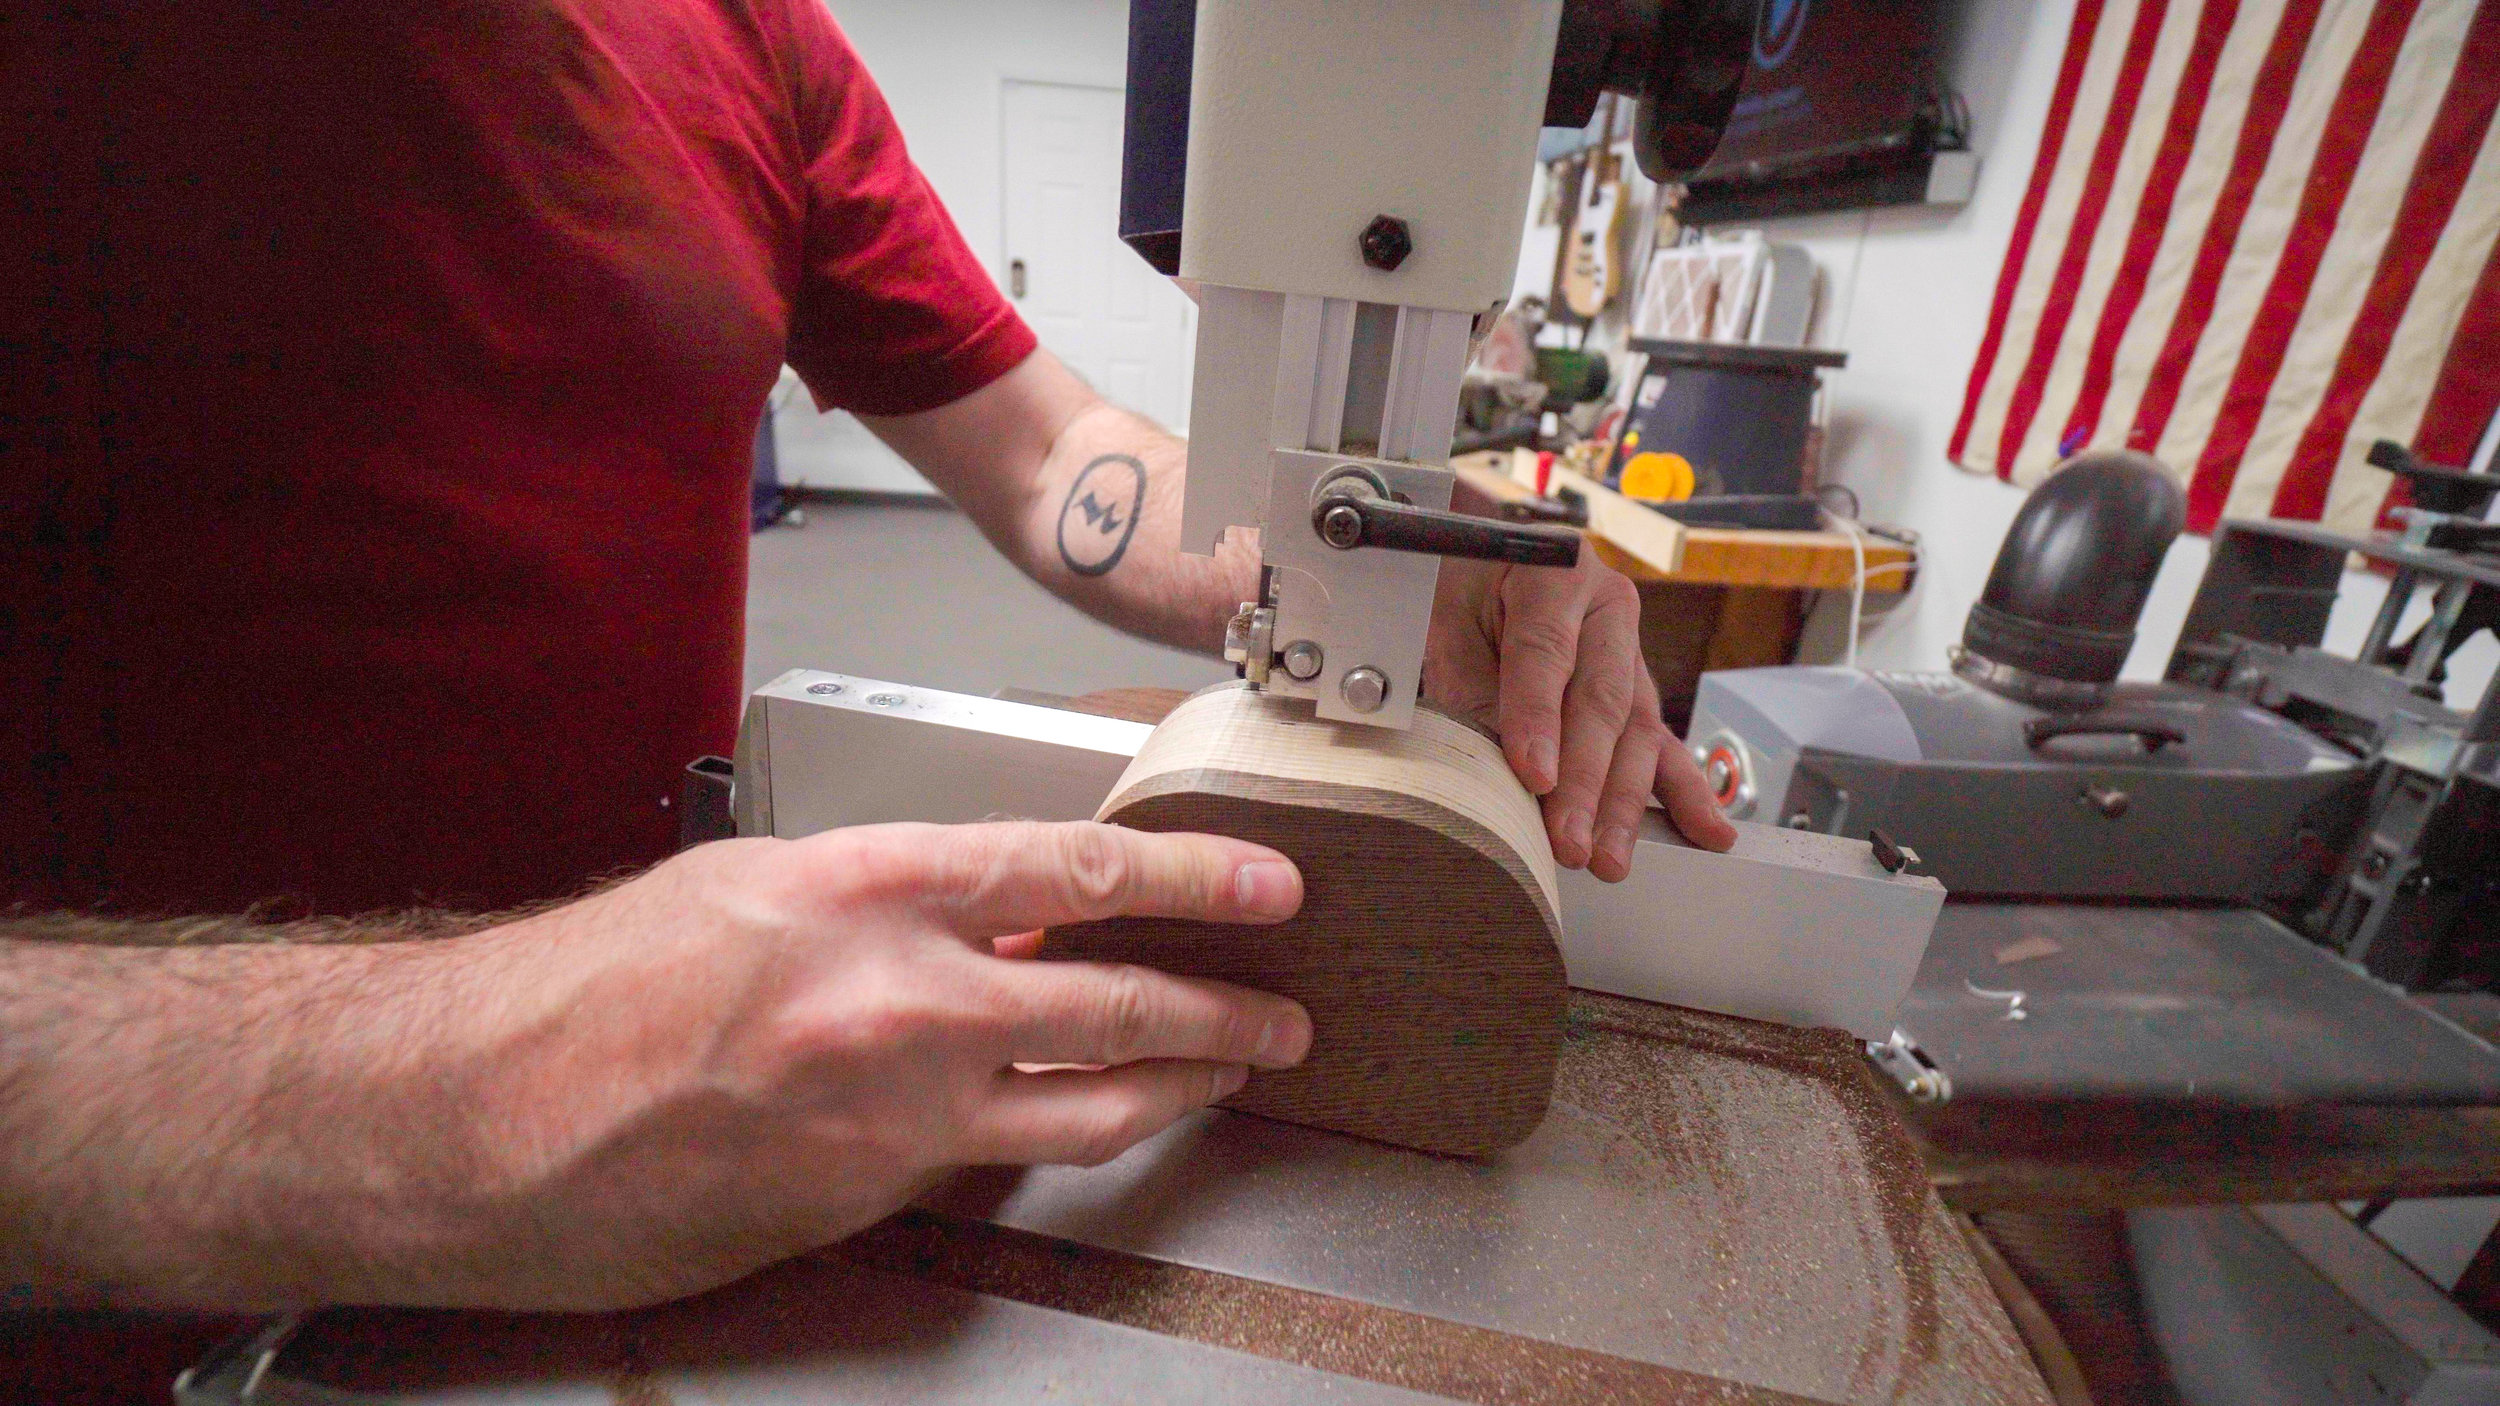
Step 4: Cutting the Bandsaw Box Shell
Next you'll cut the outside shape out on the bandsaw. Cut as close to the line as you can without touching it. In a later step we'll sand down to the line. Cut slow and let the blade do the work. You should not have to push hard if your blade is sharp. Don't worry how rough the cuts are at this point. We'll clean it up in a future step.
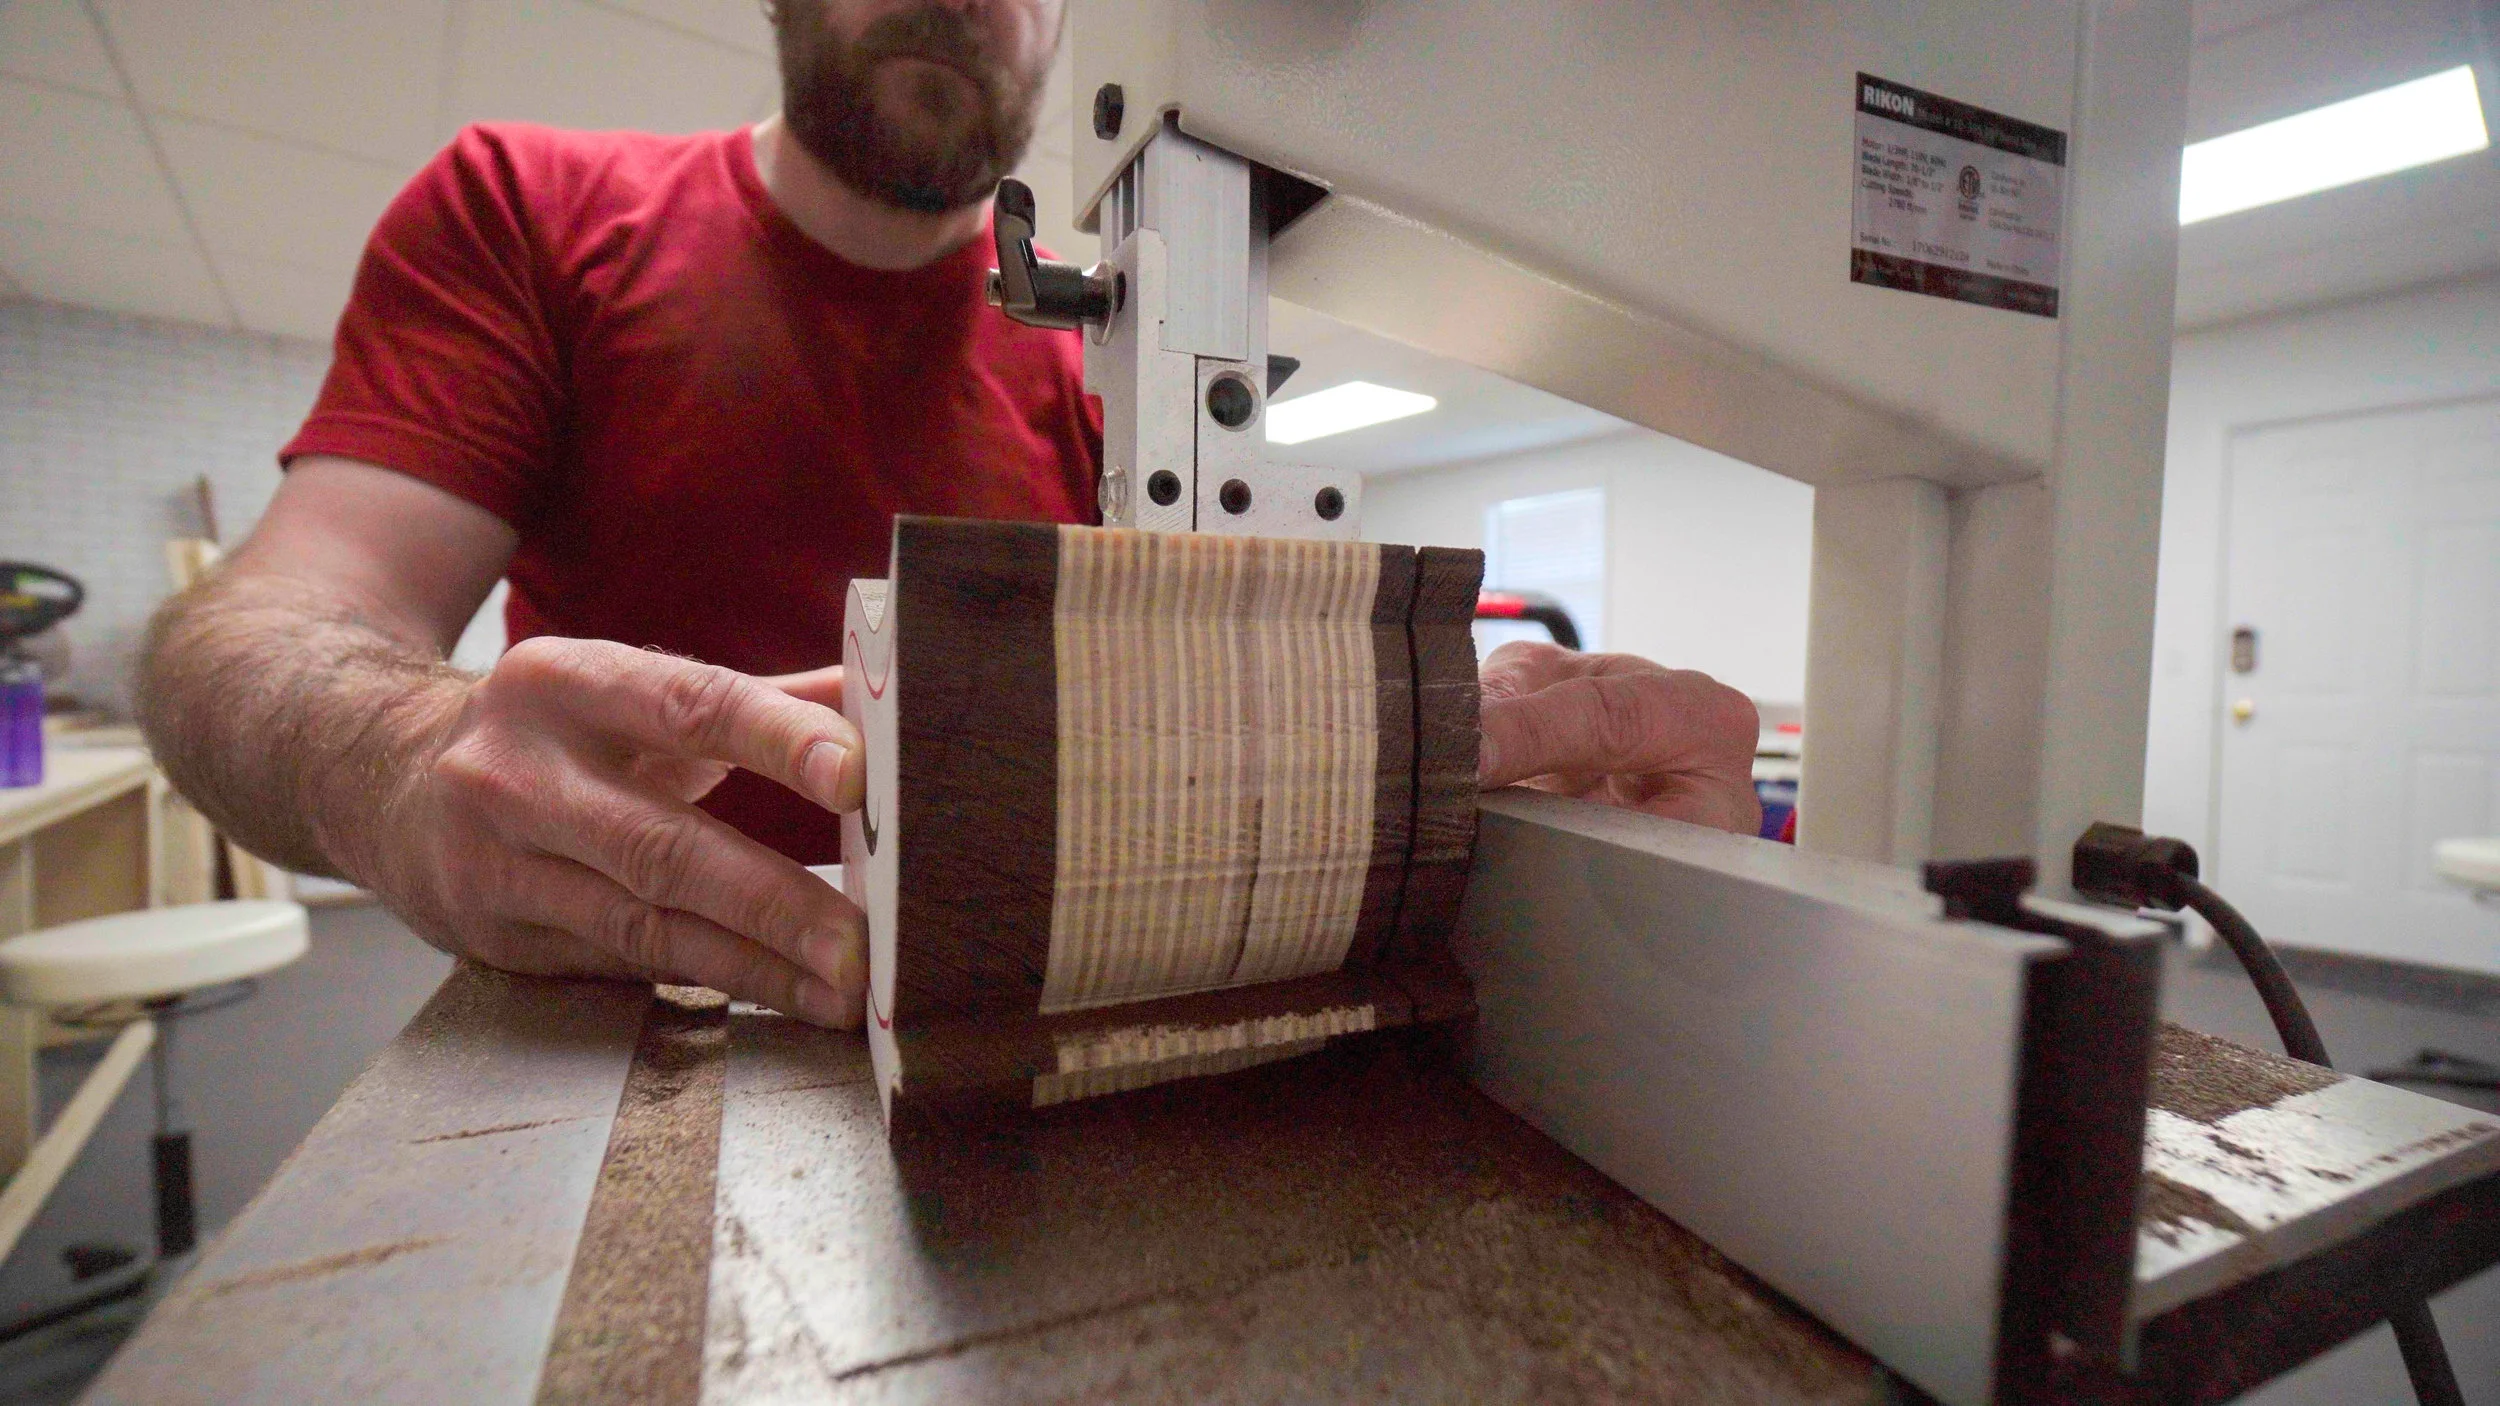
Step 5: Cutting the Bandsaw Box Back
Now you'll cut off the back using your bandsaw's fence set to about 1/2" from the blade. Again, take this cut very slow to allow the blade enough time to remove the waste.
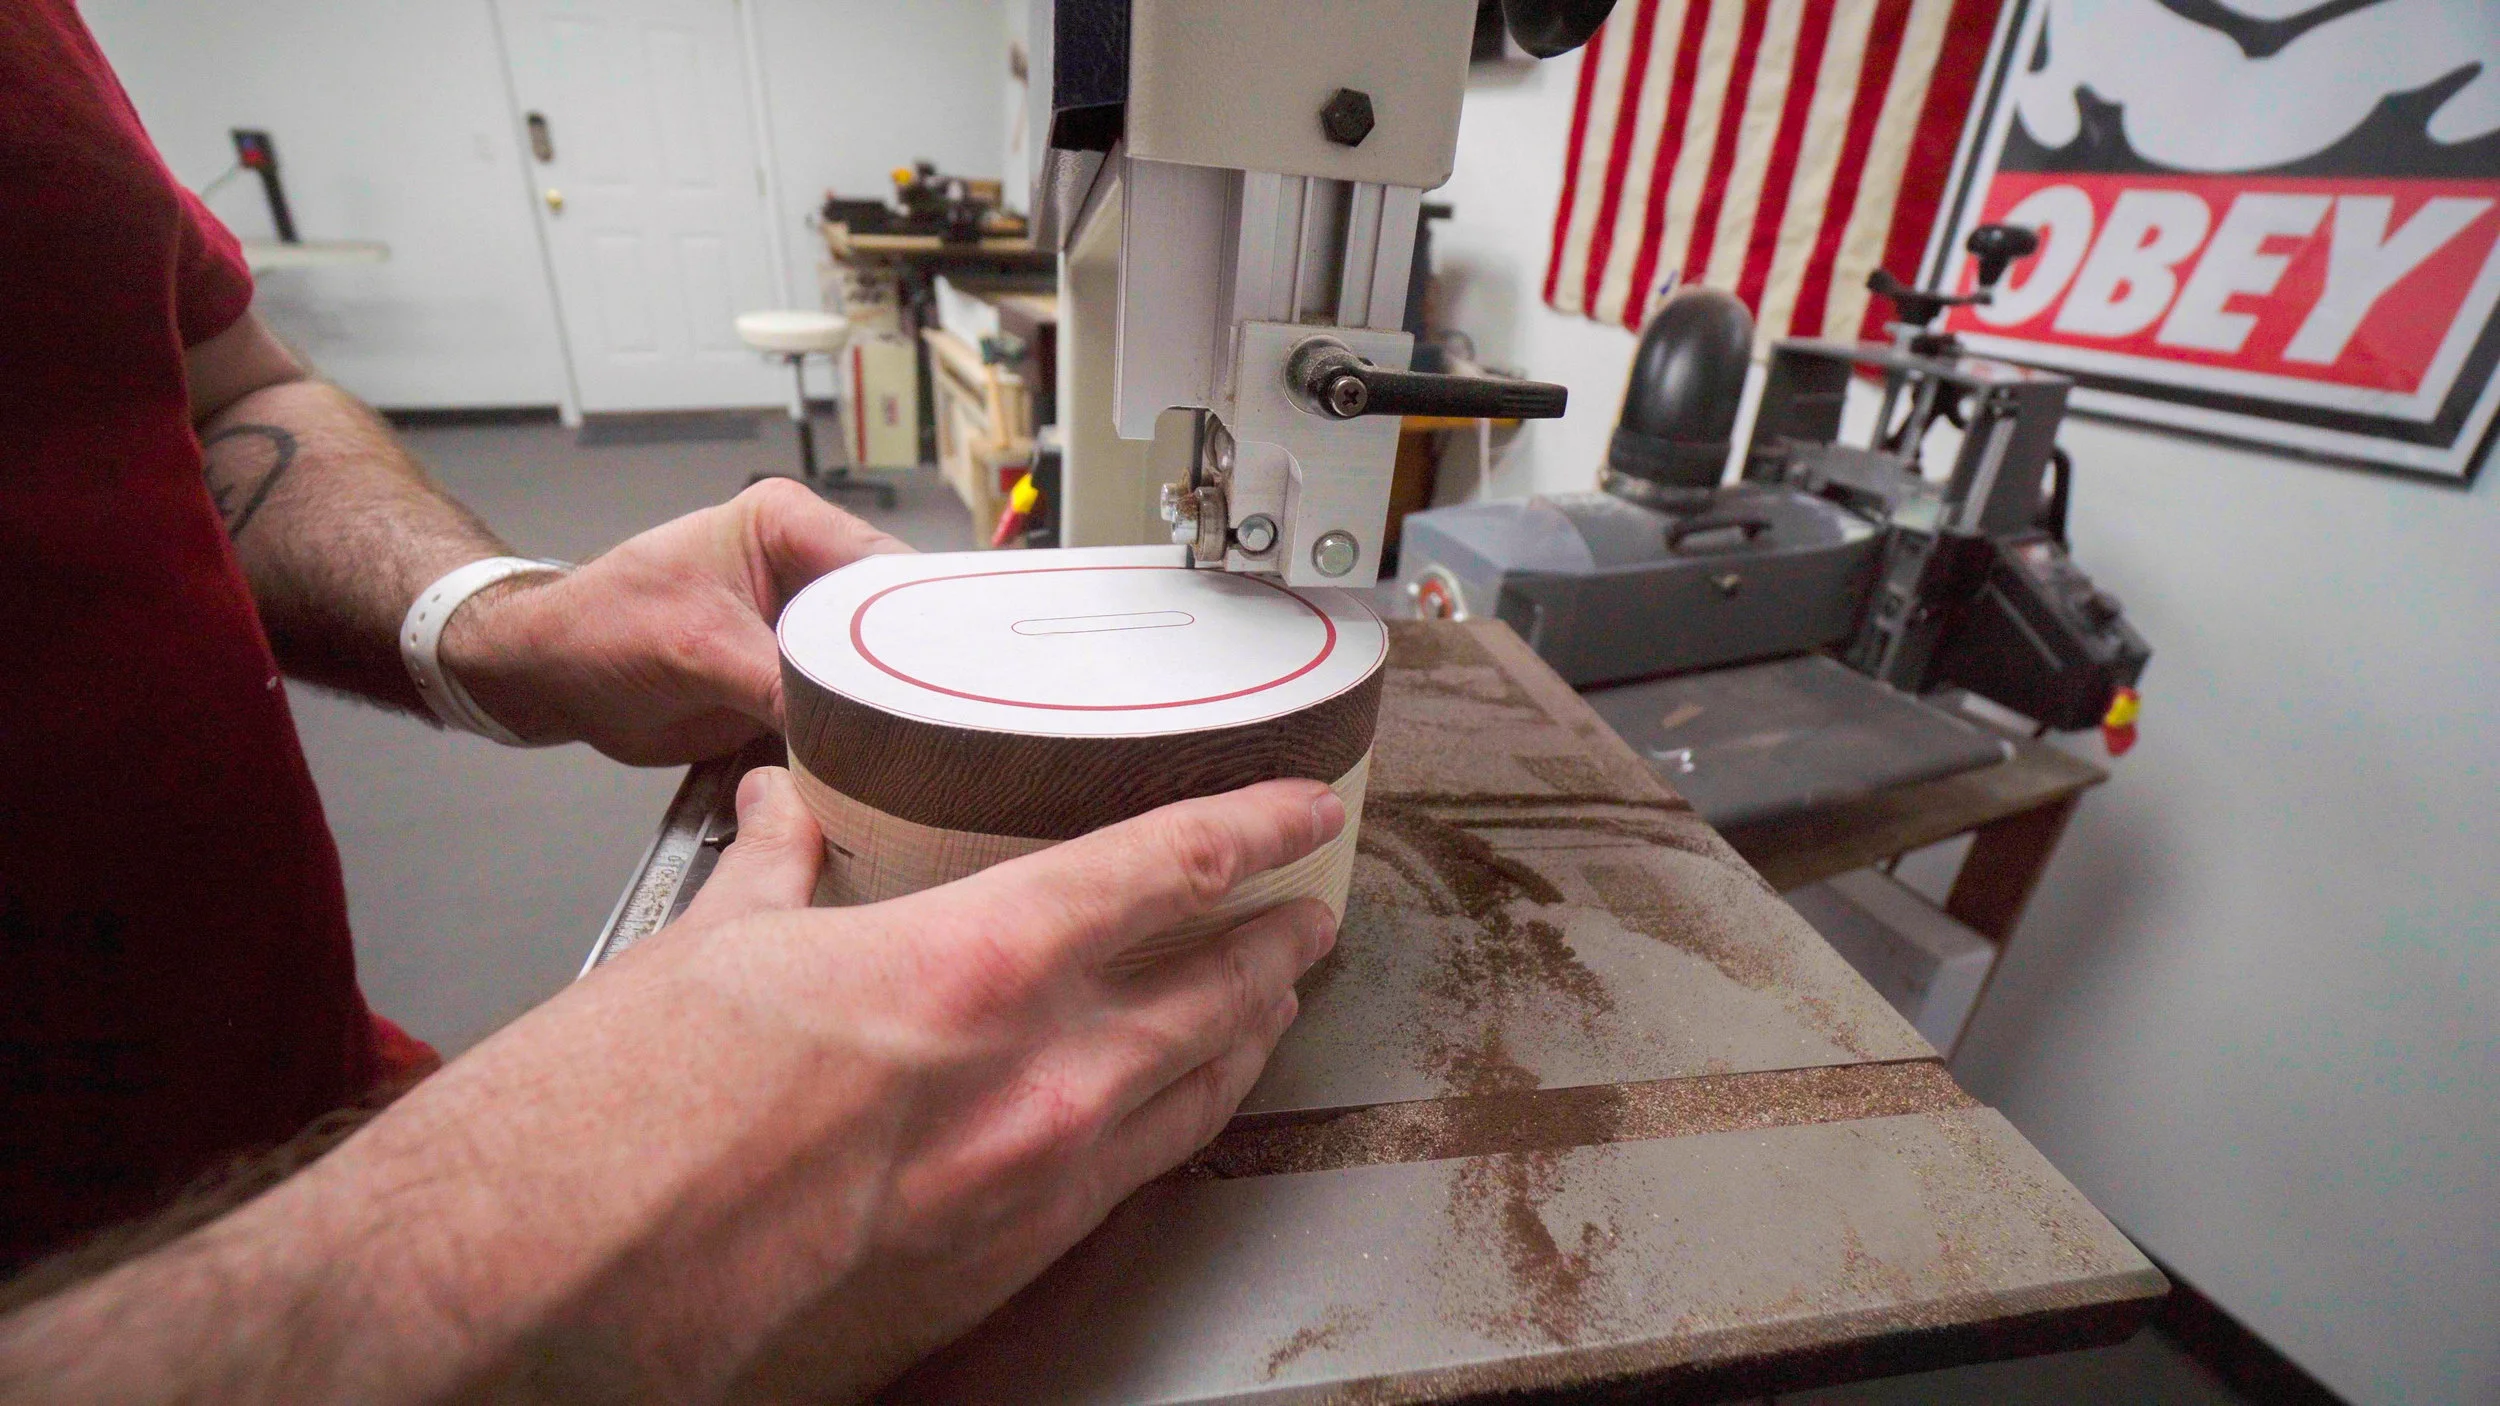
Step 6: Cutting the Bandsaw Box Drawer
Set aside the back that you just cut off and we'll now cut out the drawer from the shell. Enter from the side as indicated in the template. This time you'll cut right down the middle of the thick line. Do your best to split this line in two. Take your time and let the blade do the work.
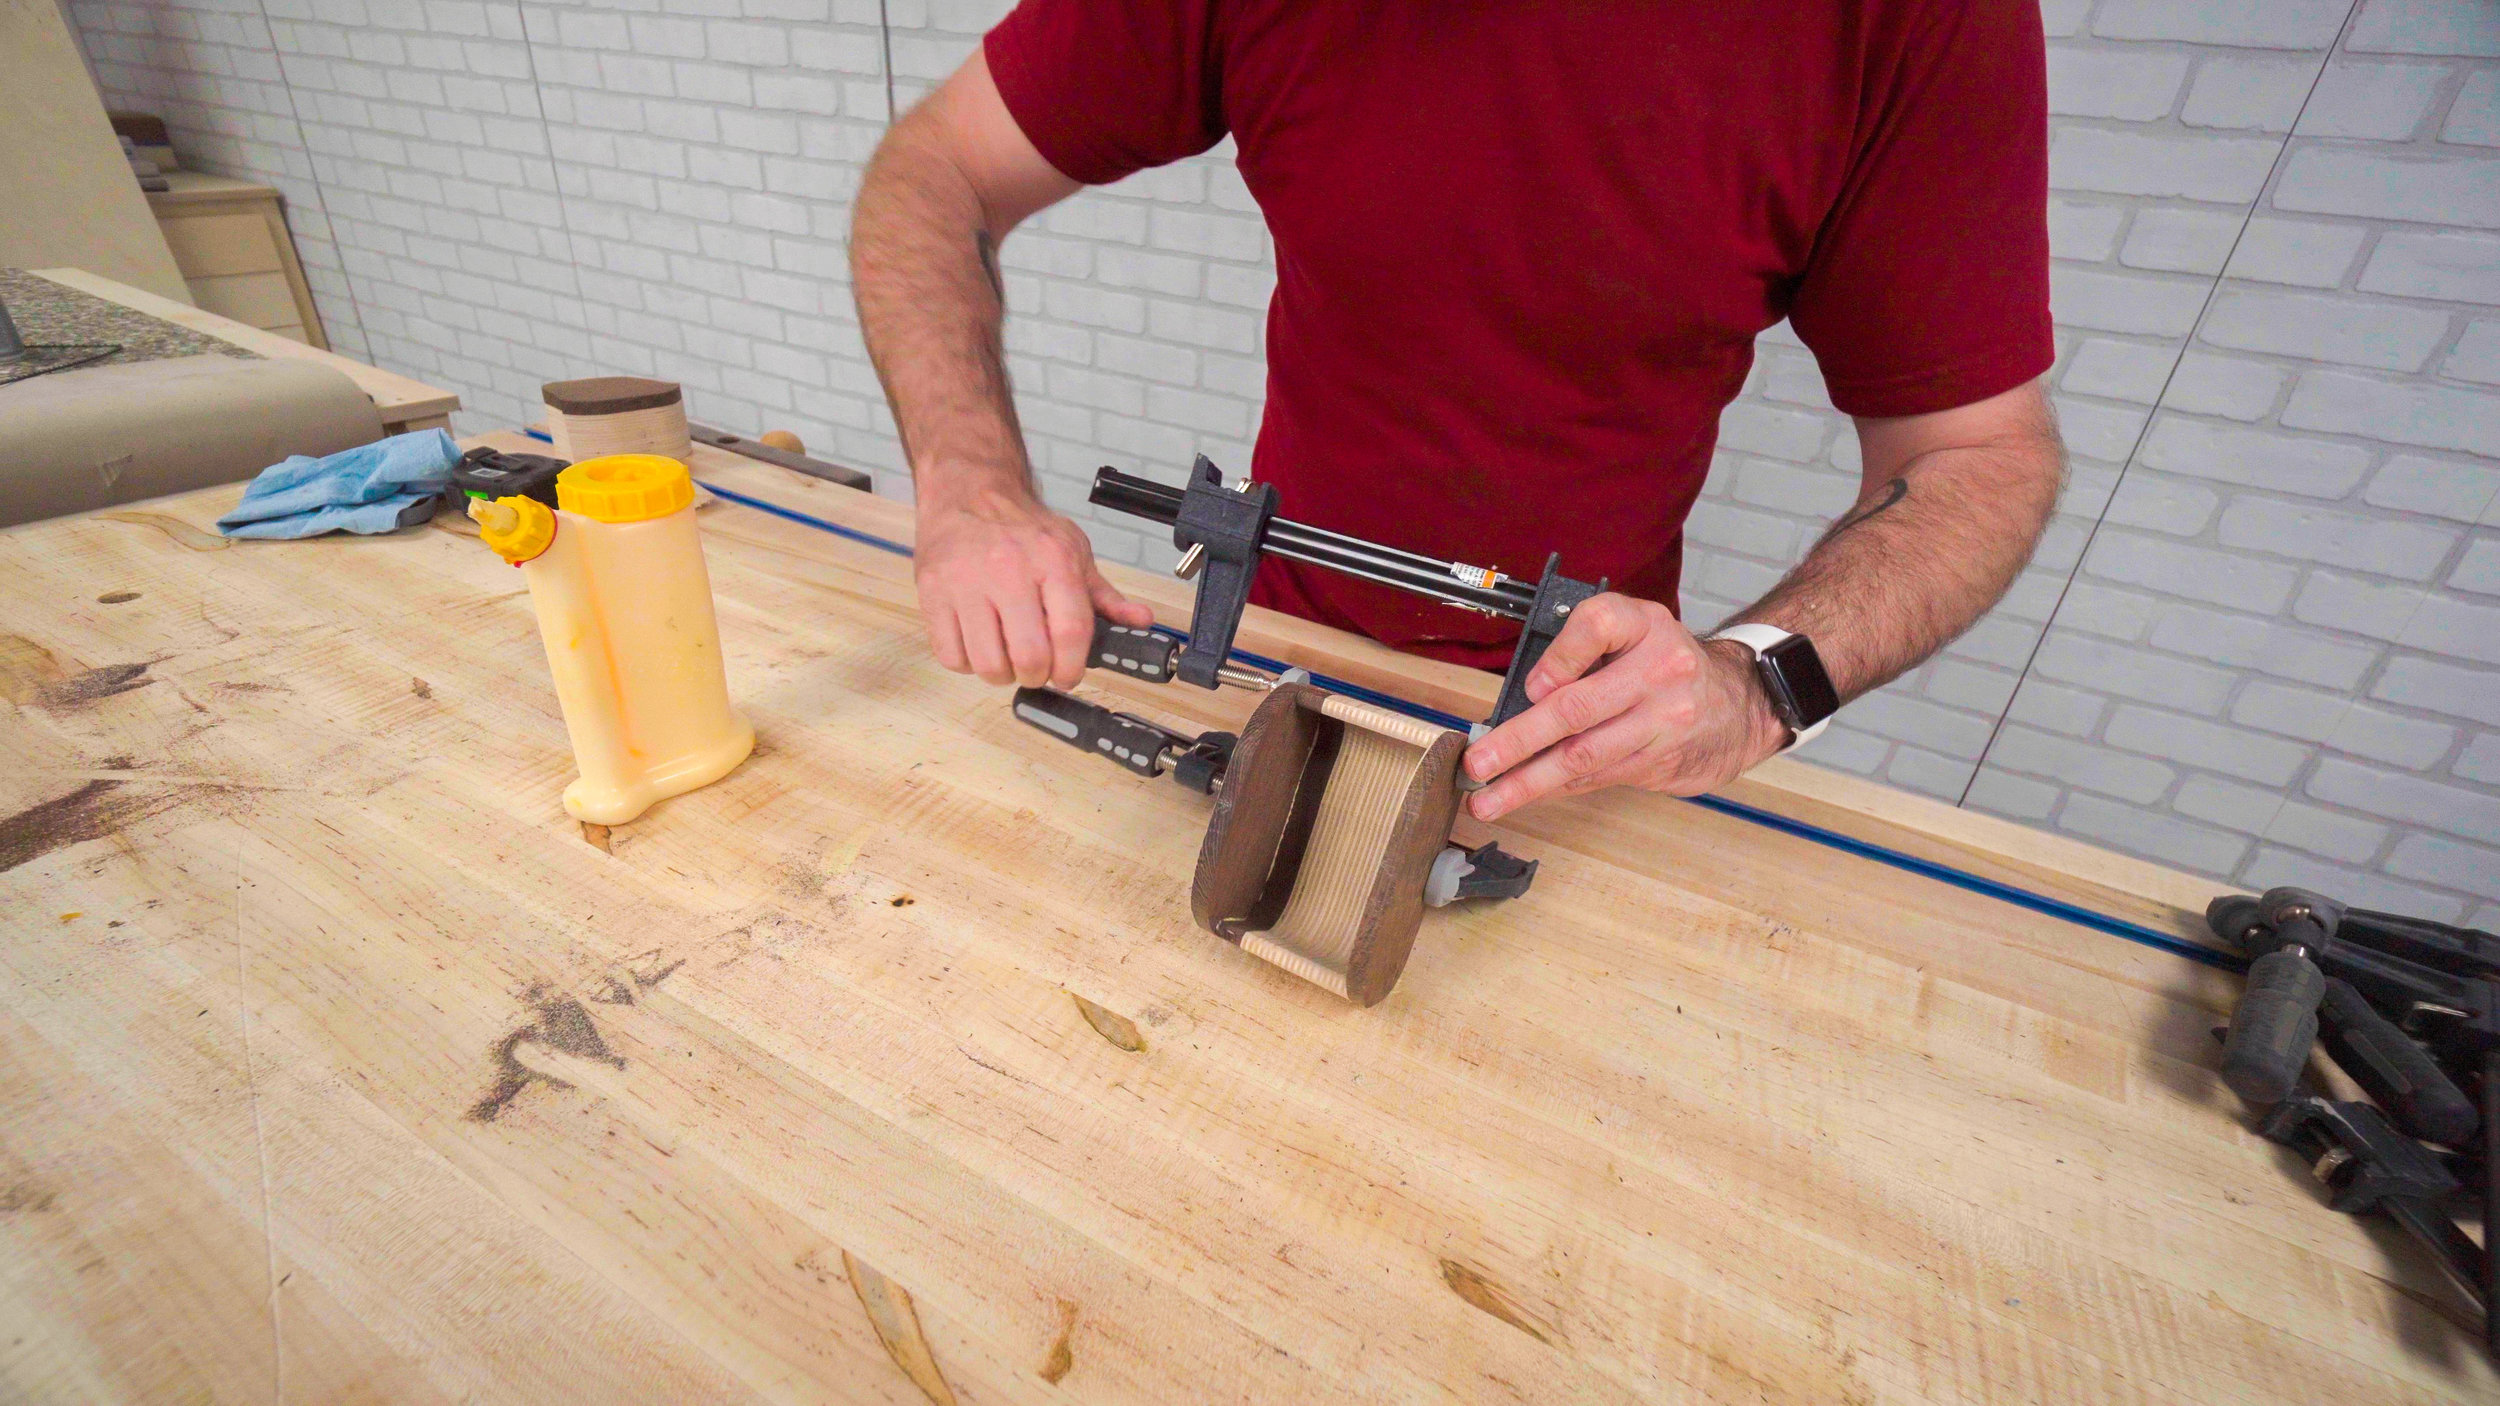
Step 7: Completing the Bandsaw Box Shell
With the drawer blank and shell back set aside, glue together the entrance cut with a couple of F-style clamps. Let this sit and dry for a couple of hours. Be sure to not remove the template just yet. Once the glue dries on the entrance cut you can glue on the back. Try to align the grain of the two pieces before tightening down the clamps. If properly aligned the seam will be invisible when dry. After the glued on the back is dry you can take off the clamps and sand the outside shape. This is easiest at the disc and spindle sanders. Sand down to the line. There's no need to sand inside the shell as we'll be covering that up with flocking. After this you can remove the papertemplates.
Step 8: Making the Bandsaw Box Drawer
Now take your drawer blank and cut the front face and back face off at the bandsaw. Set your bandsaw fence to about 1/2" from the blade and cut slow. Next you'll take that middle drawer piece and draw out the bottom and side walls. I like to use a black marker as it's easier to see the line. This wall should offset about 5/16". Then back at the bandsaw you'll cut this out. Like before, nice and slow and keep your fingers away from the blade!
Step 9: Bandsaw Box Drawer Glue-up
You should now have three pieces to your drawer. Glue them up and clamp them with F-style clamps. Again be sure to align the grain to hide the seams. Once the glue dries you can then sand the drawer's outside shape. At this point there may not be template lines to follow so only sand off the bandsaw marks until smooth. Try to avoid sanding too much to maintain a tight fit into the shell.
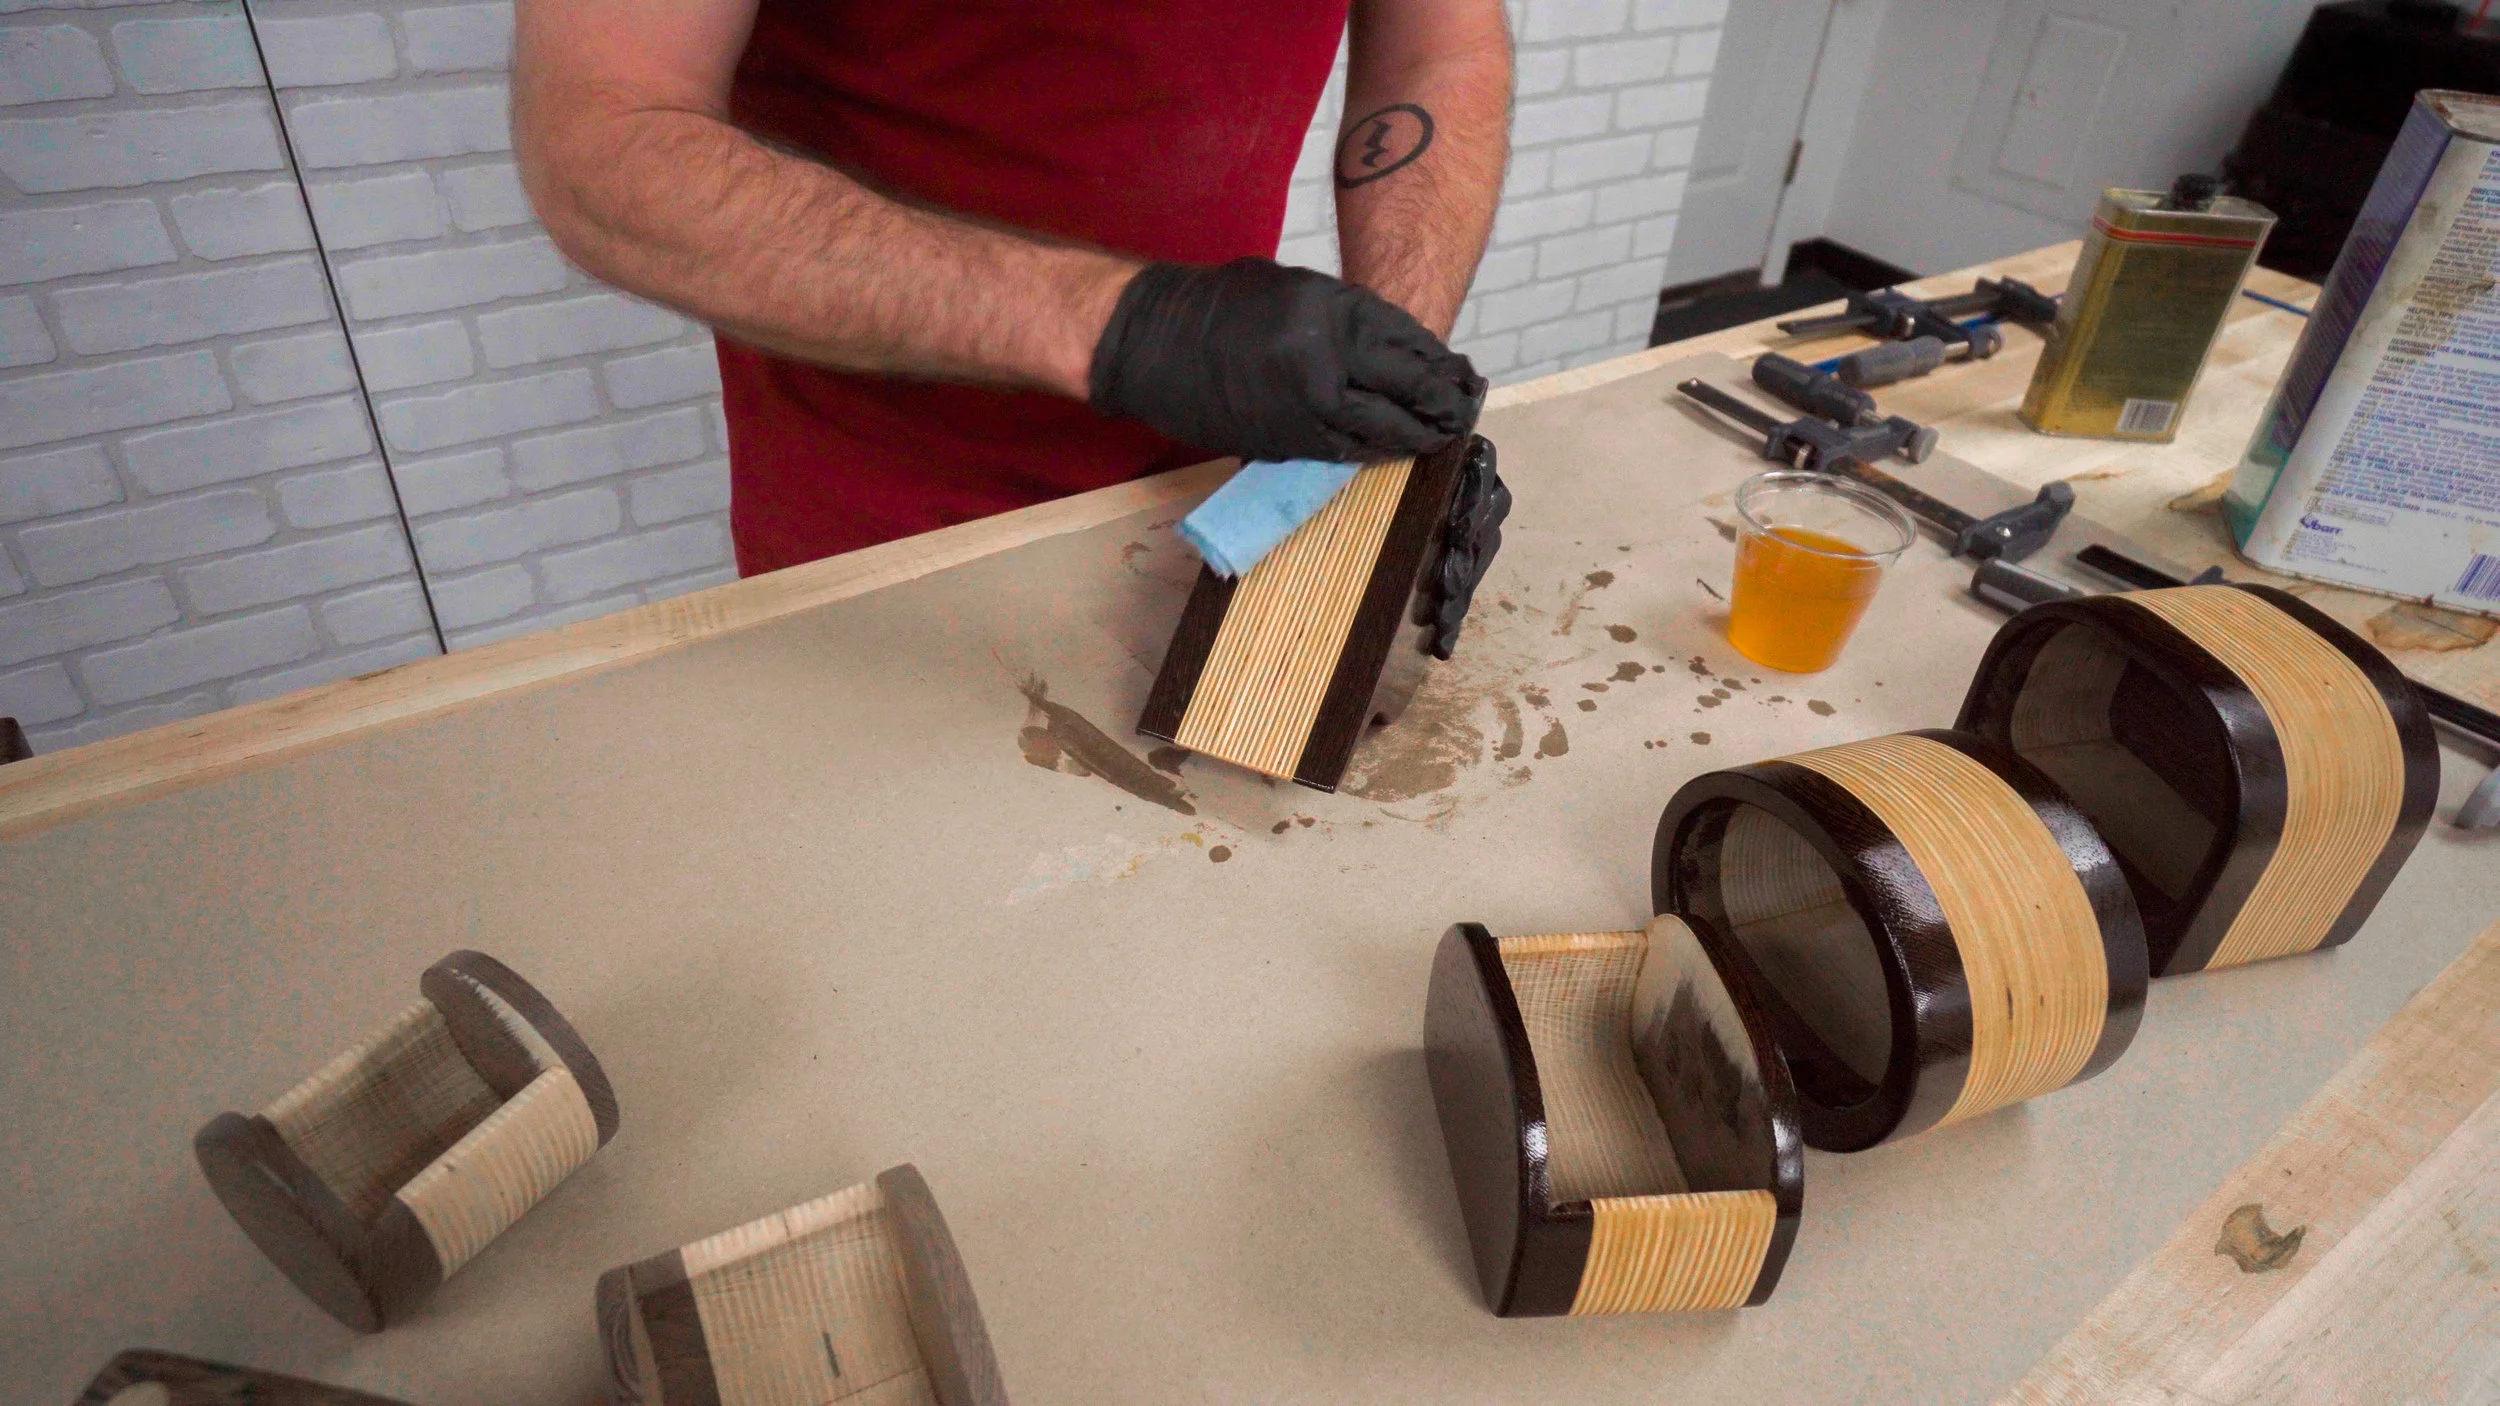
Step 10: Finishing Touches
For a finished look I like to round over the face of the drawer and all edges of the shell with a 1/8" round over bit. Sand the outside of the shell and the outside of the drawer and finish with a rub-on oil. Flock the inside of the drawer and shell and add a pull.


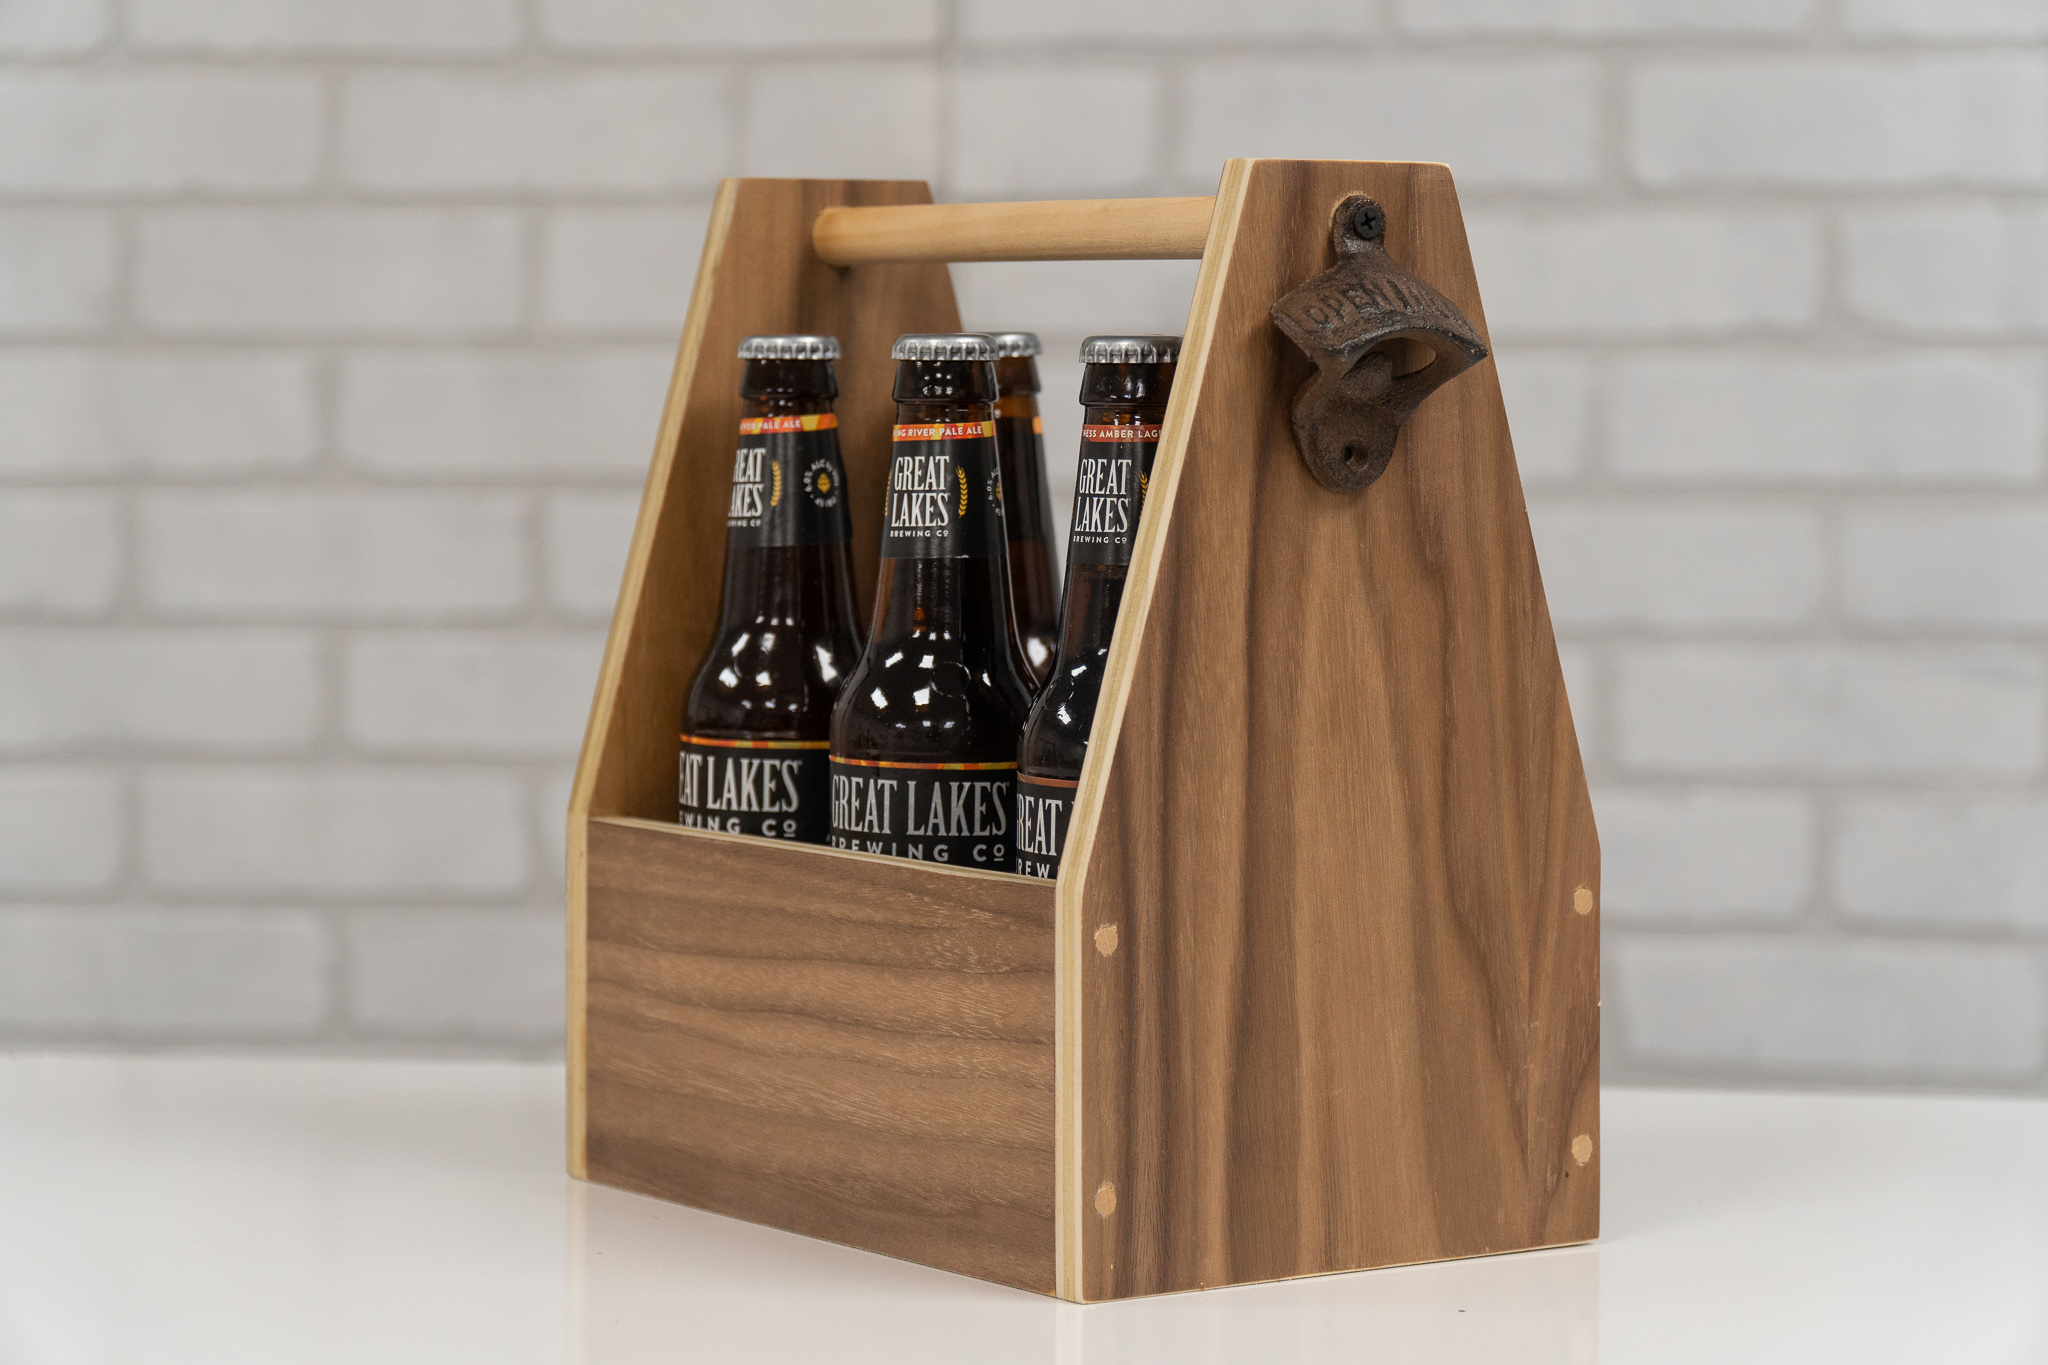
How to Make a Beer Tote / Beer Caddy
Easy woodworking project that you can make as gifts or sell at craft fairs!
Make Money Woodworking by Selling These Beer Totes at Craft Shows
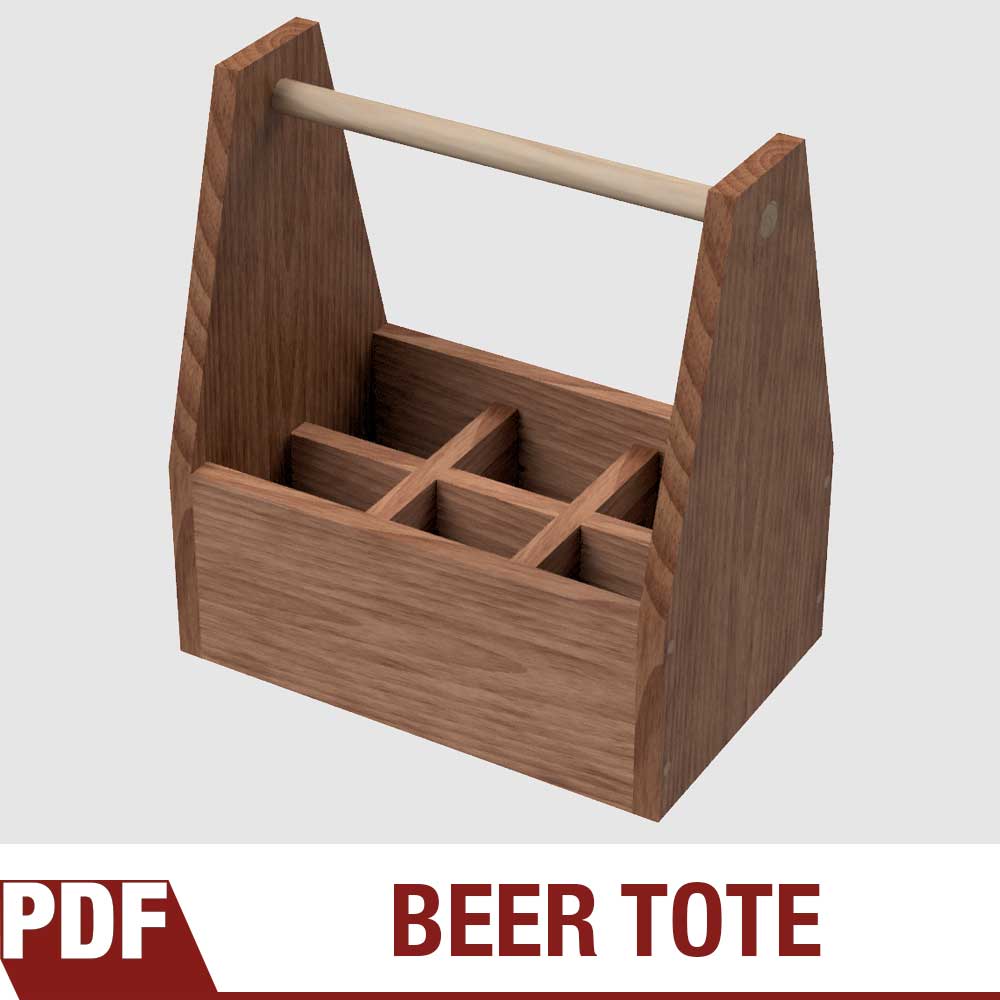
These beer totes are a quick fun woodworking project that anybody can make with a few basic woodworking tools. These are great for batching out and selling at craft shows or Etsy. Watch the tutorial video above to see how it's made. And if you want to make these yourself get the easy-to-follow plans to the right. I encourage everyone who buys my plans to batch these woodworking projects out and sell them at craft shows to earn a little bit of extra money!
Be safe and Make Something!
Tools & Supplies Used In This Woodworking Project


Multipurpose Drawer Organizer & Travel Case | Woodworking Project
What if you could make a drawer organizer that doubles as a travel case? Let’s give it a shot!
Simple and Quick Woodworking Project!
When it comes to keeping clutter off your bathroom counter, drawers are OK. But eventually they just become a big box you throw stuff in. What if you could make a drawer organizer that doubles as a travel case? Something you could just lift out of the drawer and take with you? It’s surprisingly easy, and this tutorial will show you how to do it.
With a removable lid and a sliding drawer, which provides a second layer of storage, the organizer/travel case is a clever design, that’s actually pretty straightforward from a woodworking perspective. I’m building this ingenious contraption out of walnut (for the sides) and plywood (for the bottom and lid). I use mitered corners and splines for the build.
I’ve also designed the compartments within this piece to be modular, so you can arrange the storage levels to meet your needs. As you watch this easy woodworking tutorial, I hope you’re inspired to make modifications that work for your available space and personal toiletry habits. (No judgment here.)
Tools and Supplies Used in The Video


Making Segmented Wood Wedding Rings
Every year my wife and I retire our wedding rings and make new ones.
A Yearly Woodworking Tradition
Every year my wife and I retire our wedding rings and make new ones. This is a yearly tradition and this year we’re celebrating our fourth set of wooden rings. Each ring contains 17 segmented pieces meticulously glued together one-by-one. The outside of the wooden rings are made from cocobolo that sandwiches a thin piece of maple.
Wood Provided By Kencraft Company Hardwoods
Tools and Supplies Used in This Woodworking Project


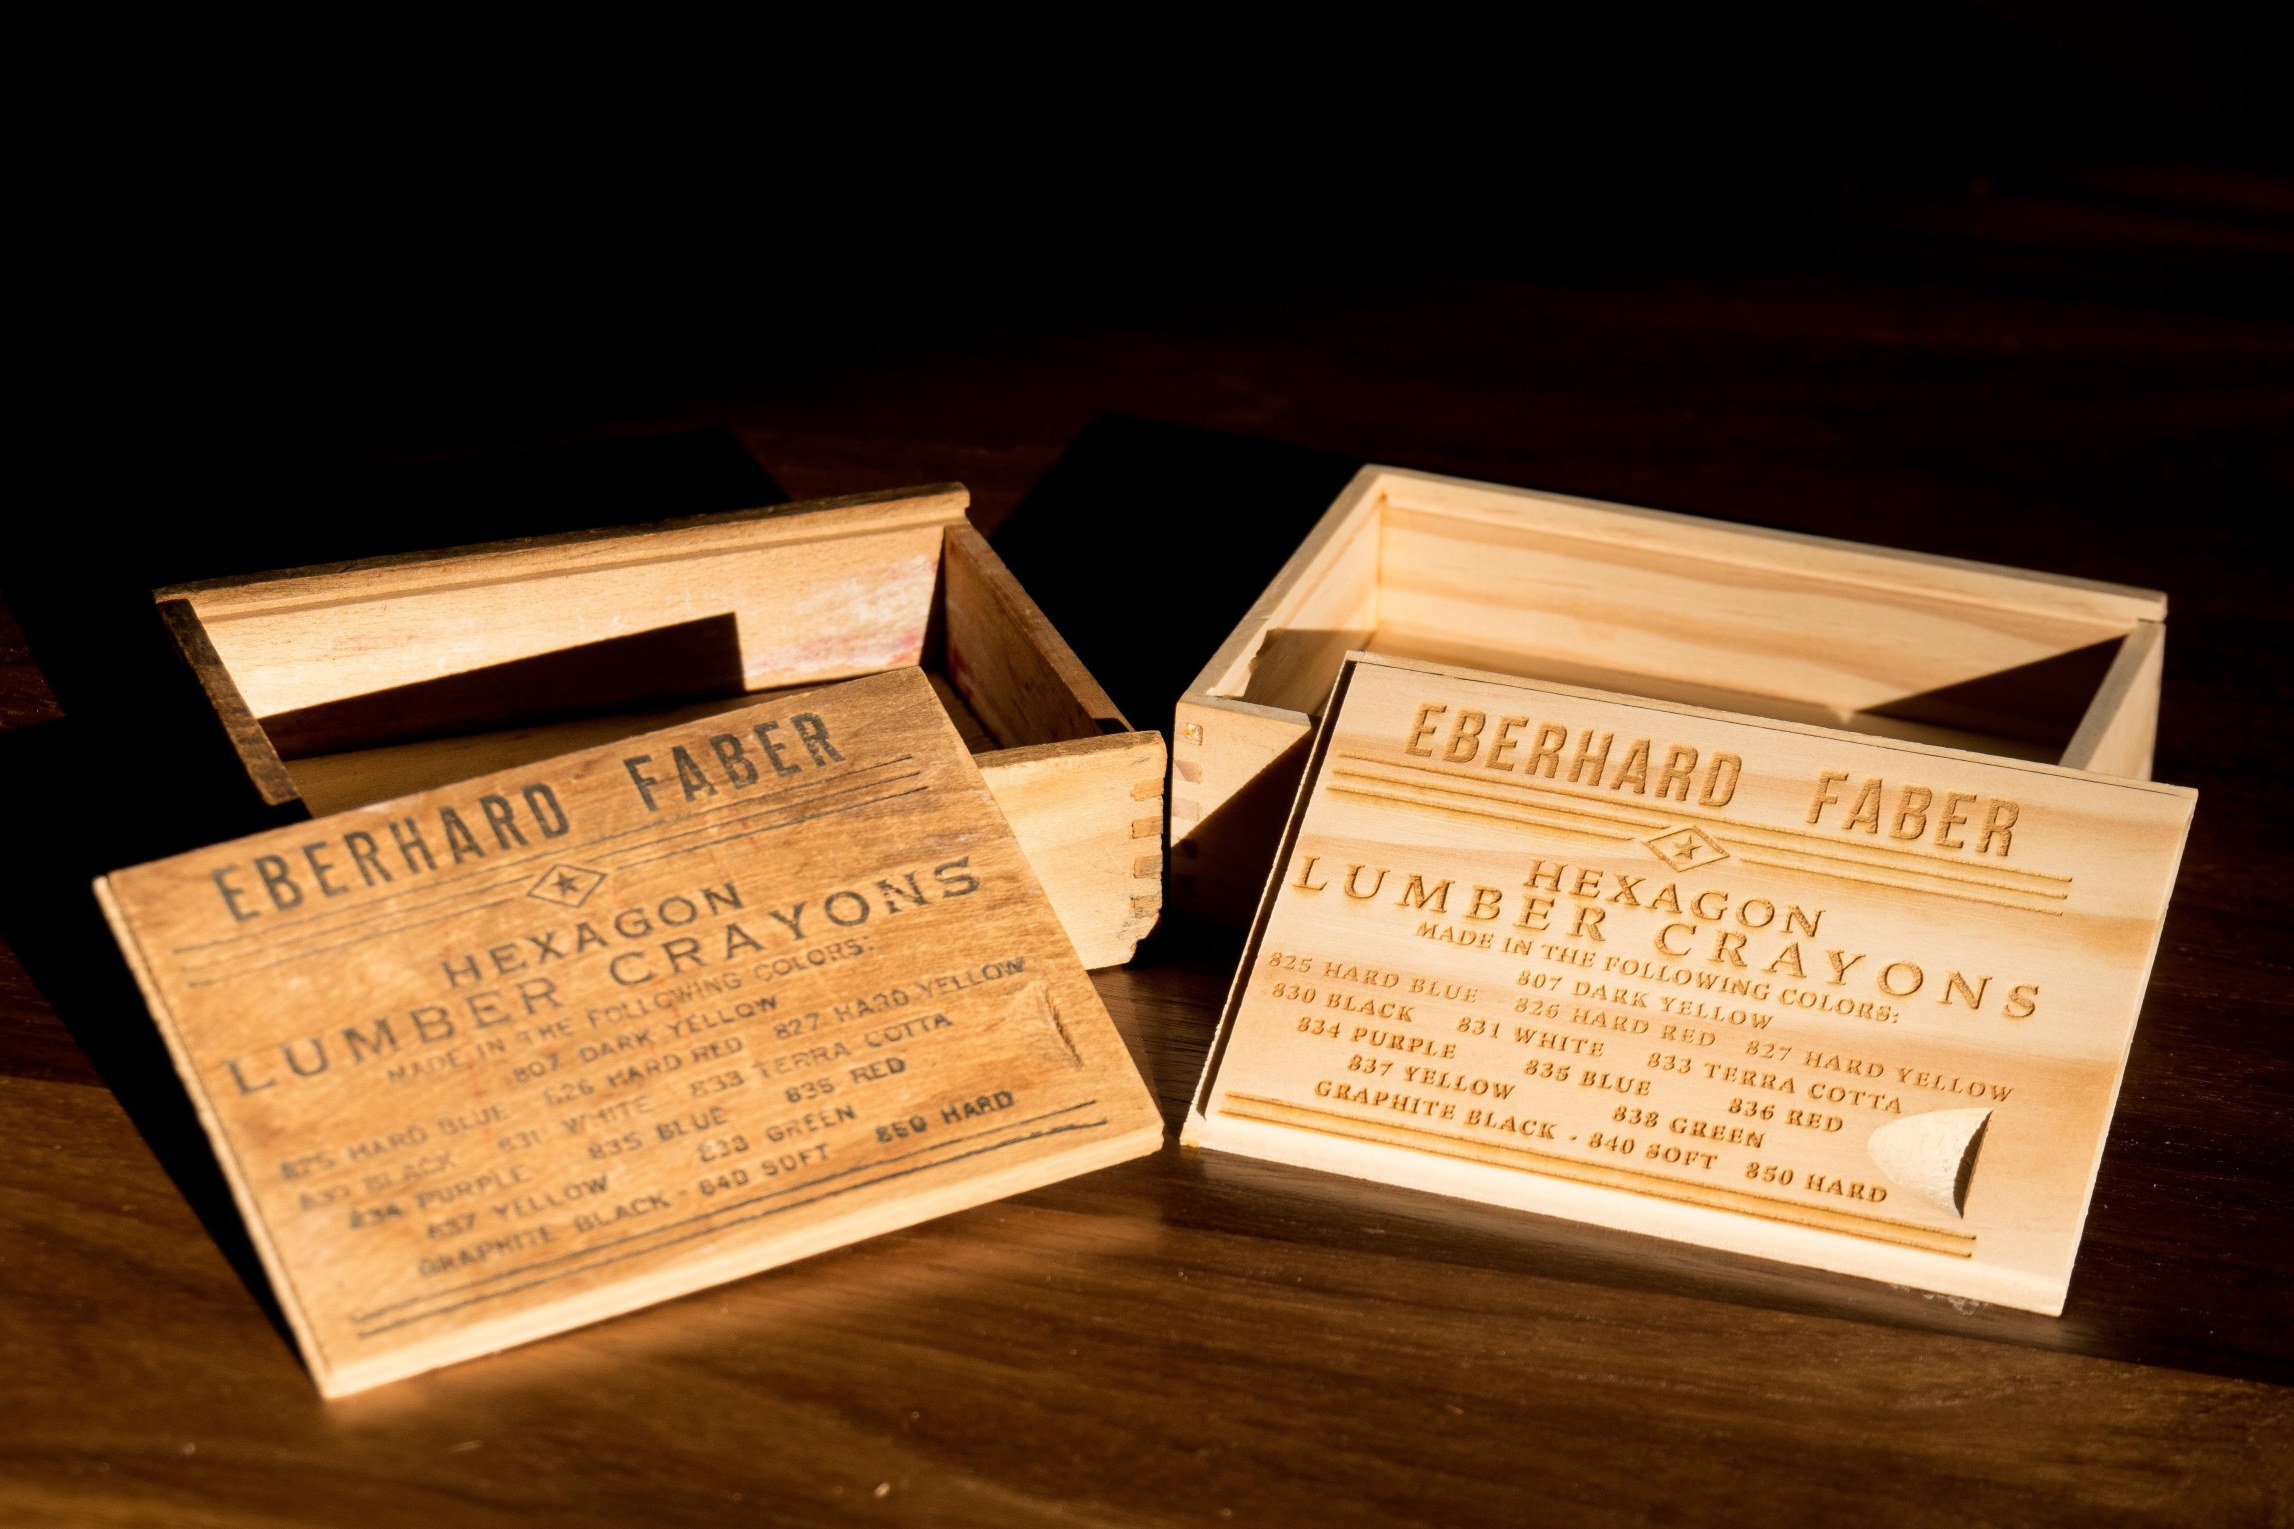
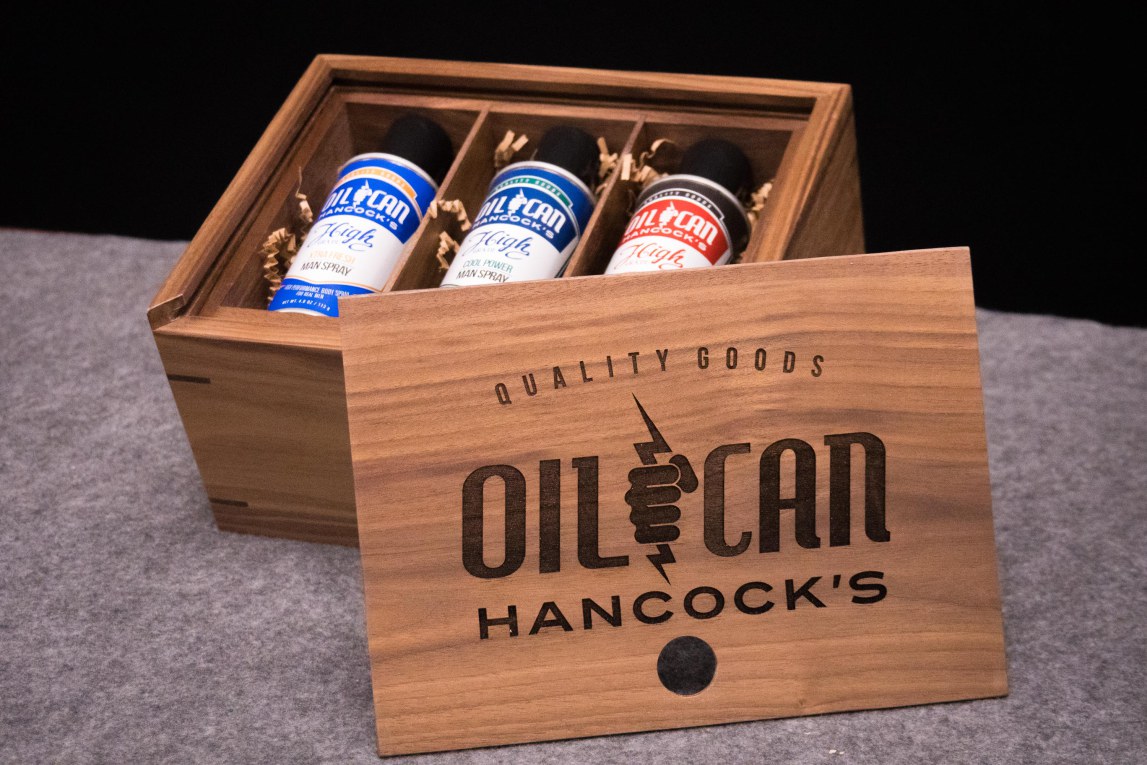
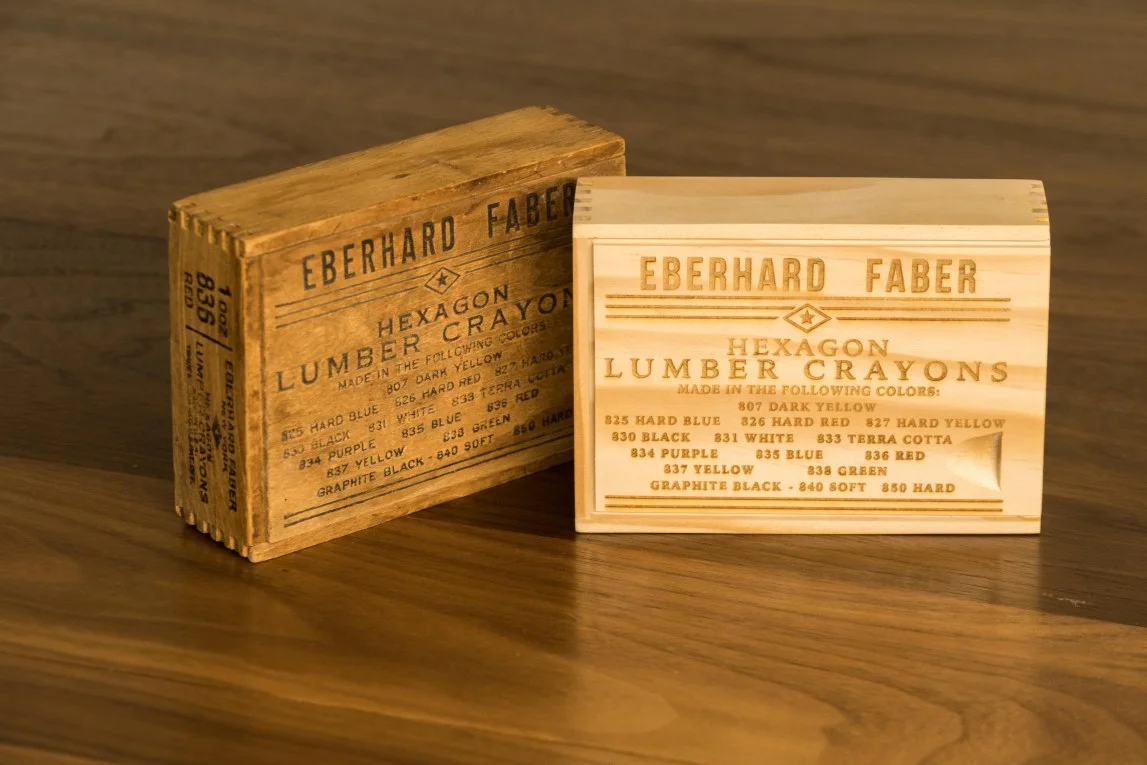
Recreating a 100 Year Old Finger Joint Box
Deconstructing a vintage Eberhard Faber Lumber Crayon box and making a replica.
Box Joints and Finger Joints Made Easy
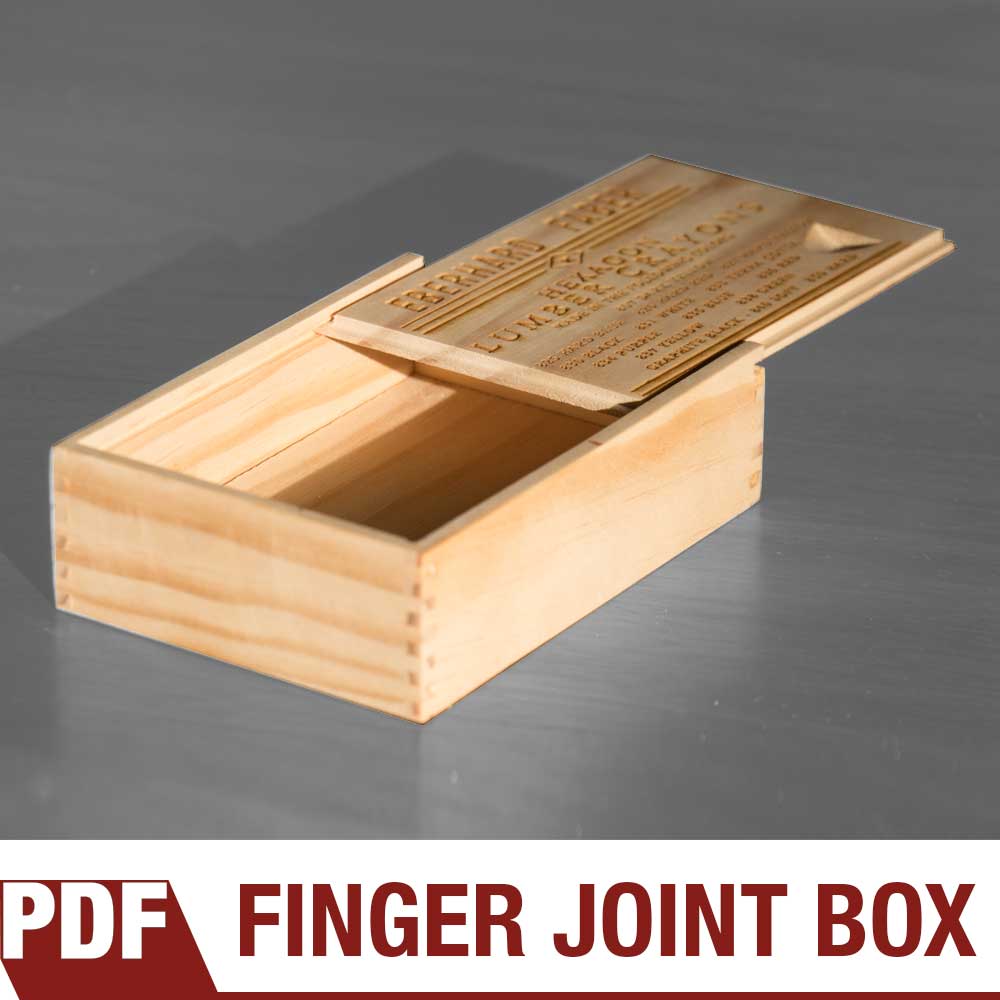
Deconstructing a vintage Eberhard Faber Lumber Crayon box and making a replica. This classic box features box joints (also called finger joints) and a sliding lid complete with engraved and branded lid. Makes for a great woodworking project you can sell at craft fairs.
Tools and Supplies Used In This Woodworking Project


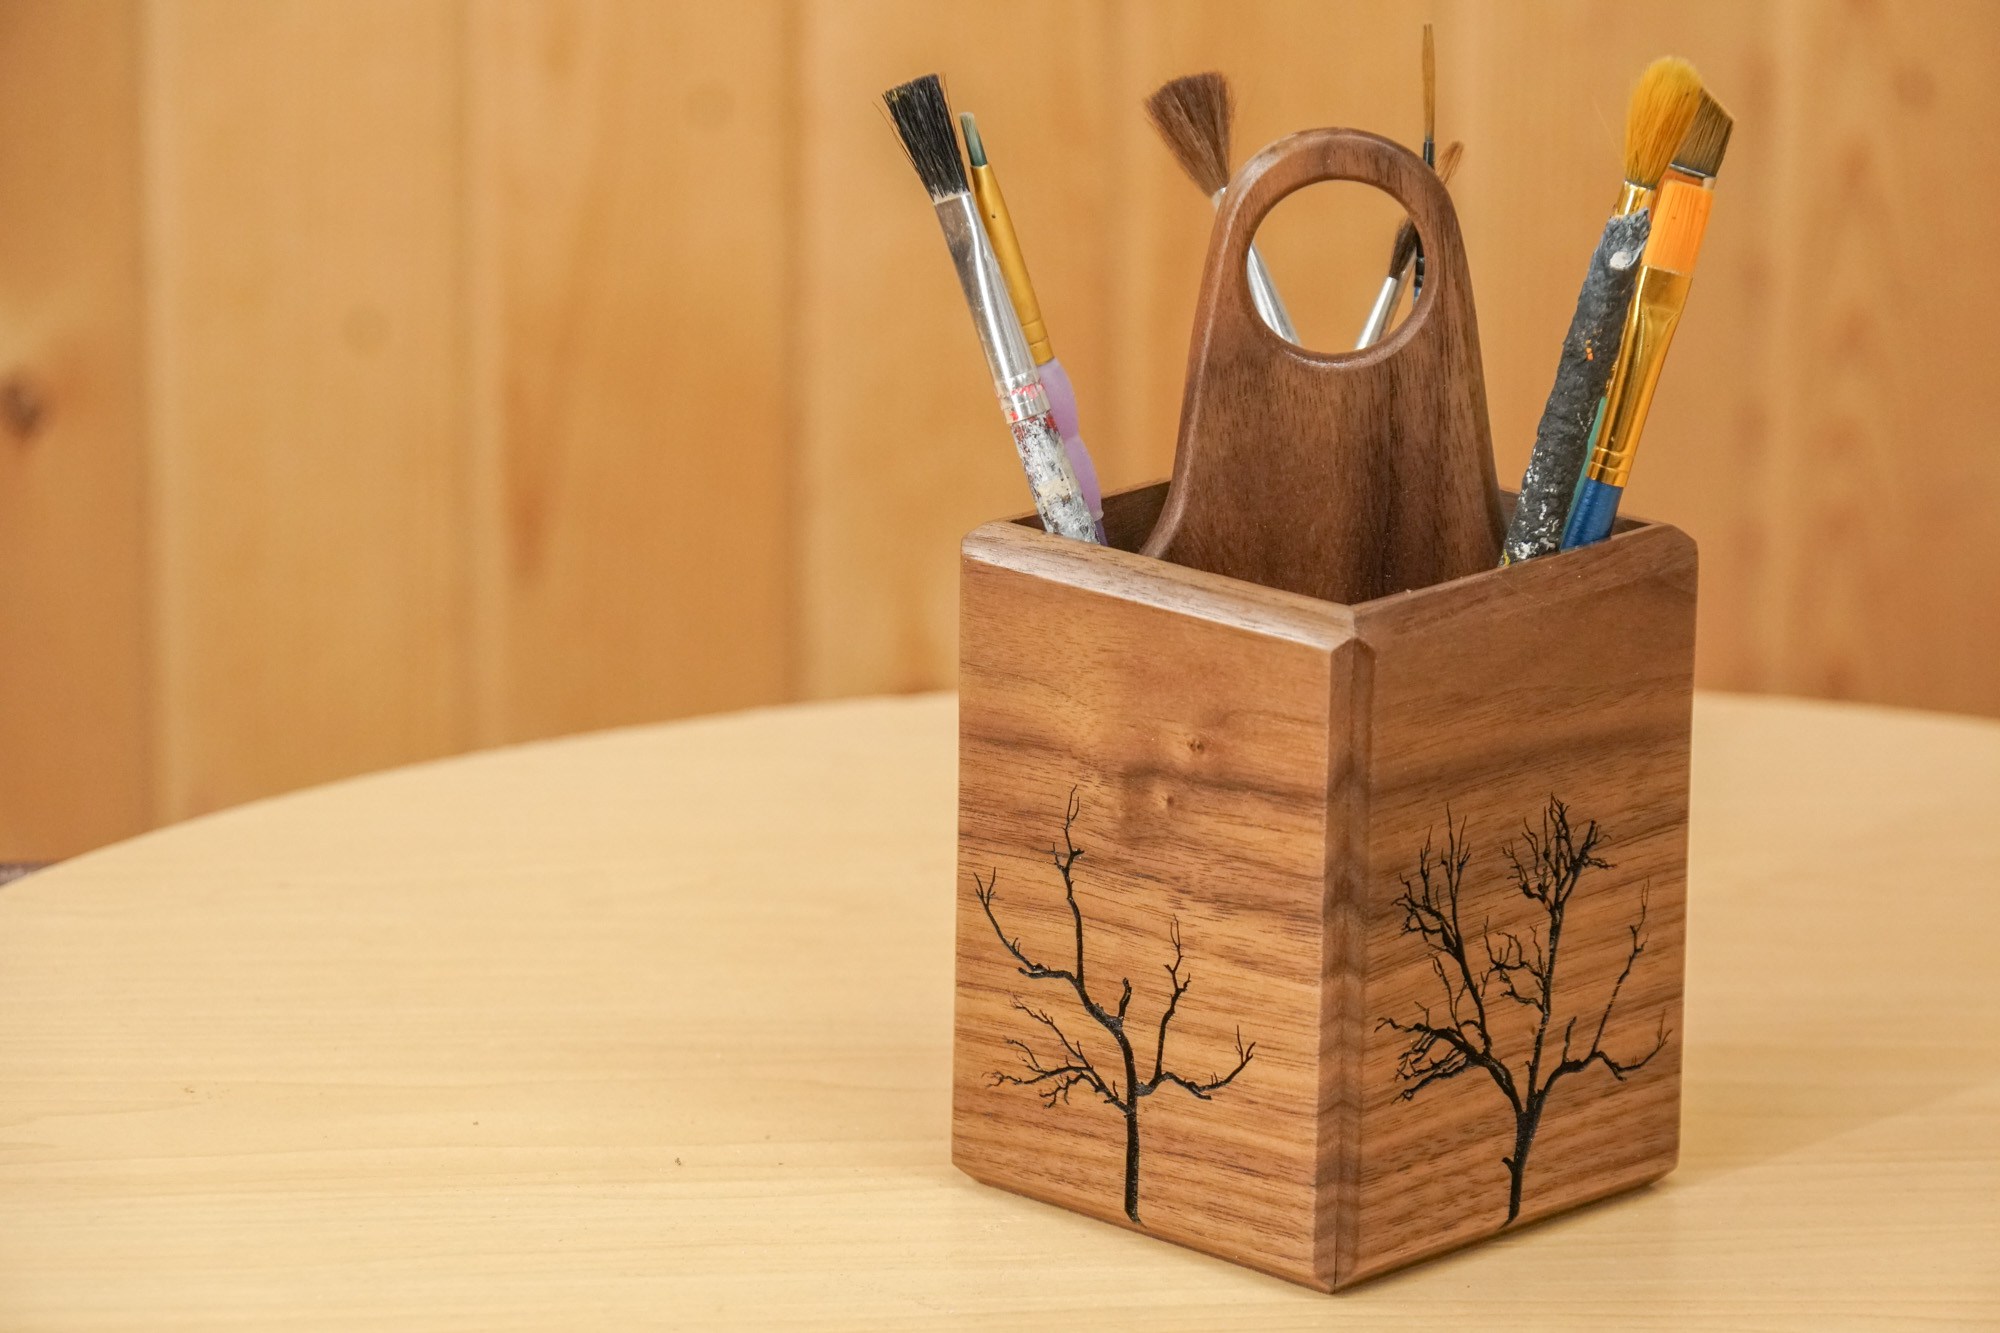
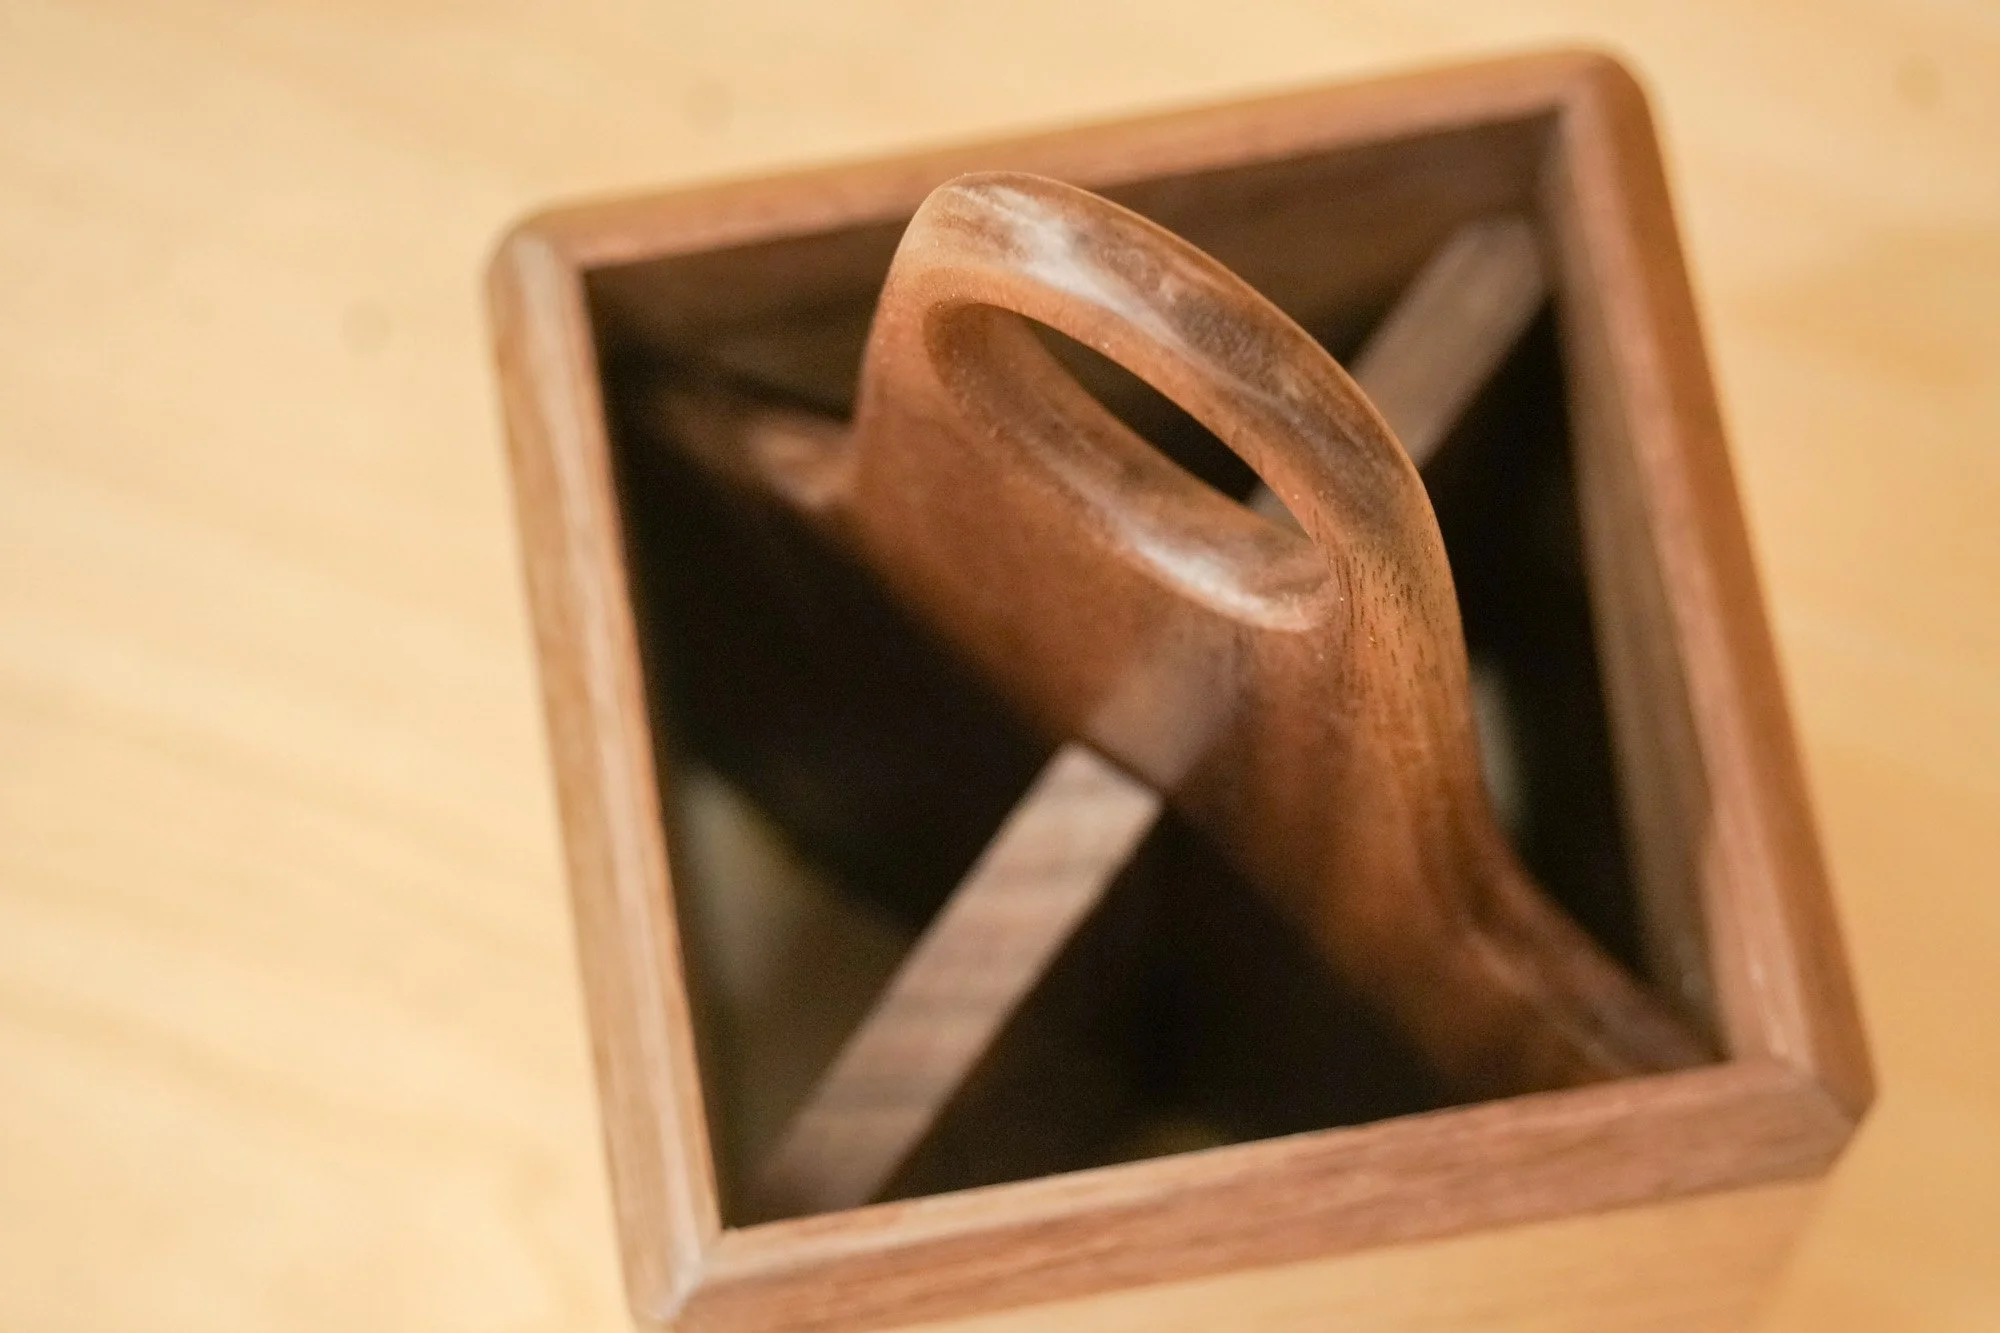
How to make a Pencil Holder/Art Caddy
Making this pencil holder/art caddy is a quick and simple woodworking project that can easily be made in an afternoon.
Making this pencil holder/art caddy is a quick and simple woodworking project that can easily be made in an afternoon. I began my resawing some 3/4″ walnut in half to use for all the pieces. The 4 main side are all cut to the exact same size with a 45° bevel on all the edges for easy joinery. The pieces are glued together and clapped with nothing but blue painters tape. There’s an inserted divider to keep different utensils separated and everything is coated with 2 coats of shellac.


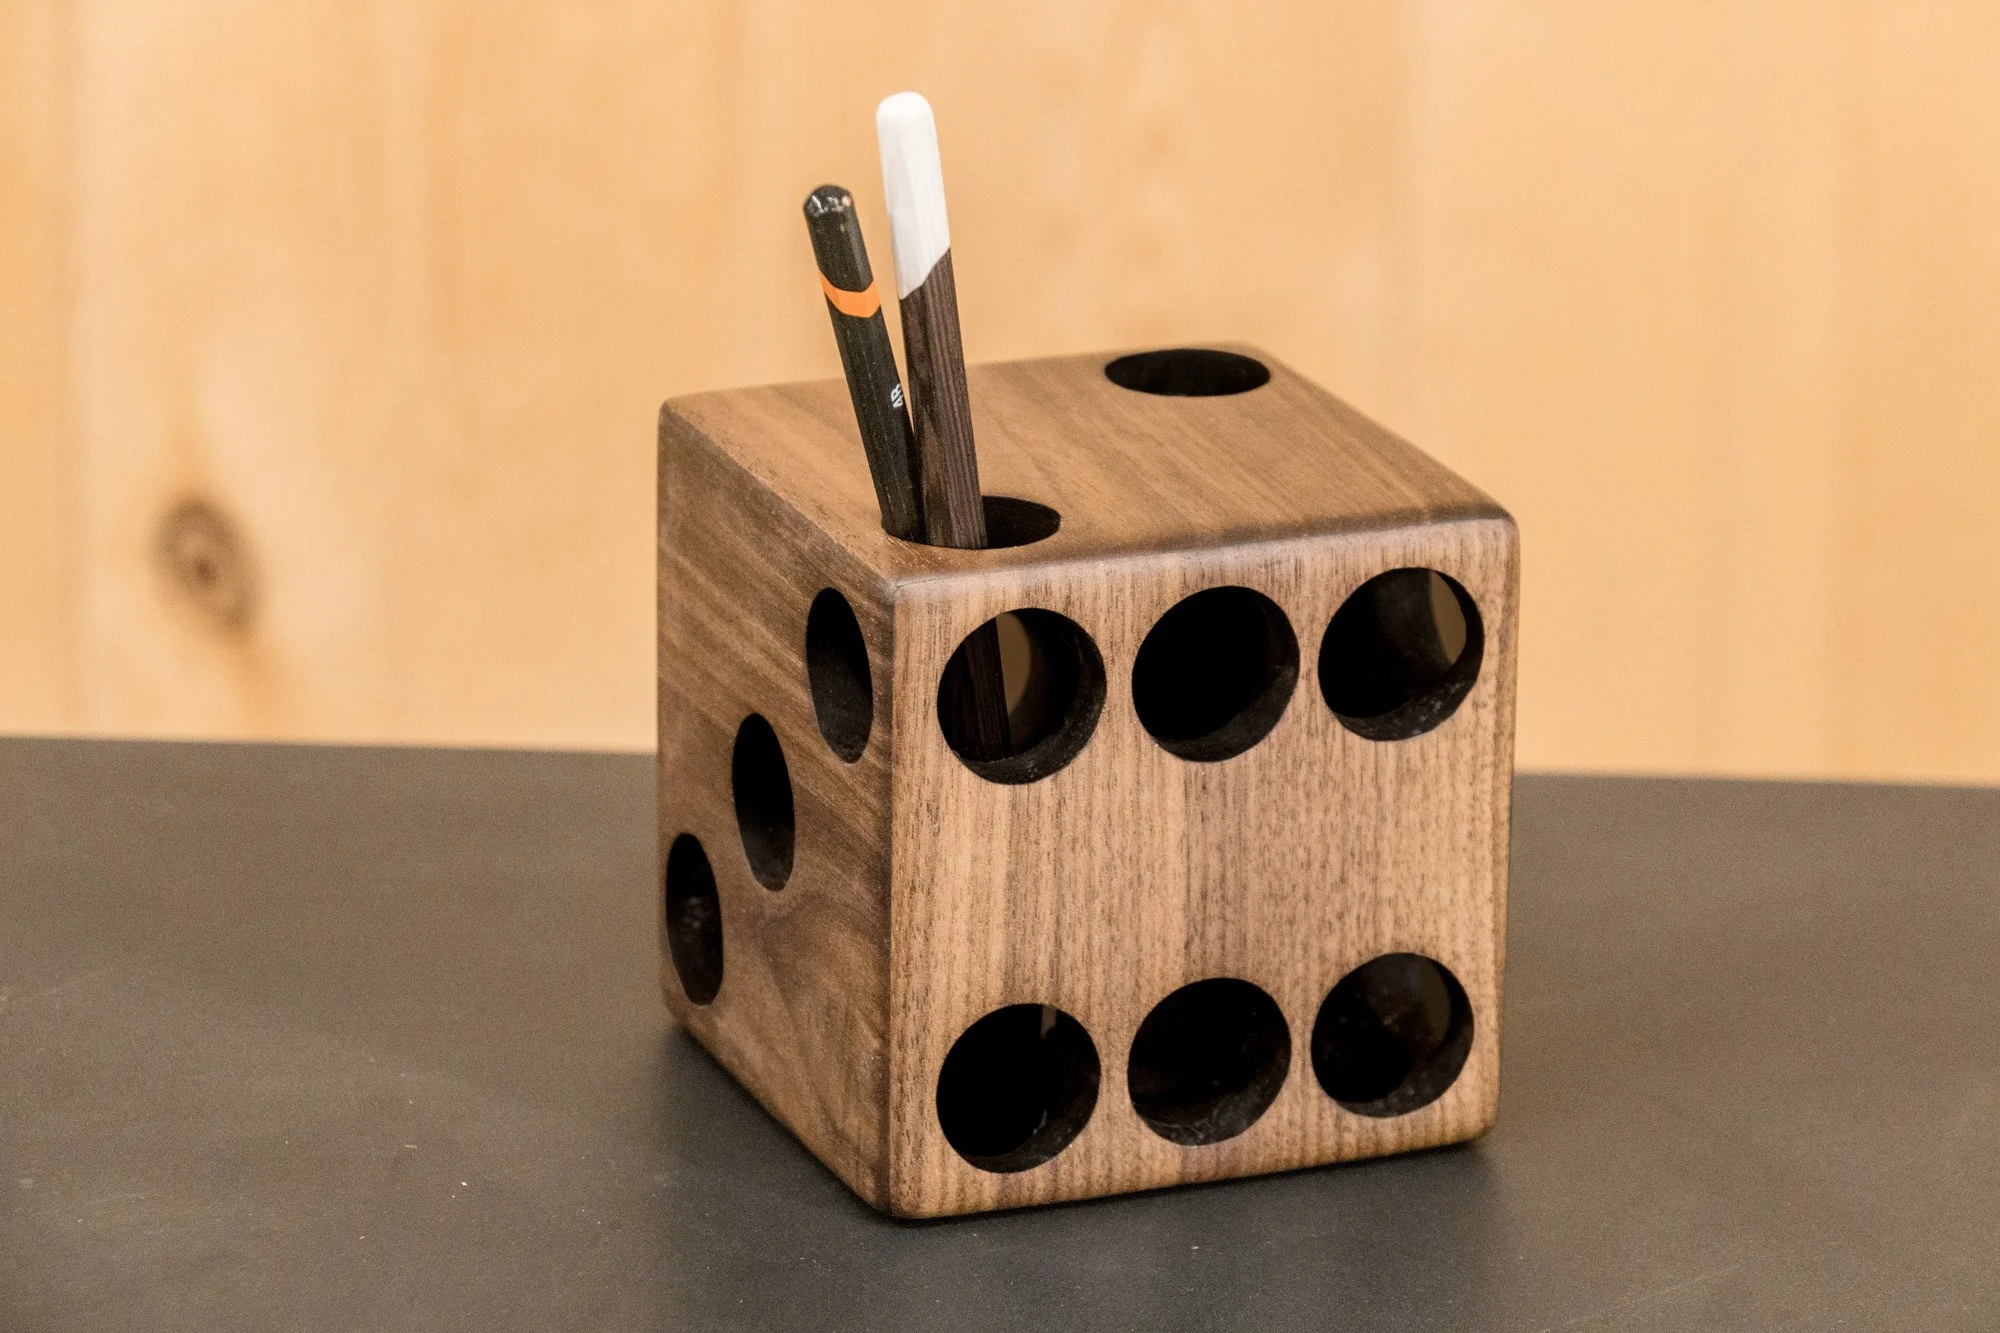
How to Make a Walnut Dice Pencil Holder
This is a simple and easy woodworking project that can be made with just a few tools.
Easy Woodworking Project. Great for Craft Shows!
This is a simple and easy woodworking project that can be made with just a few tools. I’m using walnut planed down to 1/2″ thick and cut in perfect squares on the tablesaw. All the edges are mitered for easy joinery with just some blue painters tape and some Titebond wood glue. Originally I had painted the inside black with white paint around the hole edges. Halfway through the project I decided I prefer the natural look of the walnut without paint and sanded everything back down to bare wood. Finished with boiled linseed oil and paste wax. You can find the templates down below by signing up for my email list.
Tools and Supplies Used in this Woodworking Project


How to Make an Easy Leather Key Chain
Quick and easy project. A great first leather working project.


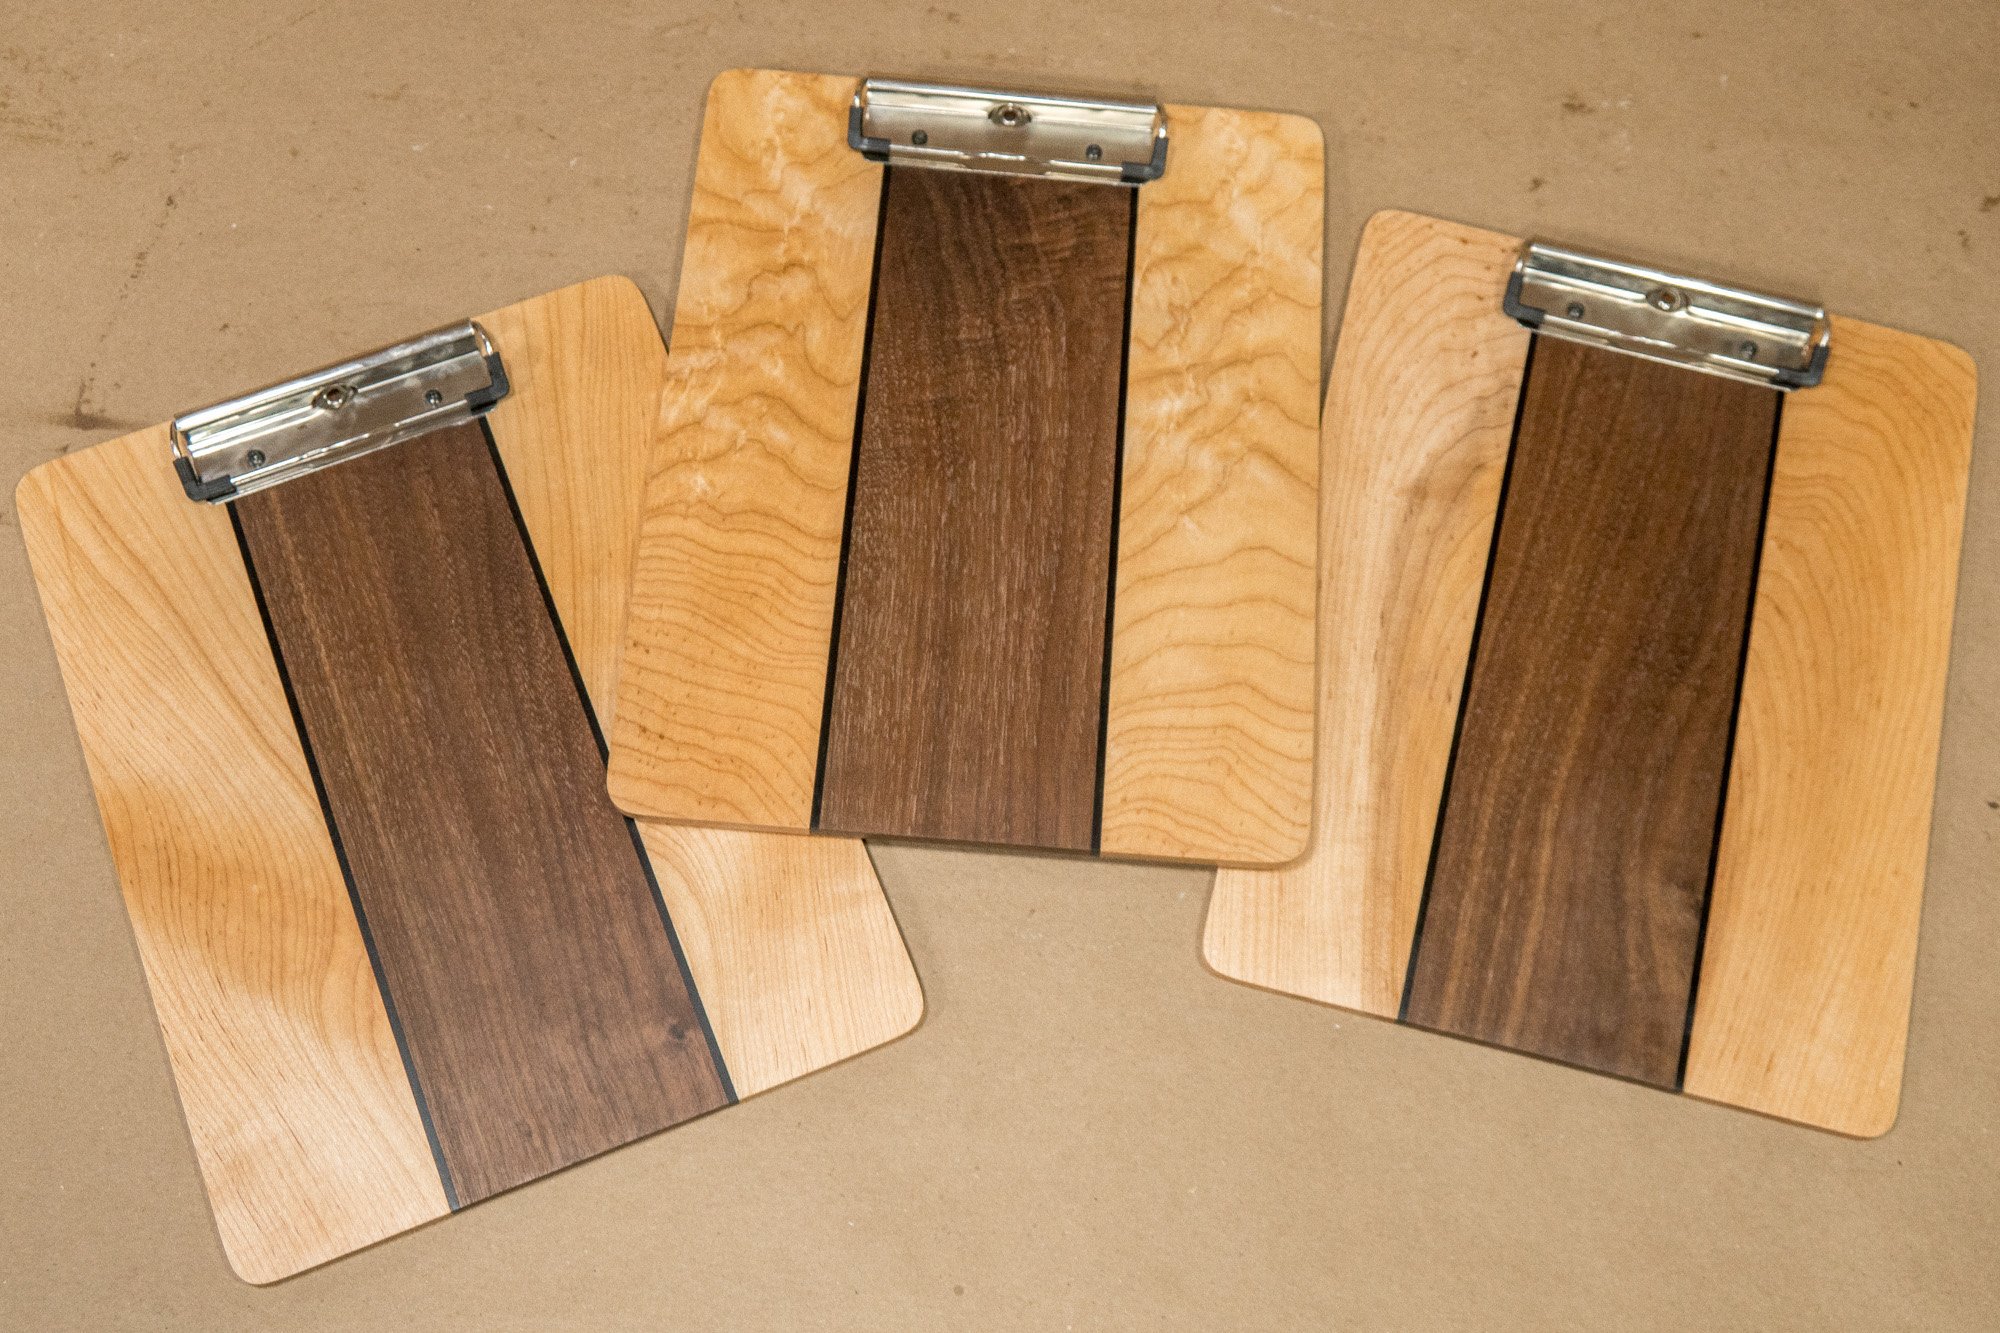
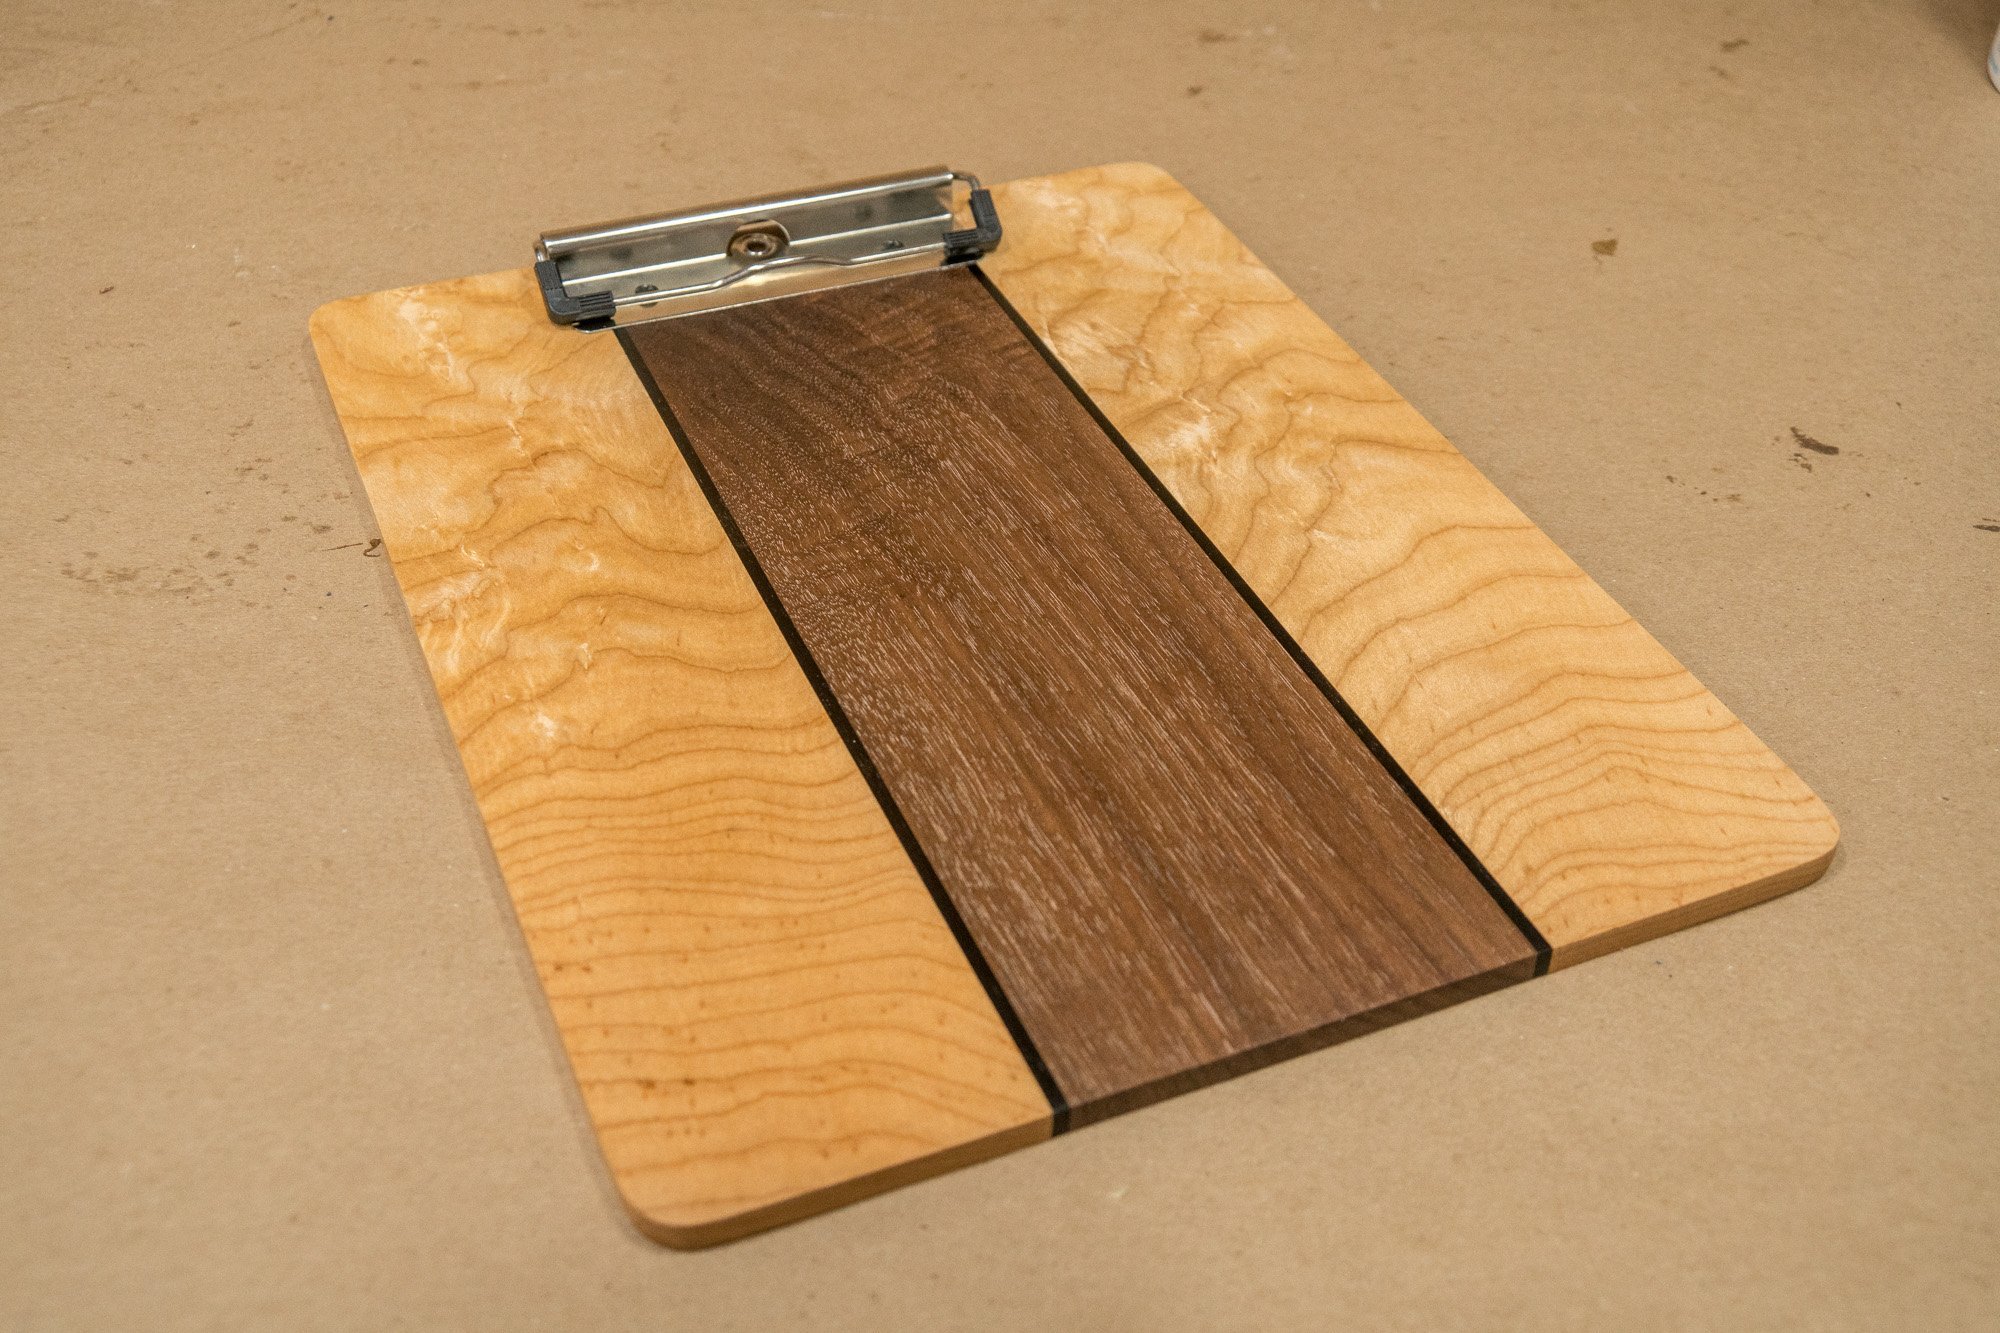
How to Make Wooden Clipboards
This is a real easy woodworking project anybody can do with a few basic woodworking tools.
Easy Woodworking Project For Beginners
This is a real easy woodworking project anybody can do with a few basic woodworking tools. It’s also a great woodworking project that you can easily redesign and make your own. These clipboards get planed down pretty thin so make sure you source well stable wood that’s not going to warp on you. You’ll also want to use closed grain or tight grain wood. And open grain is not a suitable material to write on. Using strips of multiple species will help keep everything flat. I also find that since they are so thin the screws that hold the clips down may need some help so I like to use a 5-minute epoxy as well. This is a great project that can be batched out and at the right price can sell well at craft fairs.
Final dimensions: 9″ x 12″ x 3/16″
Tools and Supplies Used in This Woodworking Project


How to Make a Rotating Crayon Holder
This is an easy and fun woodworking project that works great for displaying and organizing a set of 64 crayons!
Easy Woodworking Project
This is an easy and fun woodworking project that works great for displaying and organizing a set of 64 crayons! I’m using a lathe to do most of the work but this could easily be made without one using a bandsaw. The handle is made from a globe squishy ball found at my local craft store which is a great alternative to using wood. When I originally designed the project I planned on using a lazy Susan base for spinning but decided in the end it was overkill and not needed. If I were to make more of these wood crayon displays I would take the plastic sharpener that comes with the crayons and mount it on the side with a removable base for emptying out the shavings.
Tools and Supplies Used in this Woodworking Project
- Microjig GRR-Ripper
- Microjig GRR-RIP Blocks
- Crayons
- Grizzly Bandsaw
- Dewalt Planer
- Table Saw
- Aluminum Bar Clamps
- Titebond Wood Glue
- Bessey Clamps
- Festool Miter Saw
- Combination Square
- Compass
- Jet Lathe
- Black & Decker Drill
- Festool Drill
- Turning Tools
- Dust Mask
- Festool Random Orbit Sander
- Jet Drill Press
- Shellac
- Felt
- Squeeze Globe (similar)


Quick & Easy Pencil Holders That You Can Sell
Looking for a quick and easy project that you can batch out and sell at craft shows? These pencil holders are a great way to earn some extra cash.
Looking for a quick and easy project that you can batch out and sell at craft shows? These pencil holders are a great way to earn some extra cash.


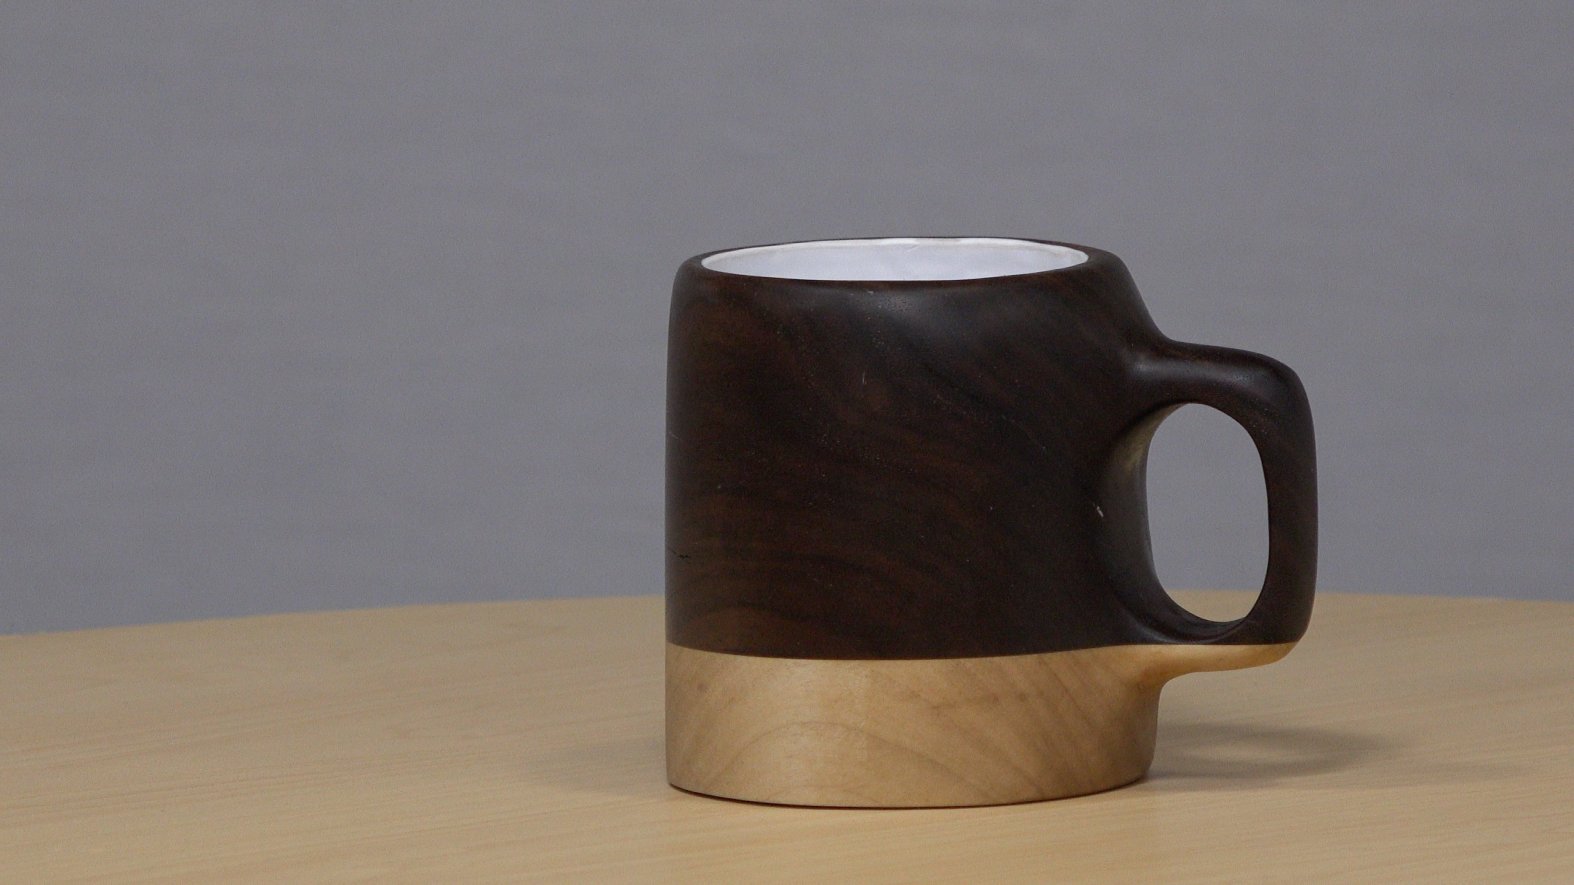
How to Make a Wood Coffee Mug
How to make a coffee mug out of walnut and maple.
Making a Wooden Coffee Mug
I got this beautiful chunk of walnut from my step dad. He cut down an old walnut tree from my childhood home an it’s been air drying for a few years now. I wanted to make the entire coffee mug out of one piece of walnut but the slab I had wasn’t tall enough so I ended up adding the maple bottom as you see here.
Food Safe Finish
When I started this wood coffee mug project I fully intended to use it as a real coffee mug. I coated the inside with a white Smooth-On plastic resin. When most resins and finishes completely cure after a few weeks they are food safe. Even if they don’t claim to be food safe. Your dining room table for instance probably has a polyurethane finish on it. Polyurethane isn’t promoted as food safe but once fully cured after a few weeks it’s safe enough to eat off of. I thought the white plastic resin I used would be perfect but it turns out that it gets soft when exposed to heat which is definitely not food safe. In my research I was able to find a few different “food safe” labeled epoxies but none of them mentioned they can be used for hot liquids. I’m sure there is something out there that can be used but I was unable to find it. If you know of anything that’s food safe for hot liquids please let me know in the comments down below. I may try and find a stainless steel insert and attempt this project again.
Thanks for stopping by! Be safe. Be passionate and Make Something!
Tools and Supplies Used


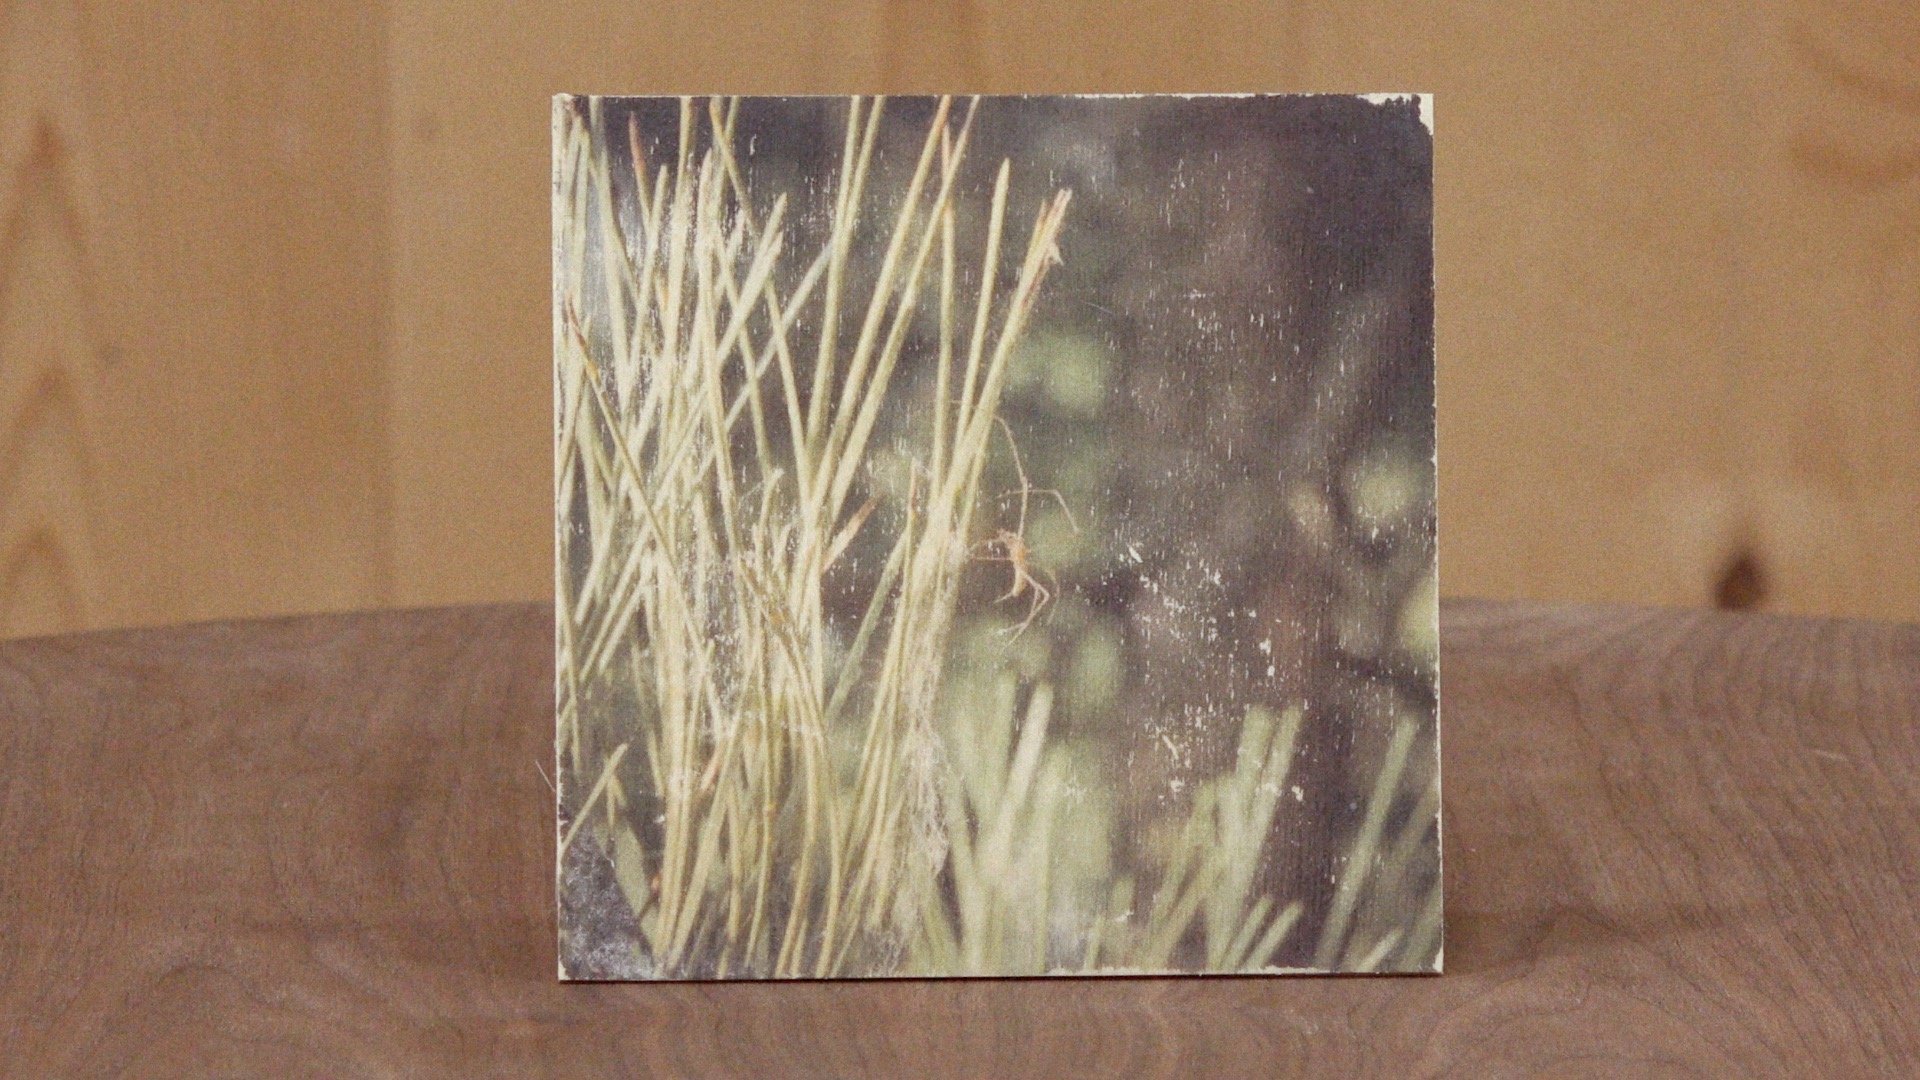
How to Transfer a Photo to Wood
This is an easy way to add some style and texture to your photos!
Image Transfer to Wood
This is an easy way to add some style and texture to your photos. Using this photo transfer technique there will be some loss of quality and some photos will work better than others. You’ll want to choose images with high contrast (dark areas and light areas). Any photographs with lots of detail or made up of mostly mid-tones may not work. The final product will have a vintage look and feel, almost like an old postcard. I chose some clean baltic birch plywood without much noticeable grain pattern so the focus would be on the photos. This is one of those art projects I’ll be experimenting with more and trying to come up with creative pieces using this simple technique. Let me know in the comments down below if you have any cool techniques you’d like to see me try!
Tools and Supplies Used


How to Make an Armrest Drink Holder
A simple and quick project that allows a place to put your beverage no matter what shape your couch arms are.
Easy Woodworking Project for Beginners
This is one of those woodworking projects that I’ve had in the back of my mind for months. We don’t have room for end tables in our living room and depending on where you sit the coffee table can be out of reach. This project was made in about 2 hours which includes the time it took to glue and finish. Something I don’t do very often is go into a project without a plan and that’s exactly what I did here and it turned out great. I just started cutting to size on the table saw what I thought looked to be a good size. The center piece is 4″ x 4″ with a 2 7/8″ hole drilled in the middle. Many of you may not have a forstner bit that big and a jigsaw would do just fine in this situation. The bottom is made up of leather scraps I got from a local art scrap store. Another option would be to take an old pair of jeans and I think that would work equally as well. If you make this project be sure to Tweet me some photos! I’d love to see what you come up with! Be passionate and Make Something!
Tools and Supplies Used
- Micro Jig GRR-Rippers
- Kreg Trak and Stop (Tablesaw Sled)
- 2 7/8″ Forstner Bit
- GRR-Rip Block
- 1/4″ Round Over Bit
- Festool Orbital Sander
- Minwax Lacquer Spray, Satin
- Leather used was picked up from a local art scrap store.
- Titebond Quick and Thick (Not available yet and didn’t work for this)
- Contact Cement
- Foam Brush


Woodworking Books

Make Your Own Cutting Boards
15 cutting board projects to make as gifts or sell! Get your signed copy!

The New Bandsaw Box Book
8 bandsaw box projects you can make and sell at craft shows. Signed copies now available!