
How to Make a Solid Wood Toolbox
How to make a solid wood toolbox with a reversible lid that doubles as storage.
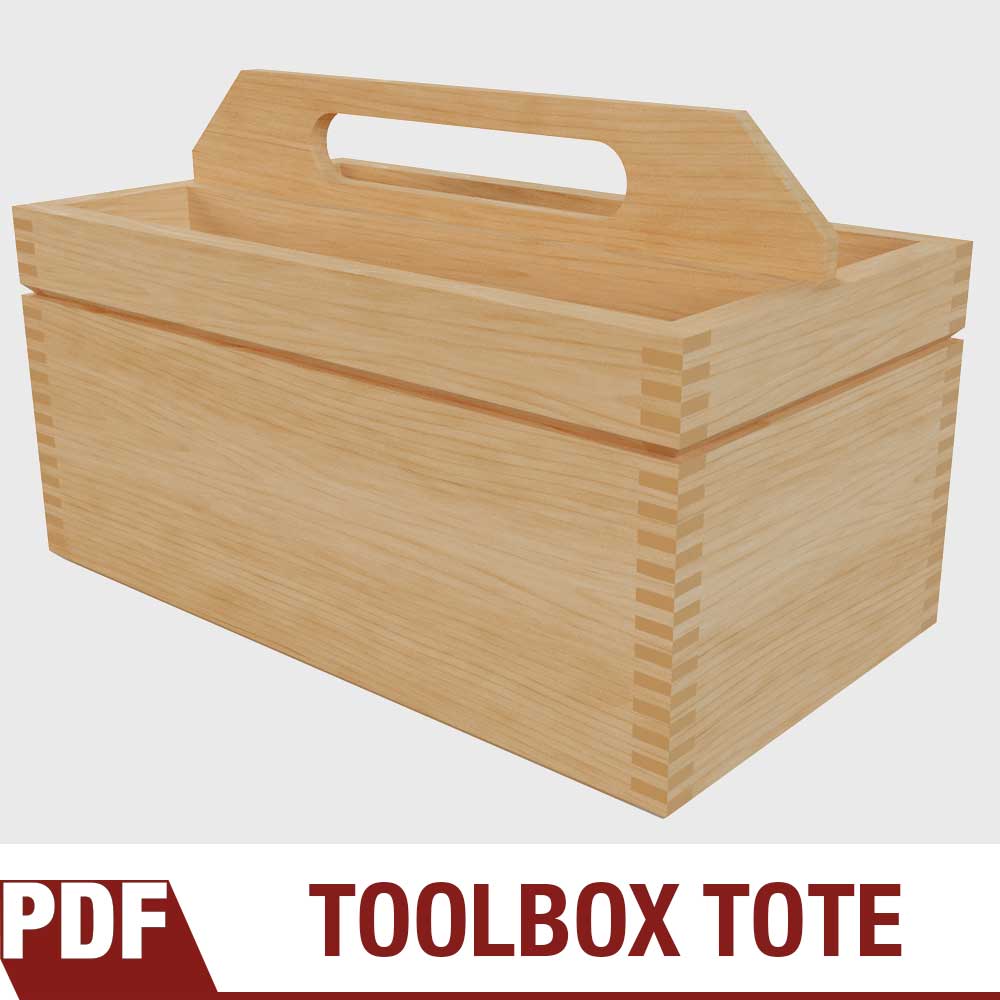
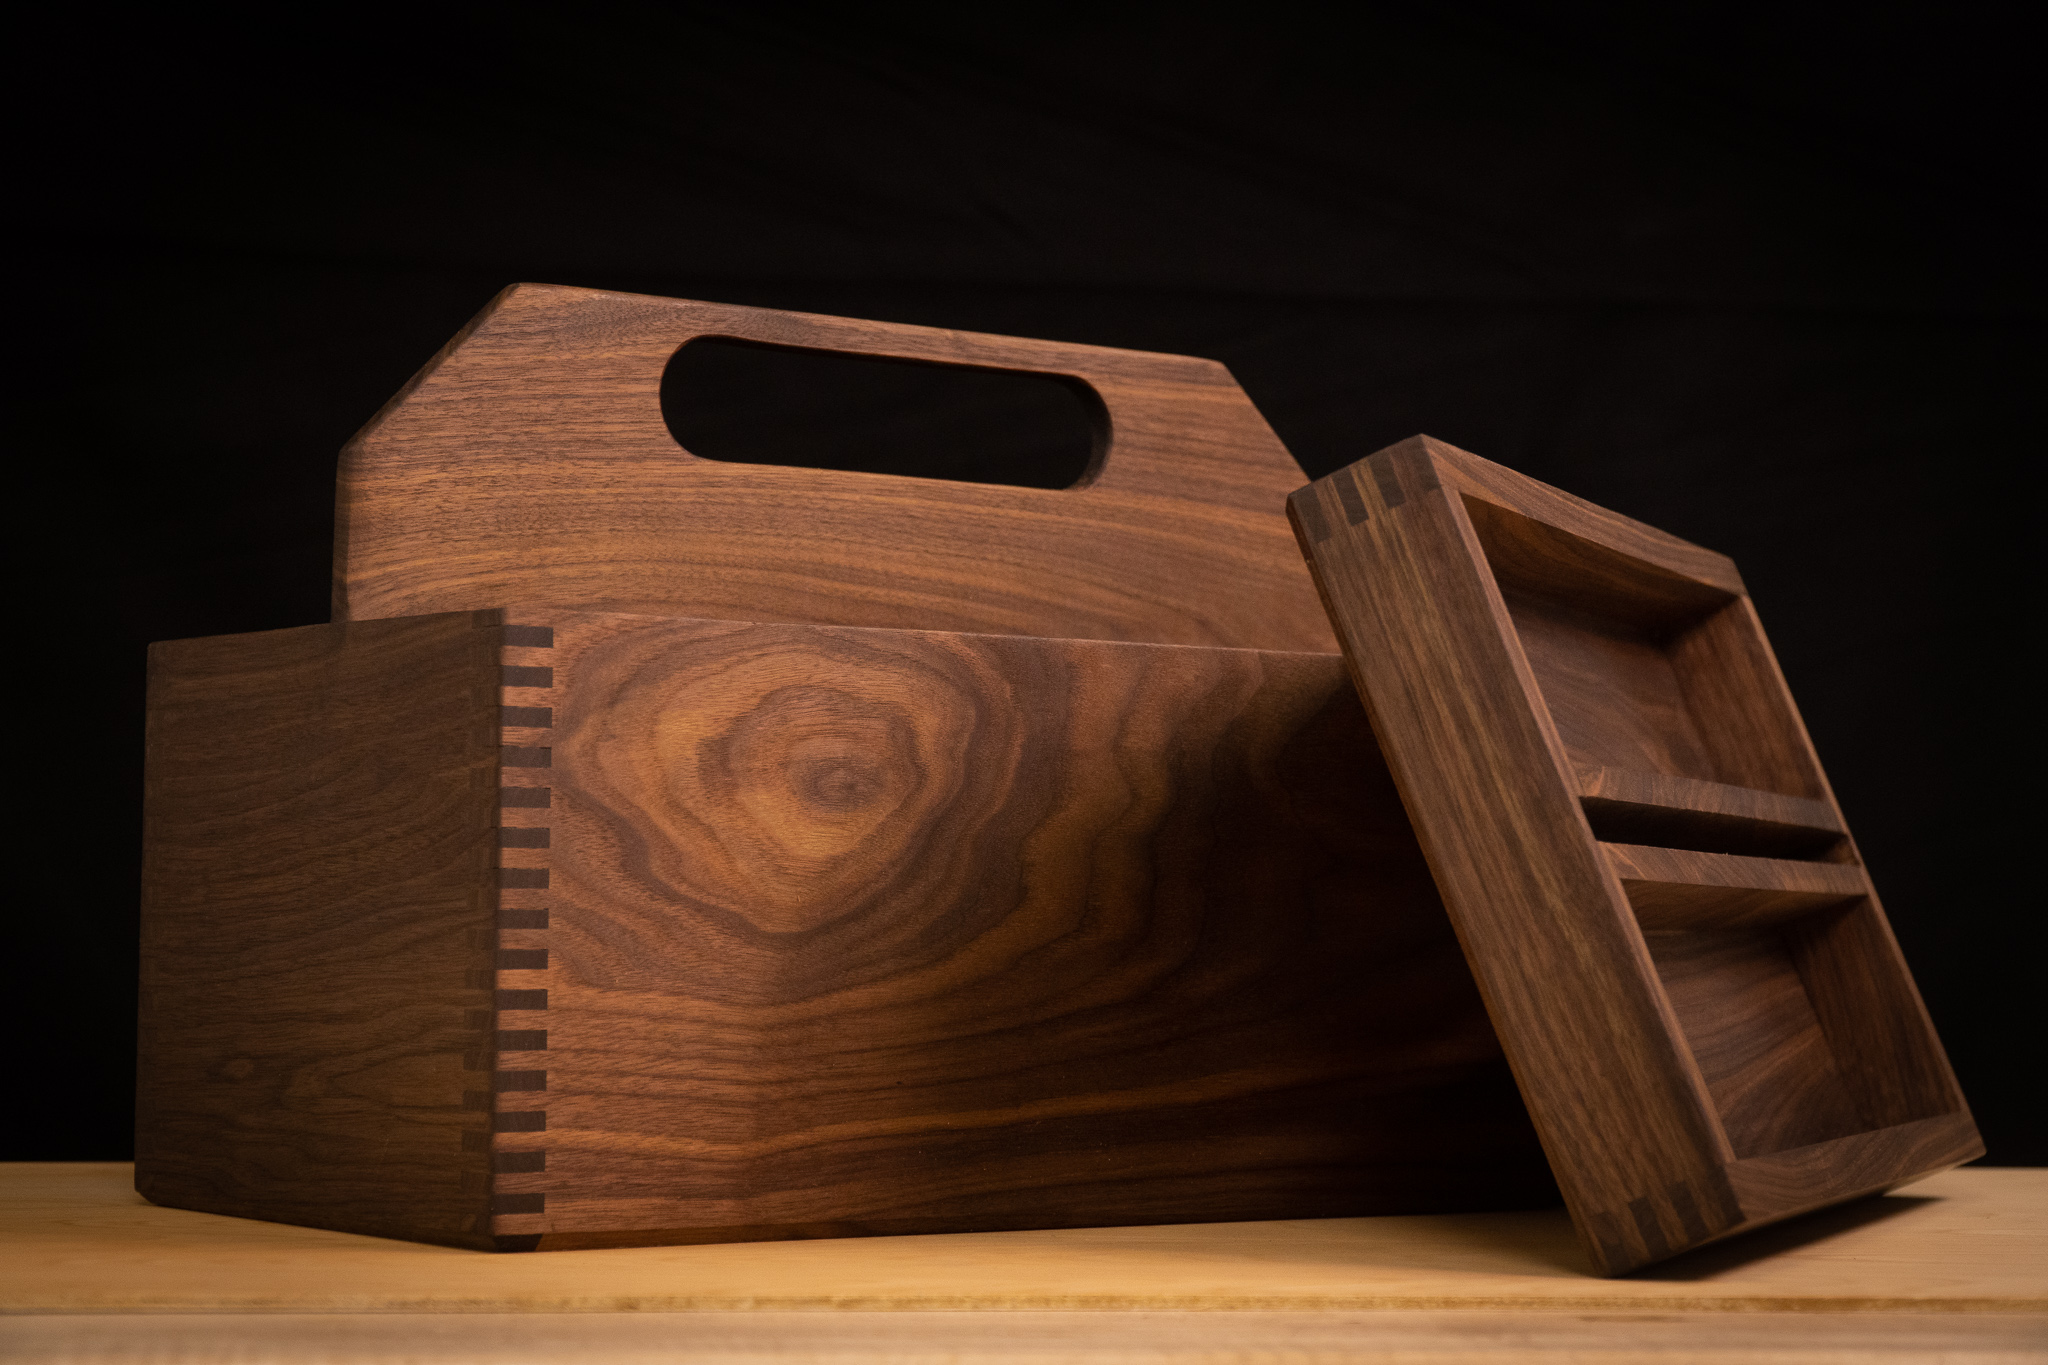
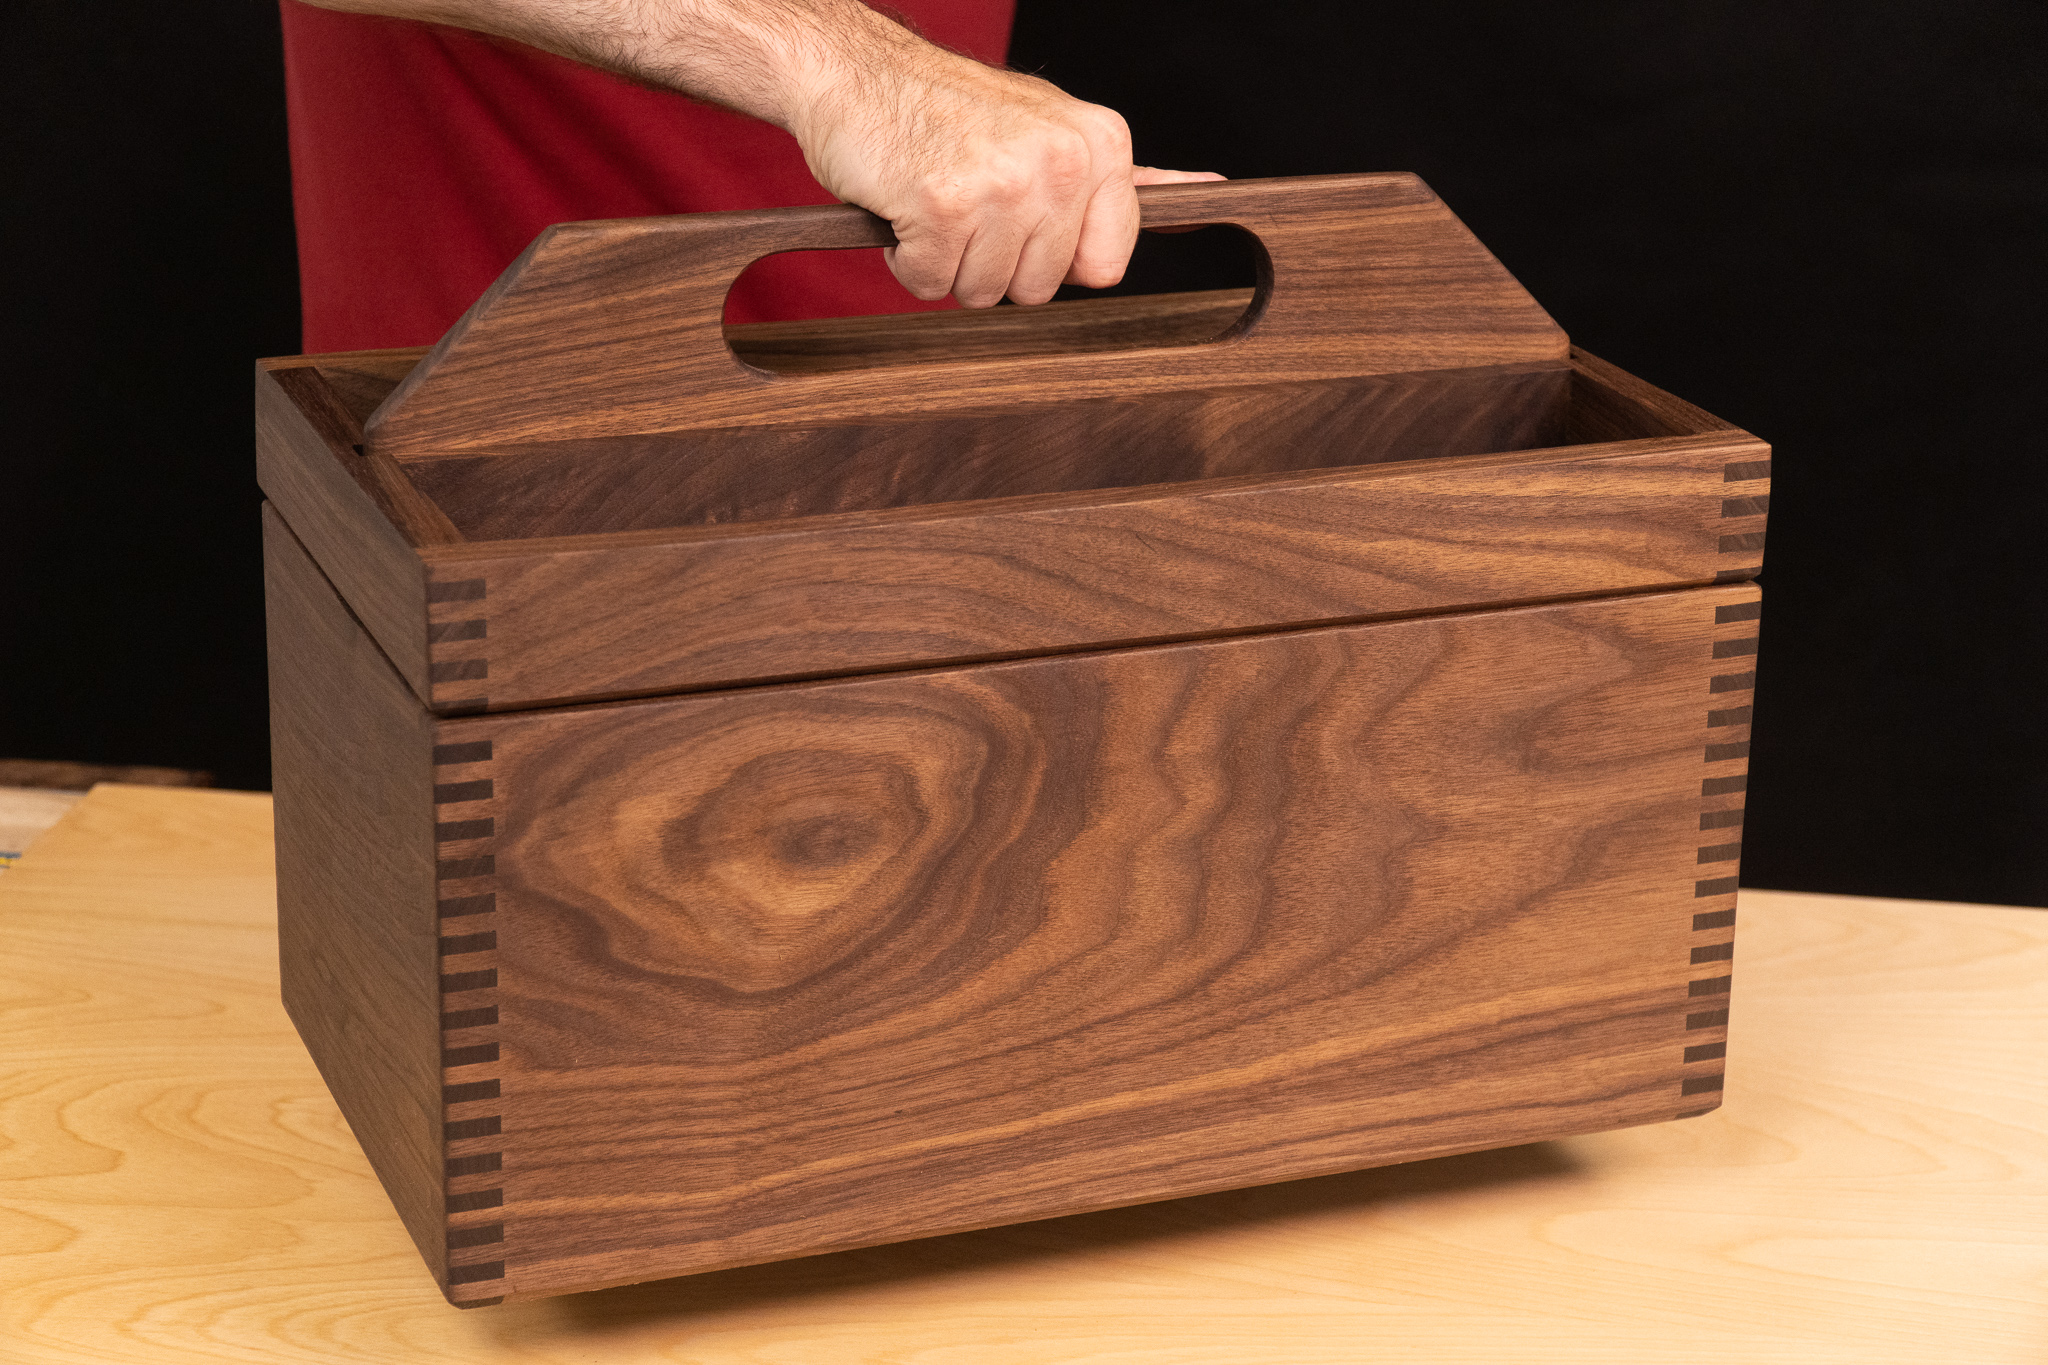
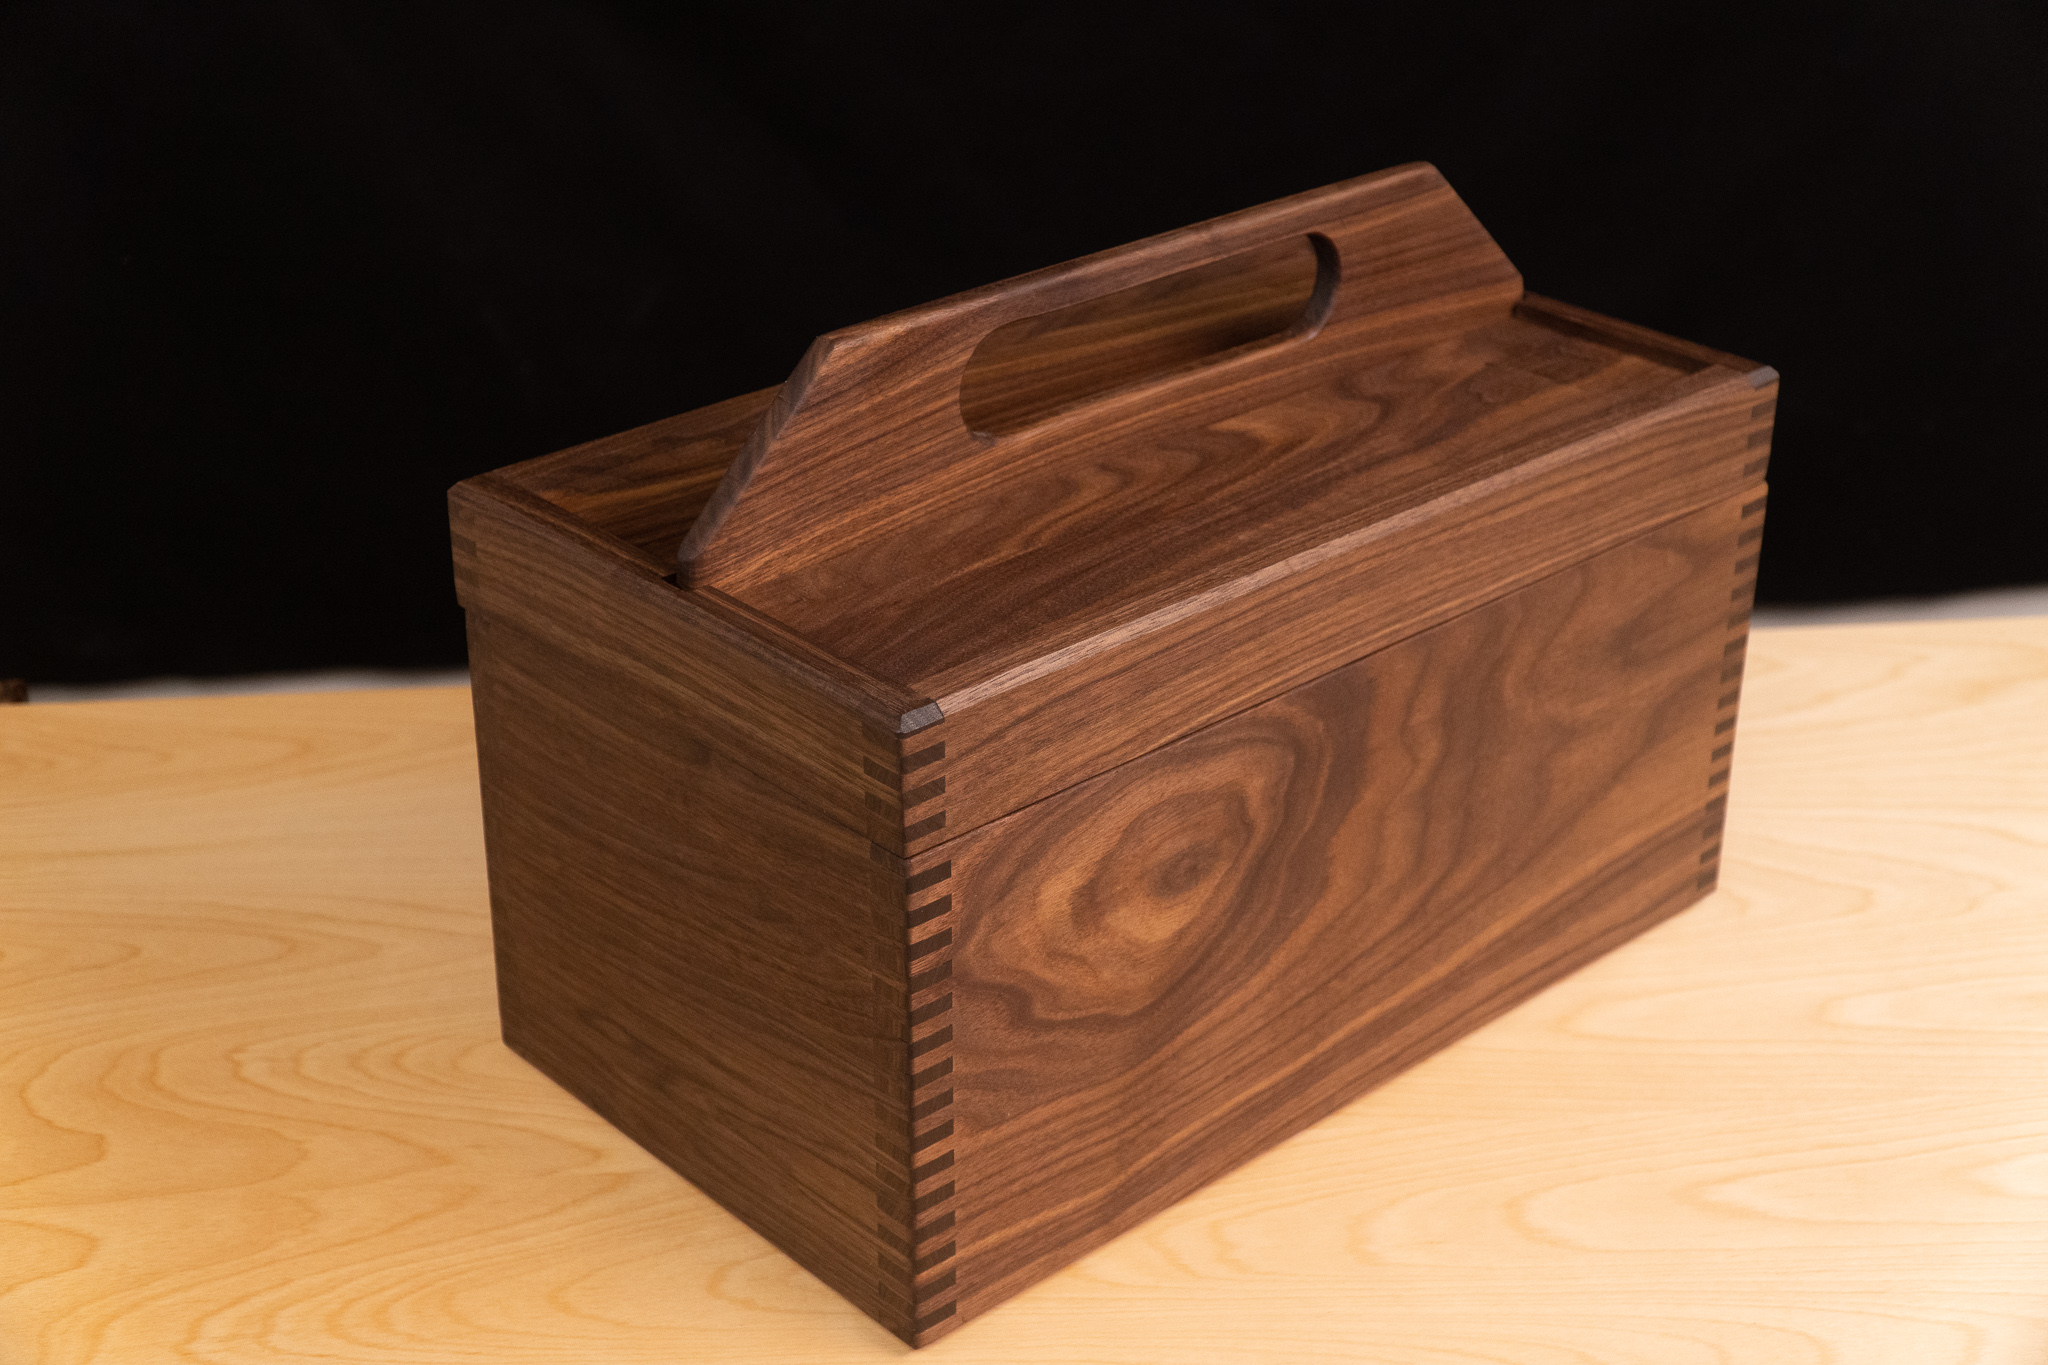
Box Joint Joinery Toolbox with Removable Lid that Doubles as Storage
How to make a solid wood toolbox with a reversible lid that doubles as storage. This is a simple and easy project for woodworkers. This beautiful walnut box uses traditional box joint joinery that can easily be done on the tablesaw or router. The removable lid slides over the handle and is a great place for small parts and tool storage. The entire tool box is made with solid hardwood and will last many lifetimes. Follow along and build one for yourself with step by step instructions in the video and if you need measurements and more details I have clear and easy to understand plans.
How to Make Box Joints with a Router
How to Make Box Joints with a Tablesaw


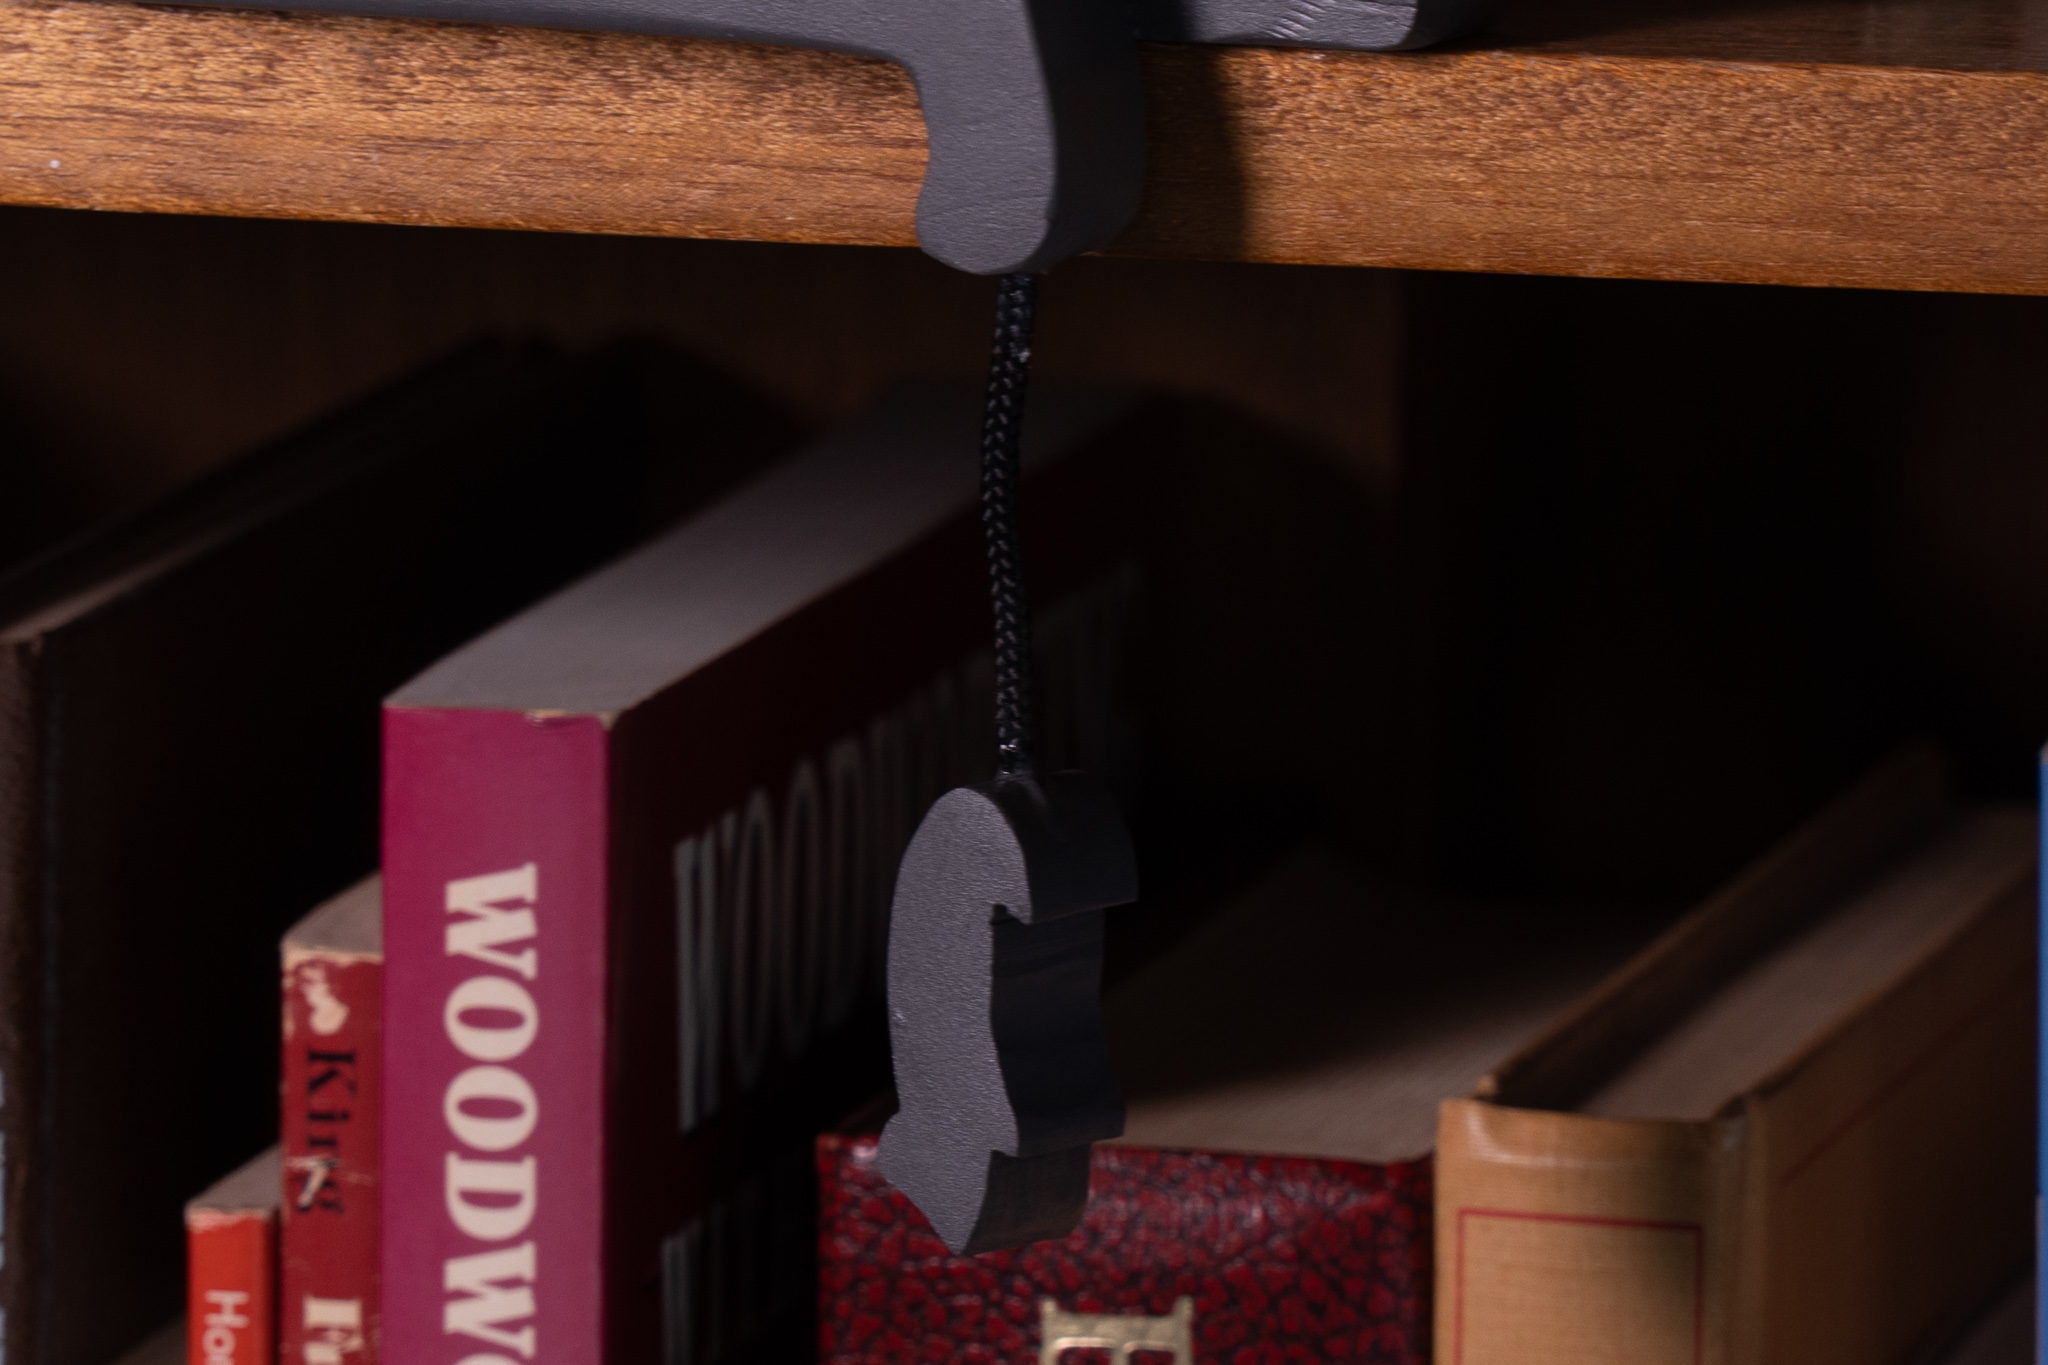
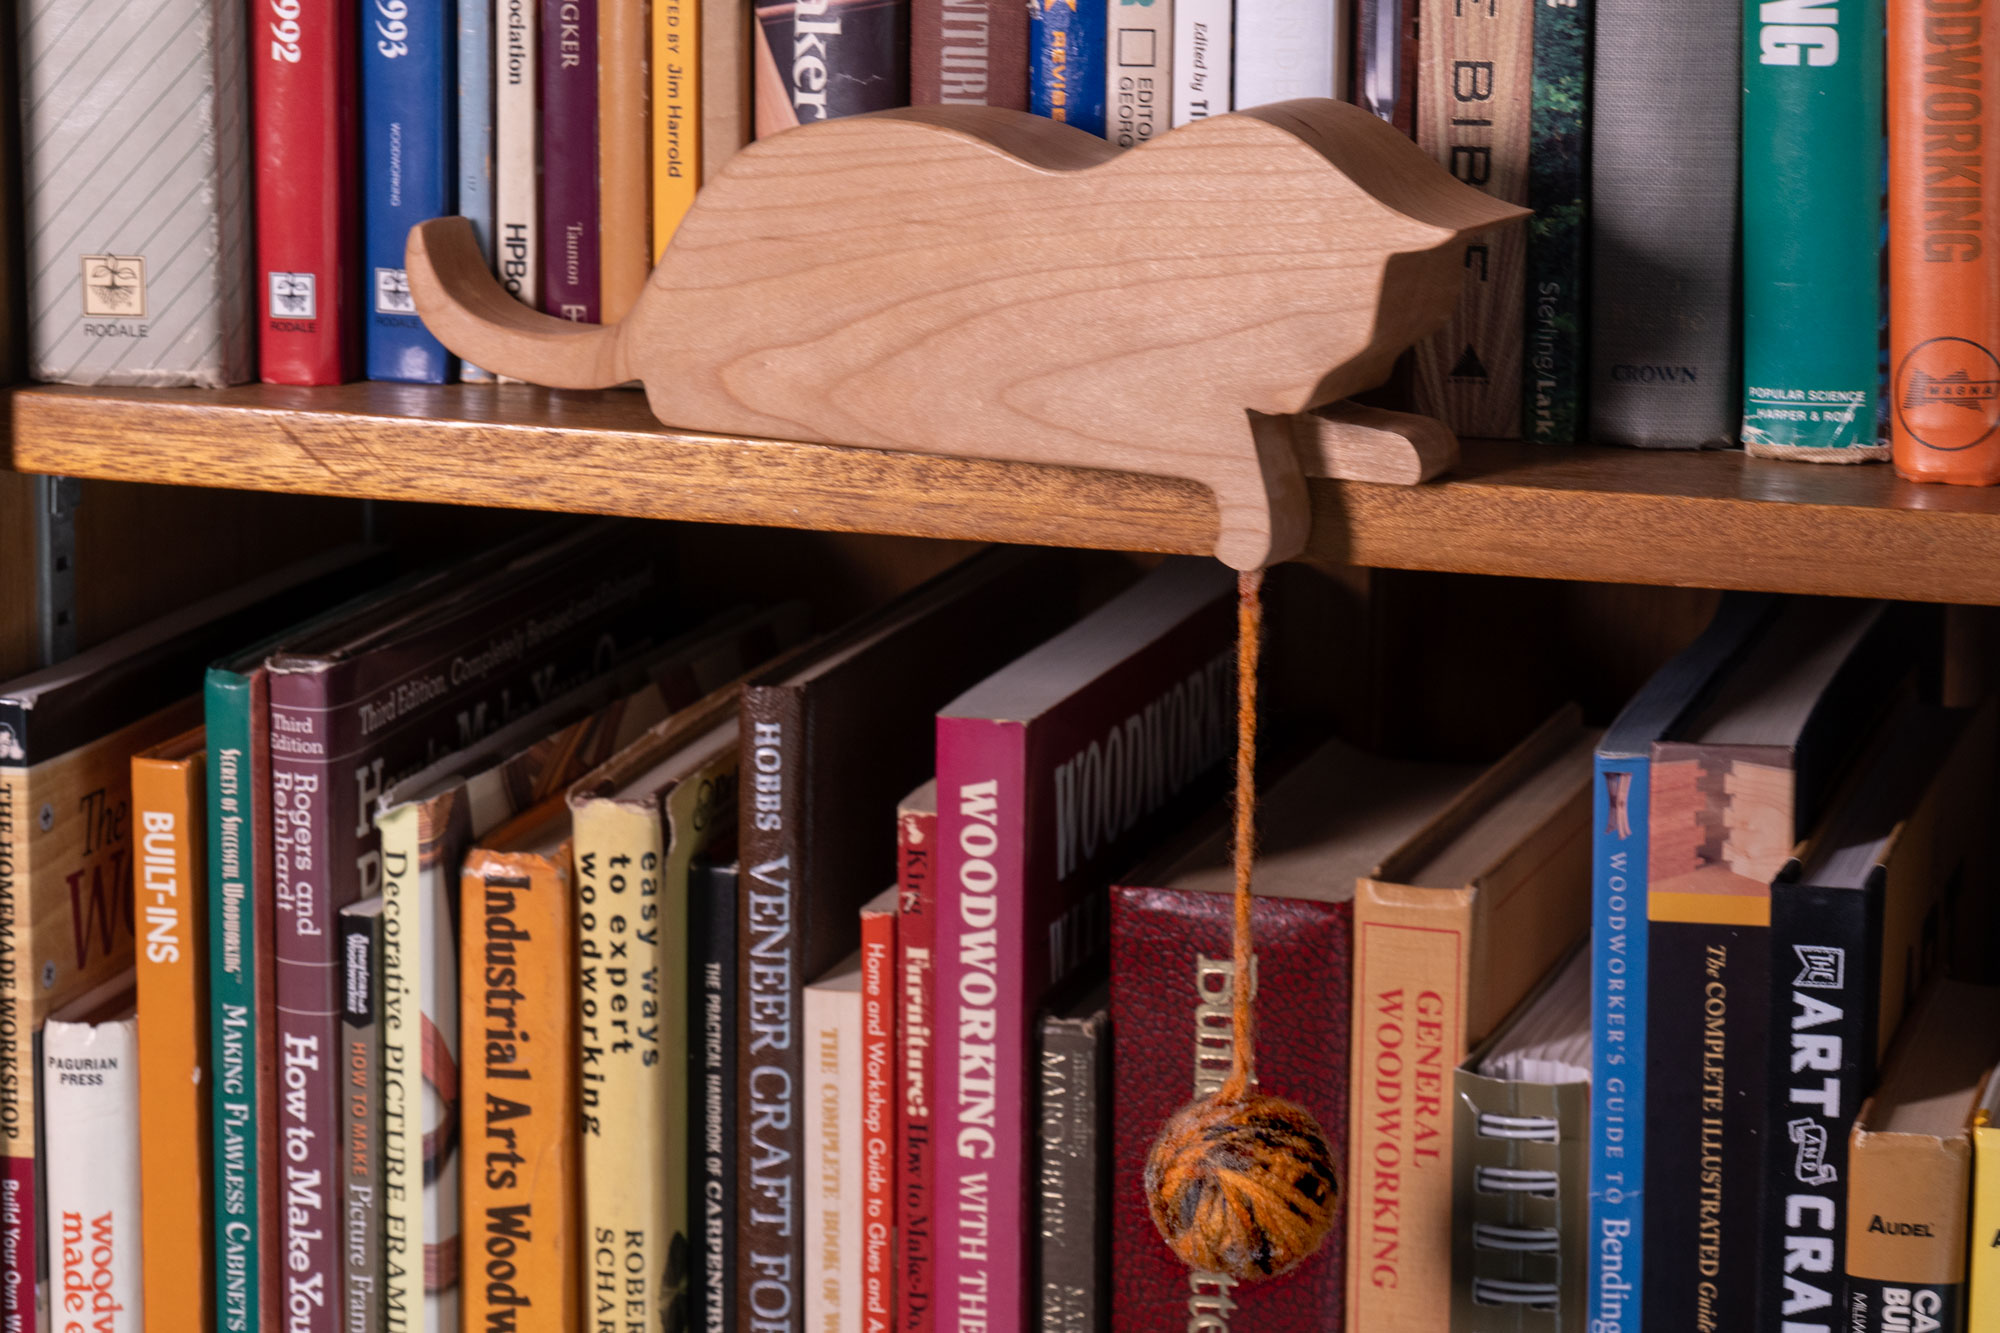
How to Make a Bookshelf Cat Decoration
Easy to make woodworking project. Great for a Mother’s Day gift and craft shows!

Easy Woodworking Project. Perfect for a Mother’s Day Gift!
Looking for something you can batch out quickly for craft shows or a gift? Wooden shelf cat decoration is the perfect project. You don’t need a shop full of tools to make this. Mainly you need a bandsaw or scroll saw and some sandpaper. Watch the tutorial video above to see how easy and quickly this project can be made! Get the plans and Make Something!
Tools and Supplies Used In This Woodworking Project


How to Make a Wood Tissue Box Cover
Easy to make woodworking project. Great for Christmas gifts and craft shows!

Easy Woodworking Project That Can Be Batched Out as Gifts
Looking for something you can batch out quickly for holiday gifts or craft shows? This wood tissue box is the perfect project. Easy joinery with basic woodworking tools. Watch the tutorial video above to see how this simple design can turn an ordinary tissue box into a center piece on your coffee table! Get the plans and Make Something!
Tools and Supplies Used In This Woodworking Project


How to Make Gift Wine Boxes With Finger Joints
Easy to make woodworking project. Great for Christmas gifts and craft shows!
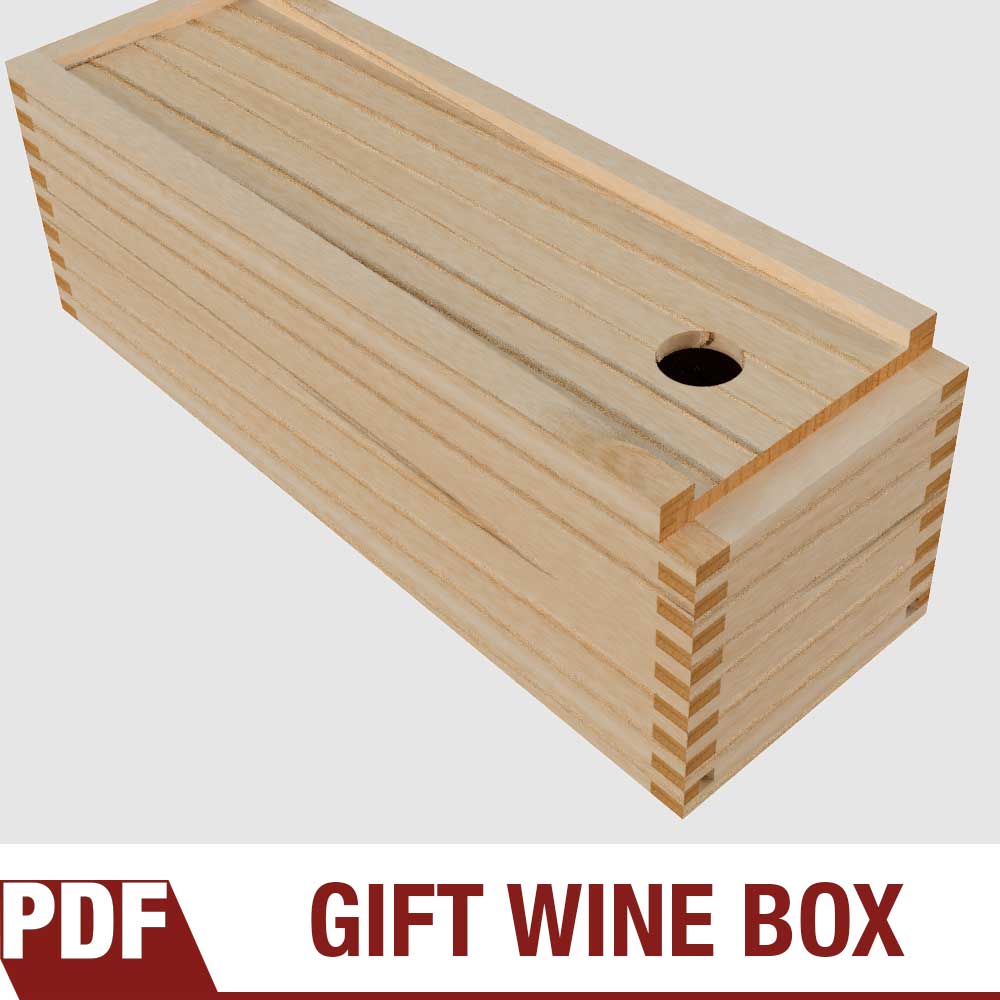
Quick and Easy Woodworking Project Just In Time For Christmas Gifts!
These easy to make wine boxes make for a great gift when pared with a bottle of wine and also sell well at craft shows. I like to make mine from pine and leave them unfinished for that natural softwood feel, smell and look. If you’ve never made finger joints (also known as box joints) then check out this video that’ll get you up a running quickly and easily. Looking to batch out a few of these? Get the plans and Make Something!
Tools and Supplies Used In This Woodworking Project


Quick and Easy Tool Bench From Plywood With Free Plans
Step-by-step instructions on making a tool bench from plywood. Very easy woodworking project with basic tools.
Perfect for Bench Top Tools with Lots of Storage
This tool bench is easy to make and made almost entirely out of 3⁄4" plywood. Goes together quick and can be made with almost no clamps. The width of the base is 40" which can easily be modified by lengthening the rails. You can also easily modify the height by adjusting the leg size. You ready? Let's Make Something!
Tools Used in this Woodworking Project


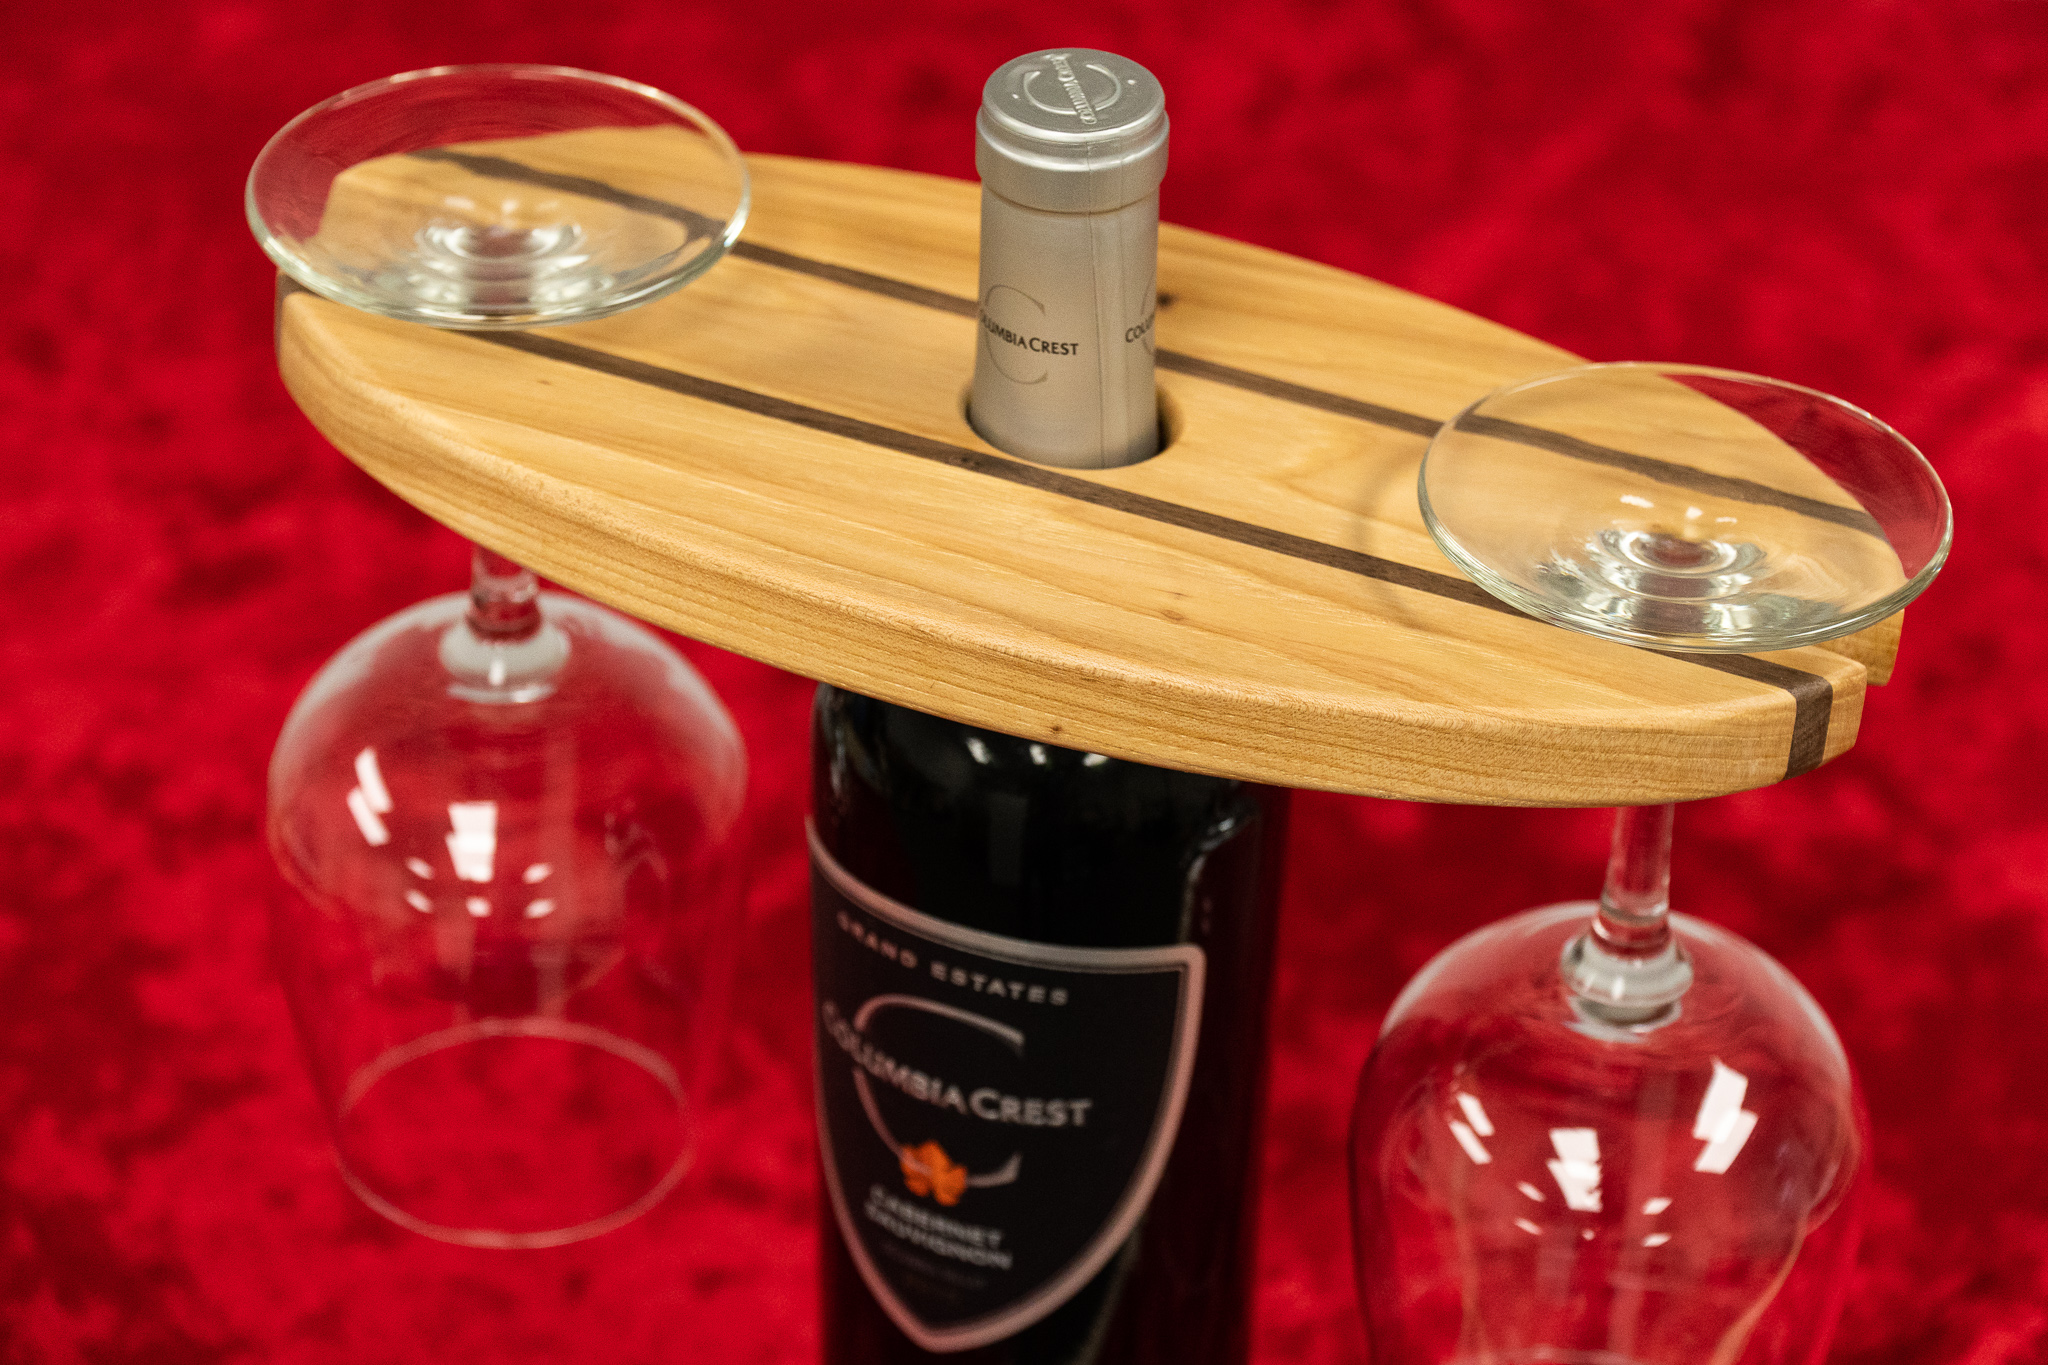
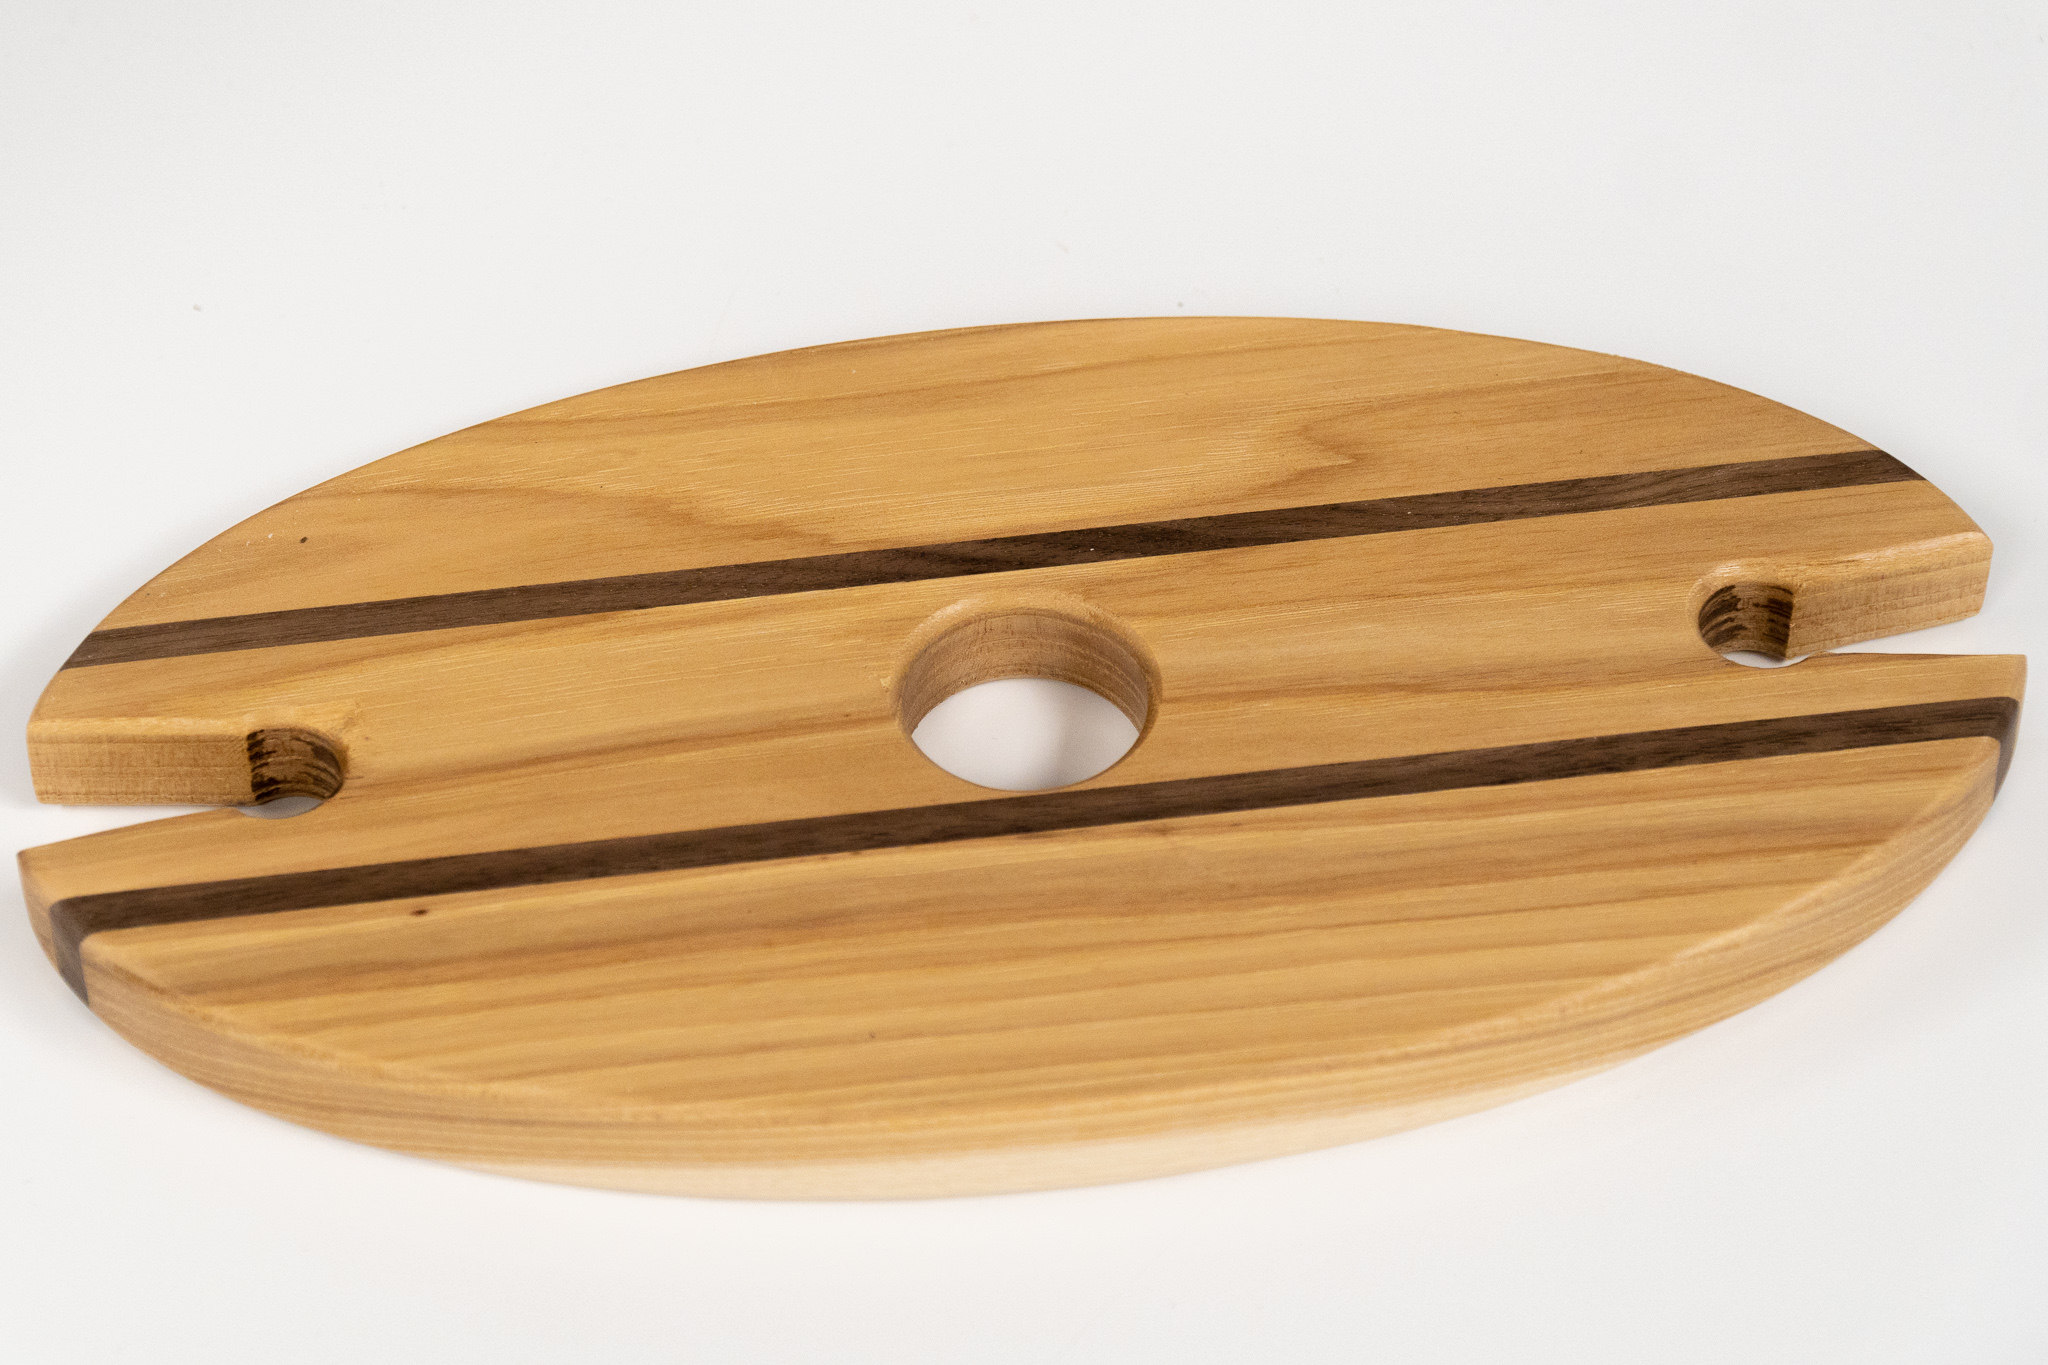
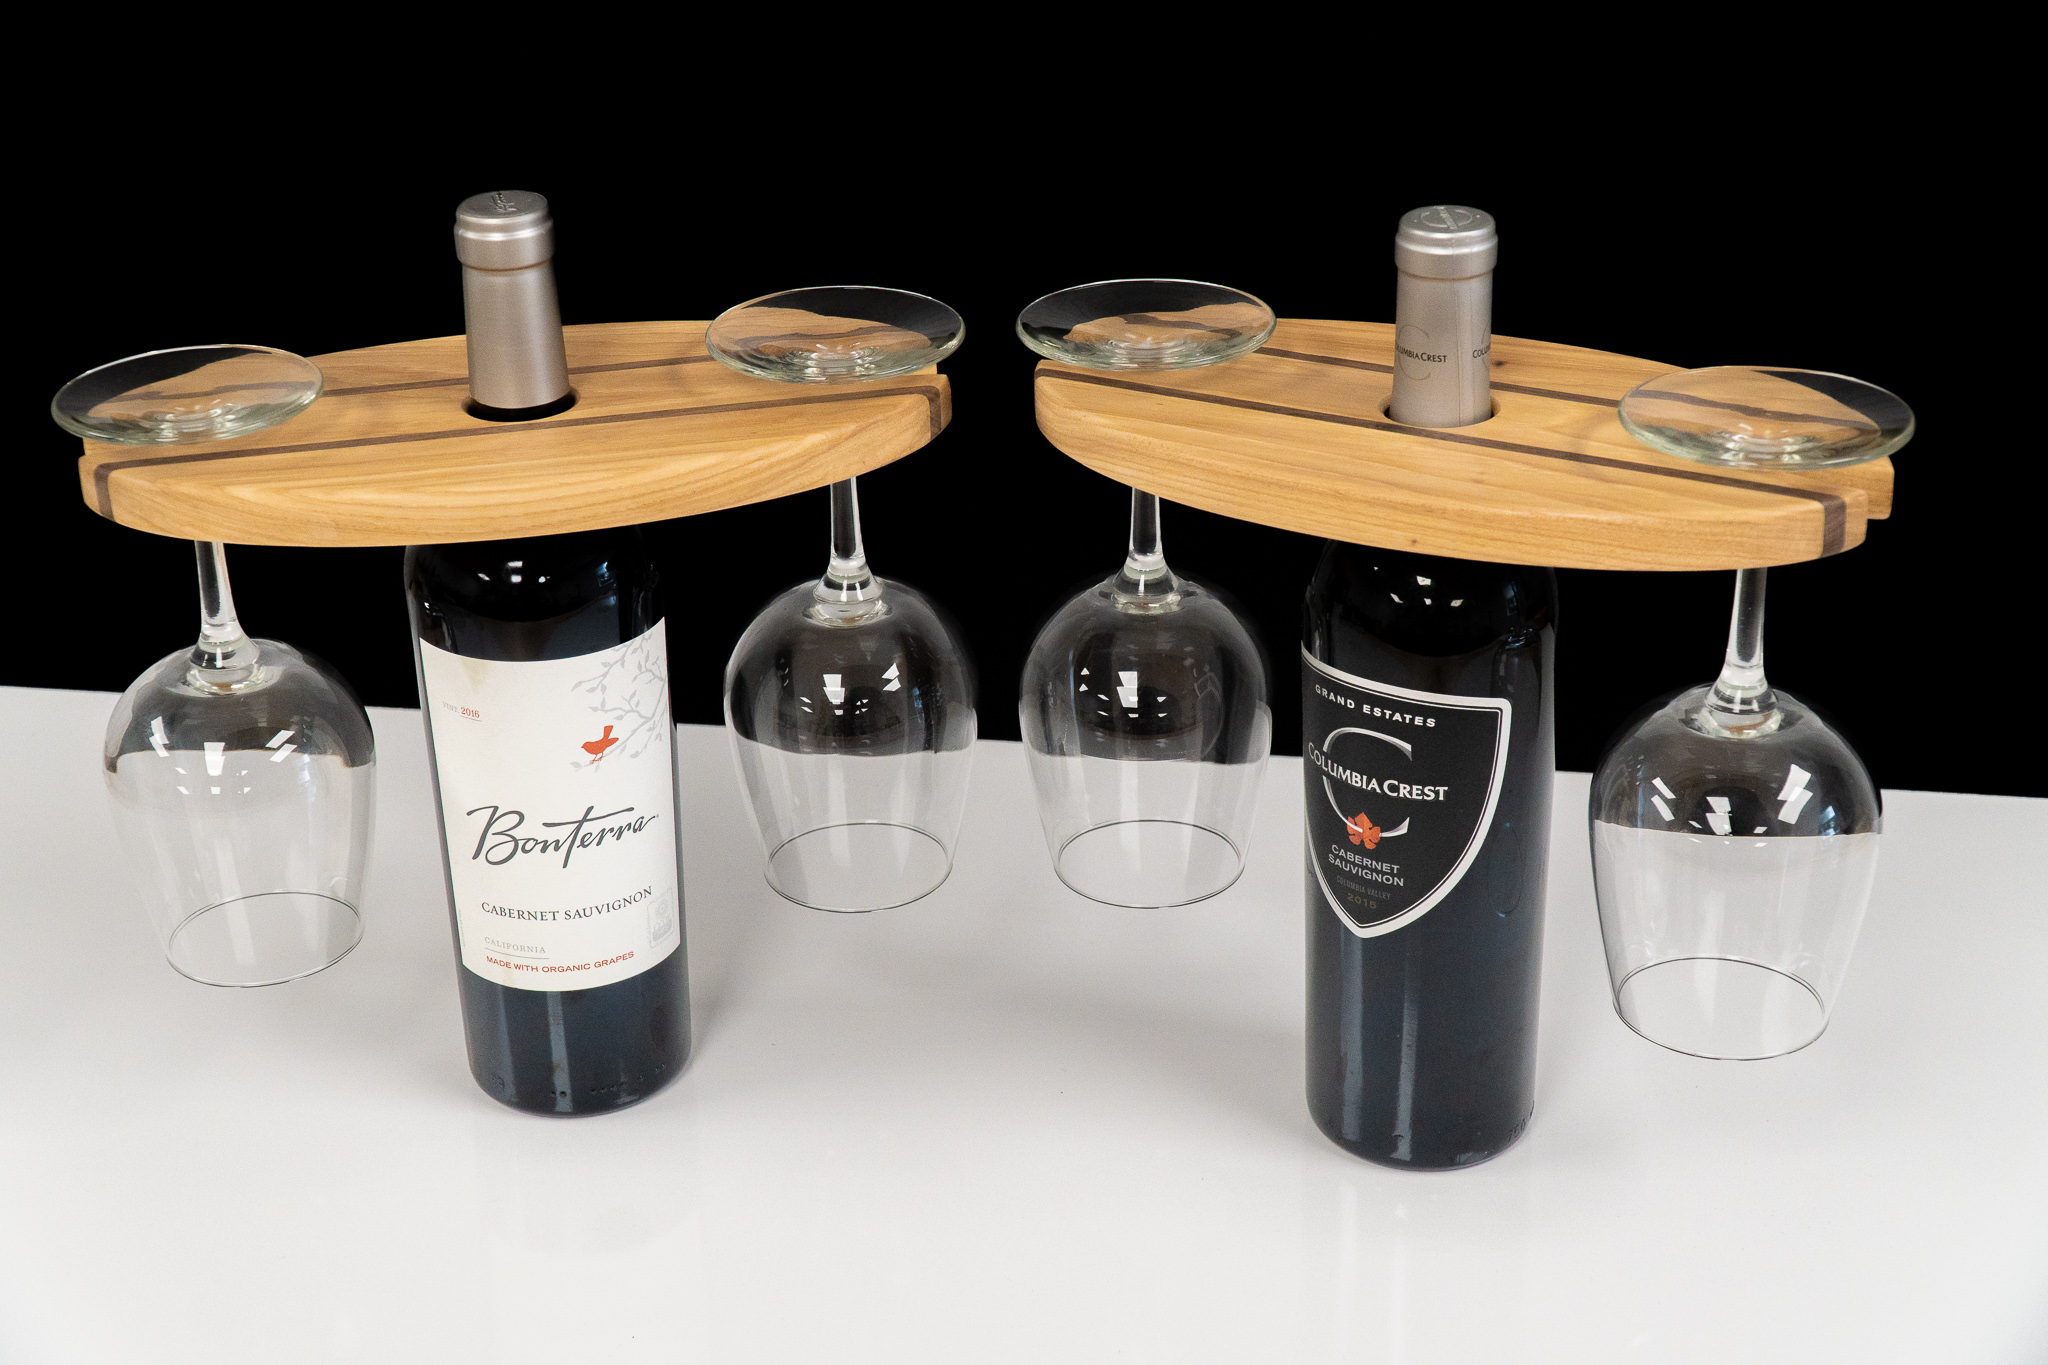
How to Make a Wine Bottle and Glass Display
A quick and simple woodworking project that can easily be batched out for selling at craft shows.
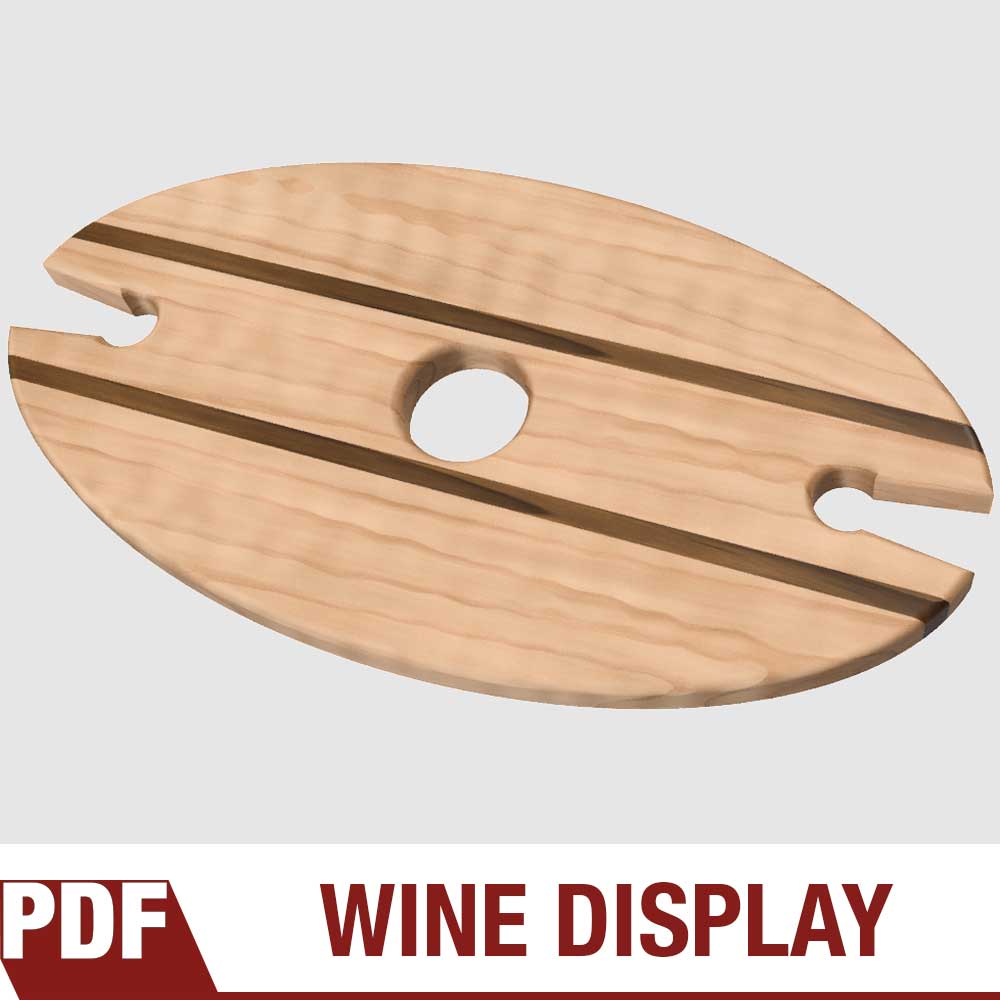
Make Money With Your Woodworking
These wine displays are constantly my biggest seller at craft shows and also one of the easiest things to make! When making these it's best to batch out and make a handful at once to make efficient use of your time. I give the customer the option of buying them with or without the glasses. You ready to dig in and Make Something? Let's go!
Trade is offering 50% OFF your first order when you subscribe to The Hookup. Use my code ‘david’


How to Make a Miter Saw Table
Detailed, step-by-step tutorial on how to make a miter saw table with extension wings and stop block.
Step-by-step Miter Saw Station Build
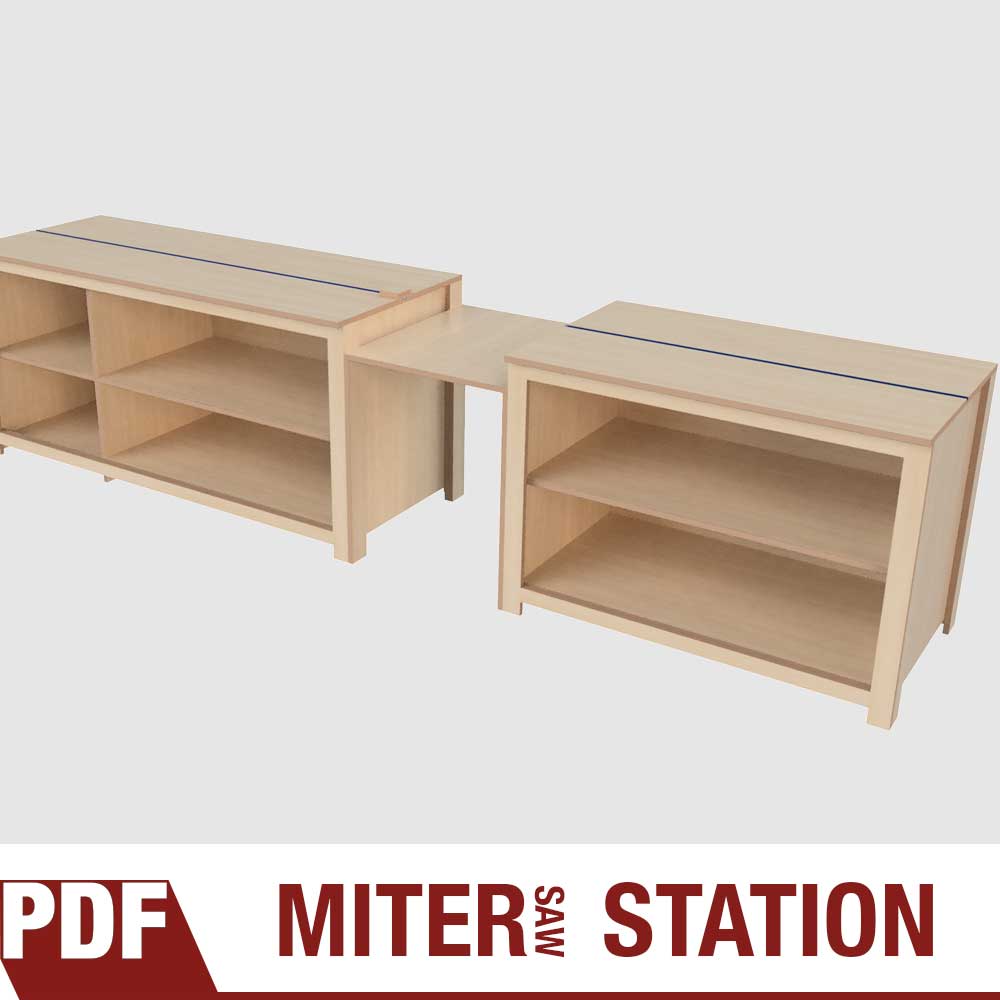
For a long time I had a miter saw without a table and I can tell you from experience that a dedicated station with support will increase the functionality and value of your machine. Having that added support for long pieces and a stop block system will make your workflow faster, safer with more precise and repeatable crosscuts. In this tutorial I show you how to make a quick and easy miter saw table completely out of 3/4" plywood. And don't be fooled by "quick and easy", this shop project will look good in any woodworking space. Get the plans for this miter saw table!
Tools and Supplies Needed for This Woodworking Project


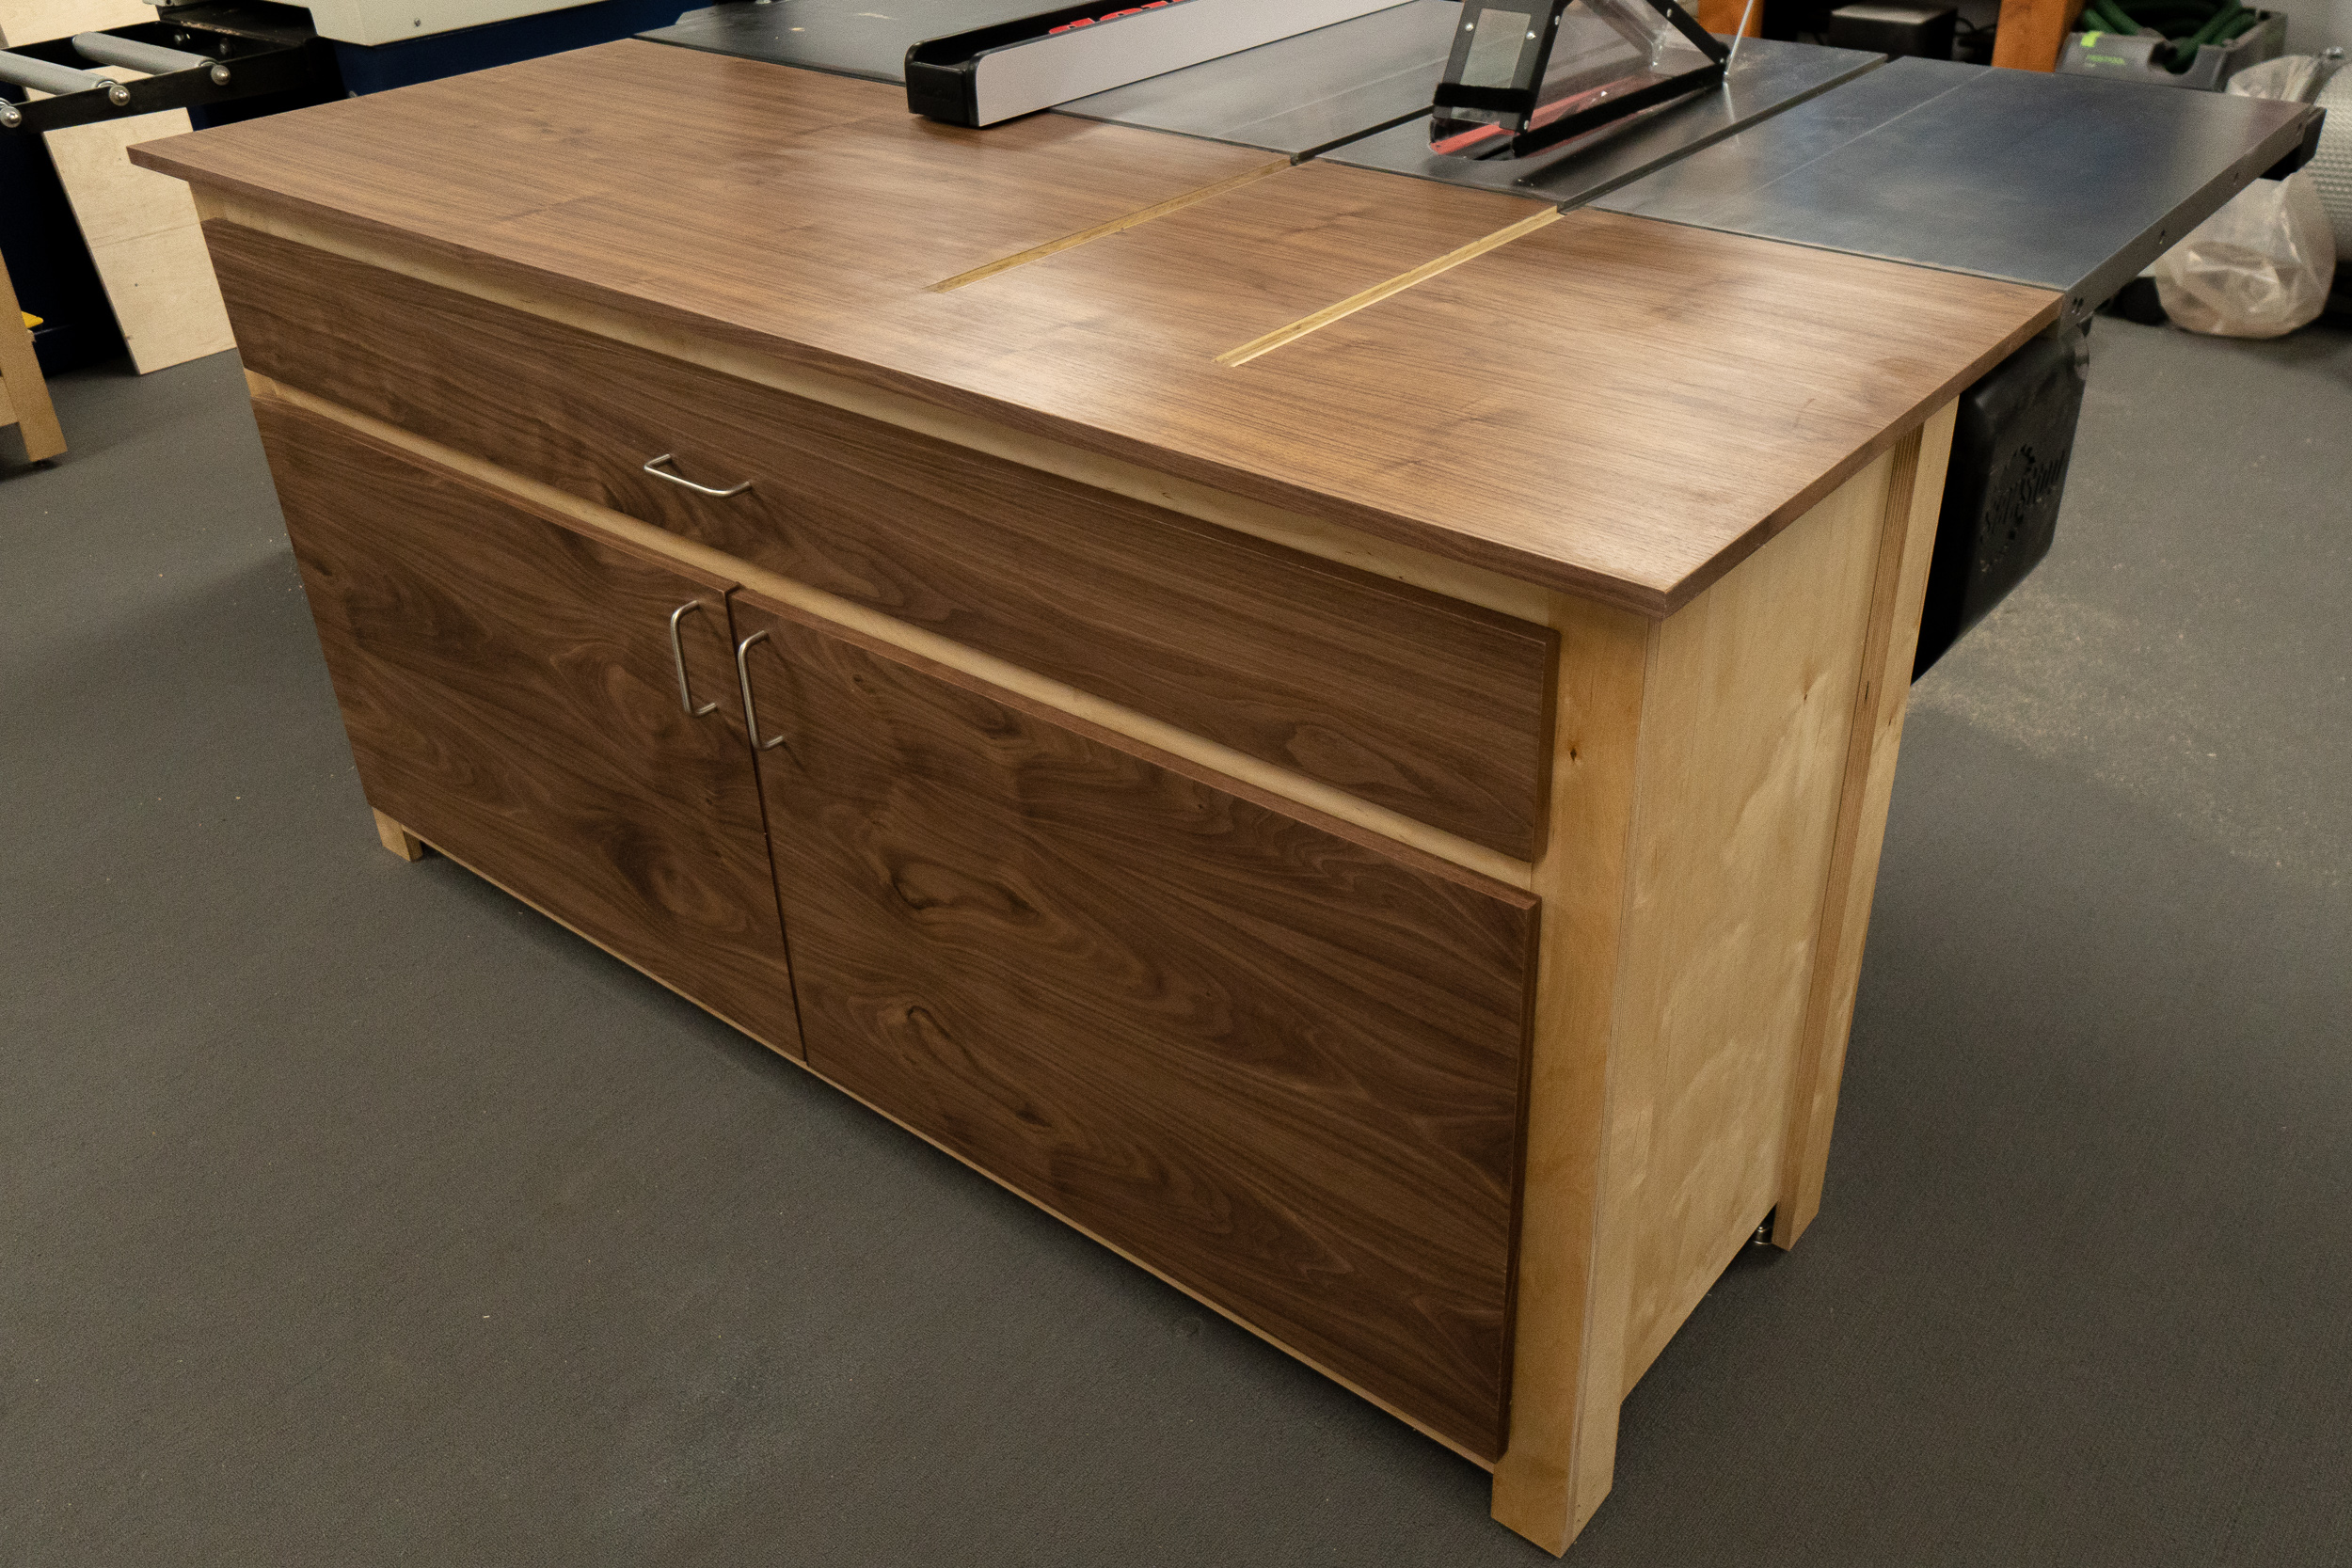
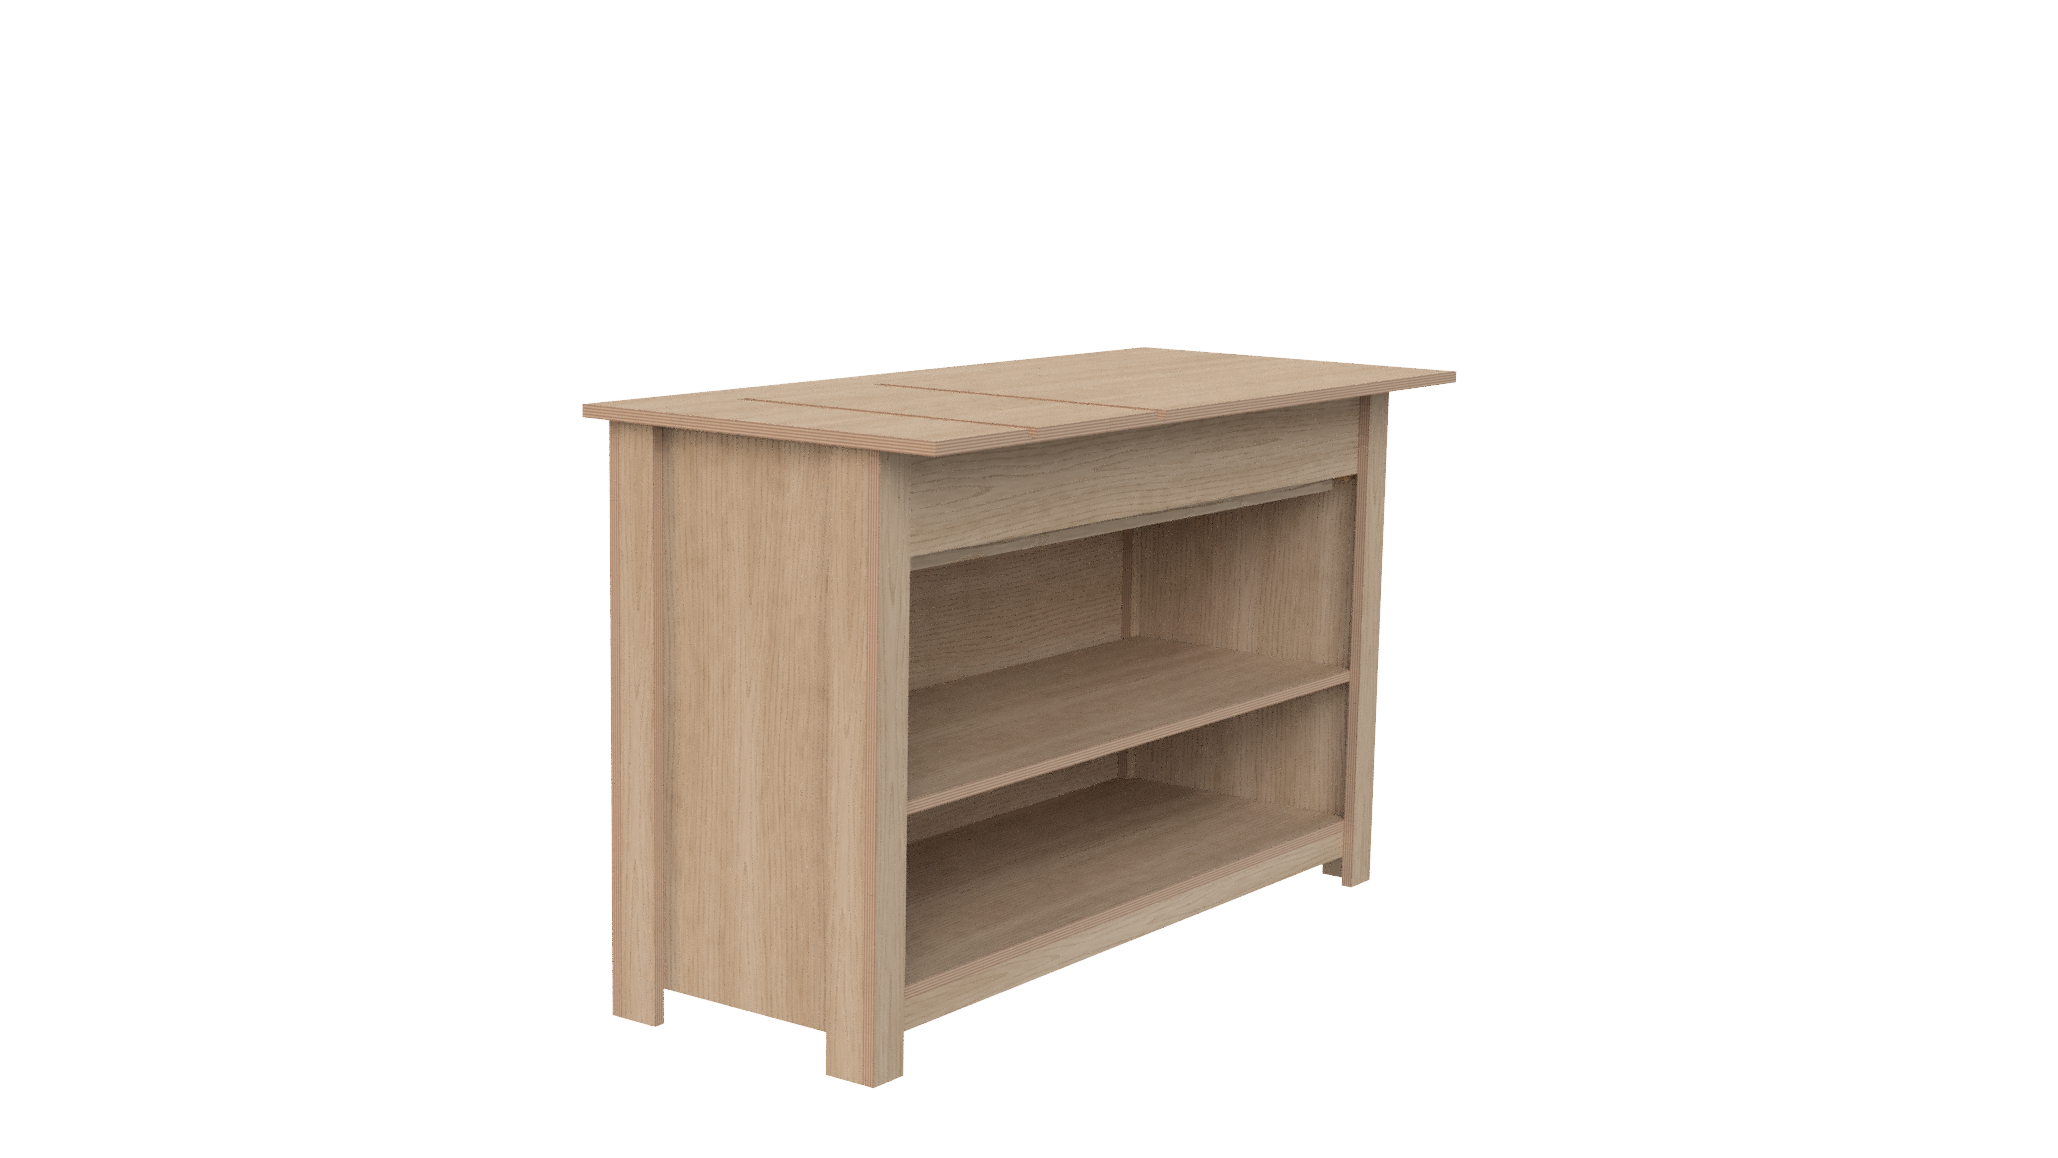
How To Make a Simple Tablesaw Outfeed Table From Plywood
Detailed, step-by-step tutorial on how to make a tablesaw outfeed table.
Step-by-step Tablesaw Outfeed Table Tutorial
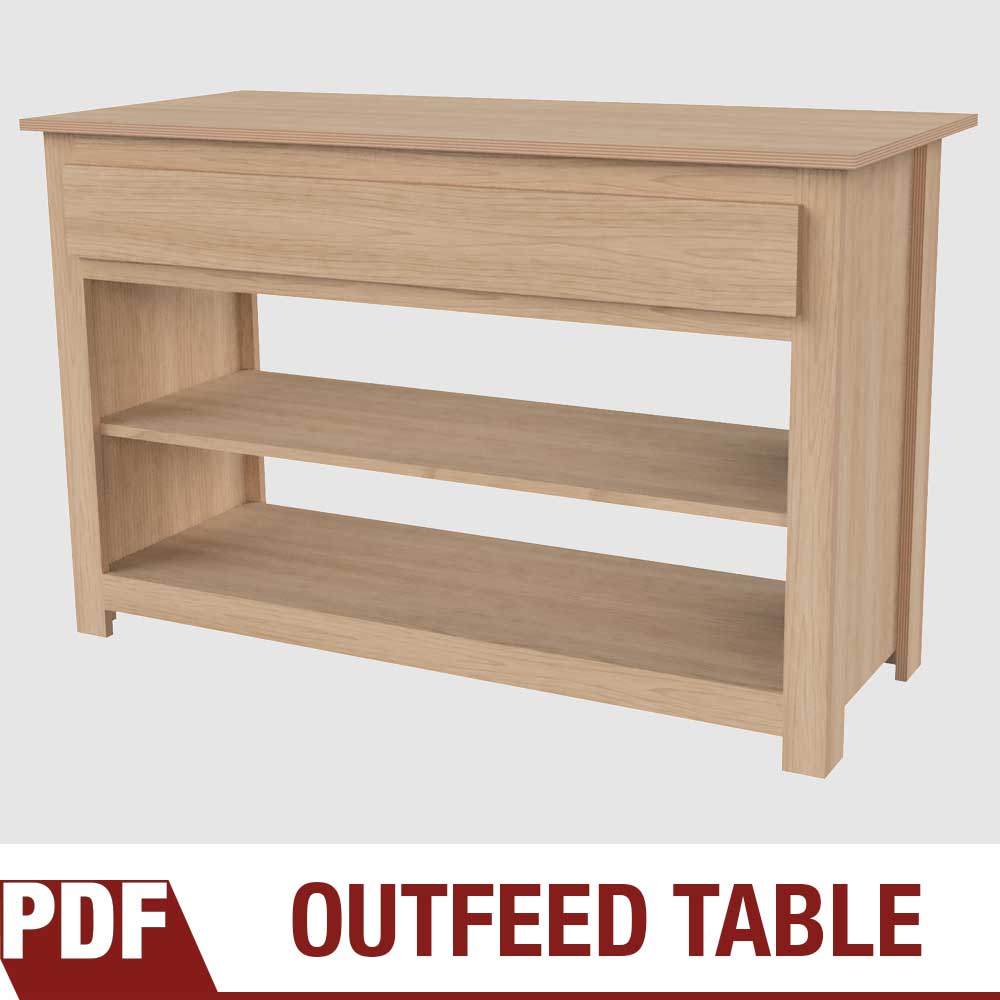
Every woodworker needs a tablesaw outfeed table. You need that added support beyond your saw to support long pieces not only for safety, but to make your tool easier to use. I prefer my shop furniture to be simple and made from common supplies, and this outfeed table couldn't be easier to make. Everything but the drawer is made from 3/4" baltic birch plywood and fastened together with glue and screws. This outfeed table goes together quickly and will expand the capabilities of your tablesaw no matter how big or small your machine is. Get the plans for this outfeed table!
Tools and Supplies Needed for This Woodworking Project


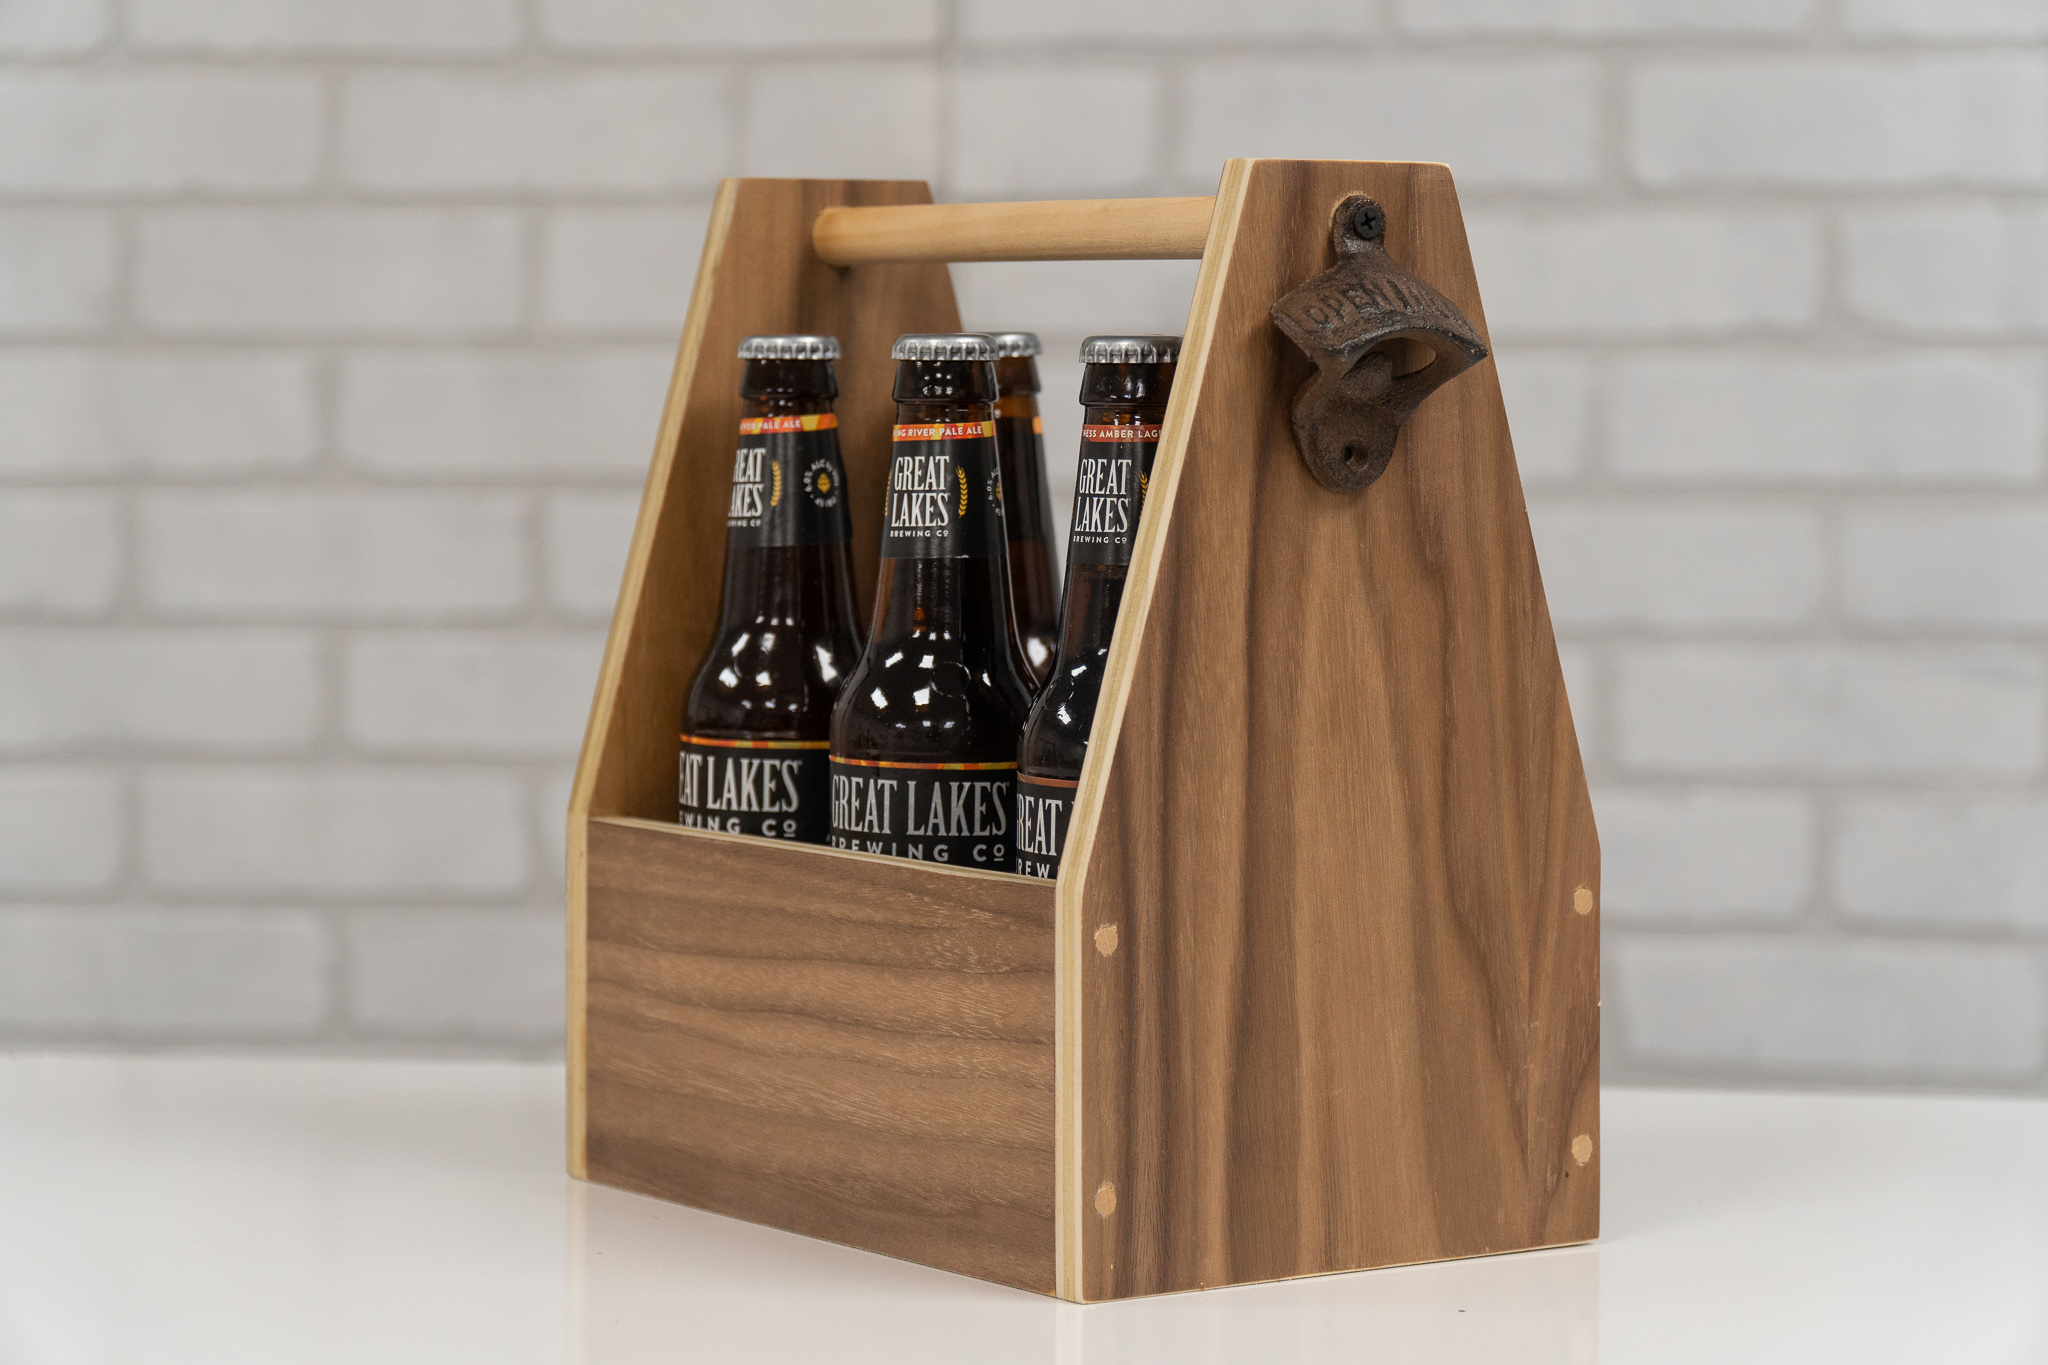
How to Make a Beer Tote / Beer Caddy
Easy woodworking project that you can make as gifts or sell at craft fairs!
Make Money Woodworking by Selling These Beer Totes at Craft Shows
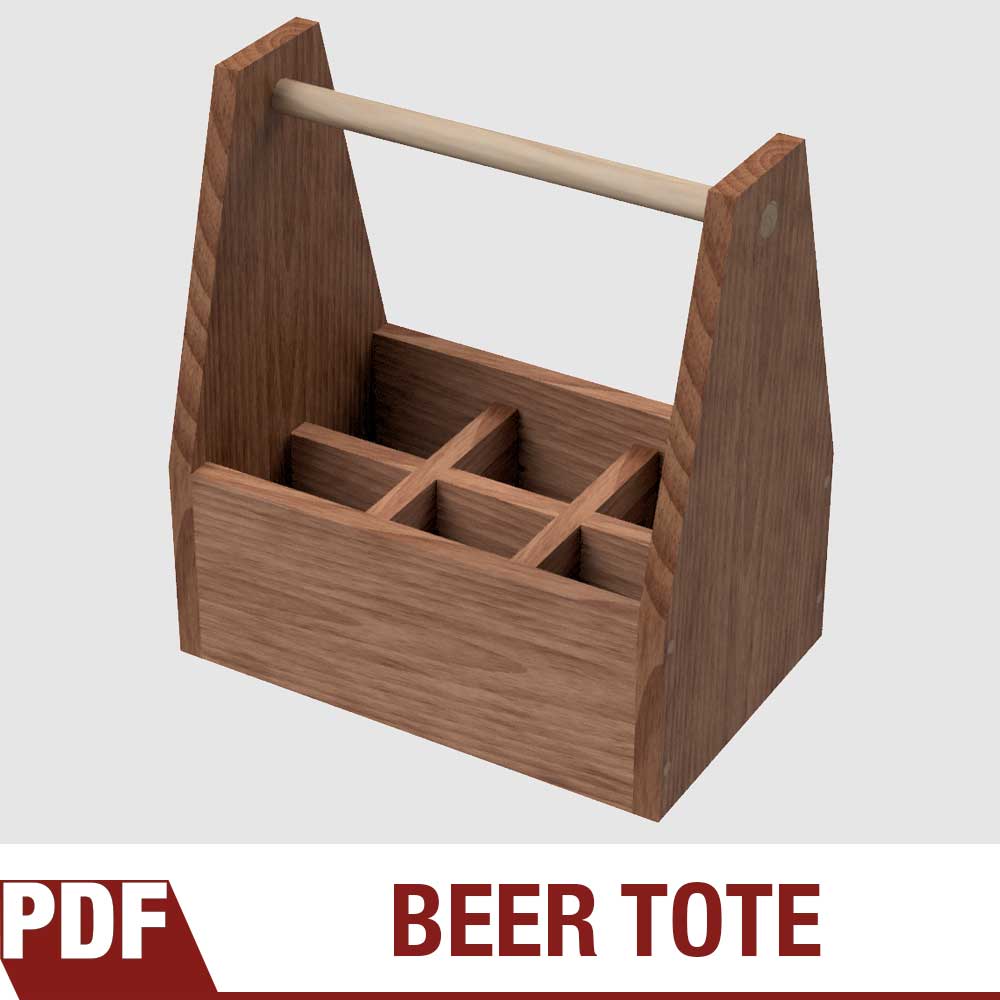
These beer totes are a quick fun woodworking project that anybody can make with a few basic woodworking tools. These are great for batching out and selling at craft shows or Etsy. Watch the tutorial video above to see how it's made. And if you want to make these yourself get the easy-to-follow plans to the right. I encourage everyone who buys my plans to batch these woodworking projects out and sell them at craft shows to earn a little bit of extra money!
Be safe and Make Something!
Tools & Supplies Used In This Woodworking Project


How to Make a Dining Table
Beauty doesn’t mean complicated. Learn how to easily make this dining table.
Simple and Easy to Make Dining Table Project For Any Woodworker
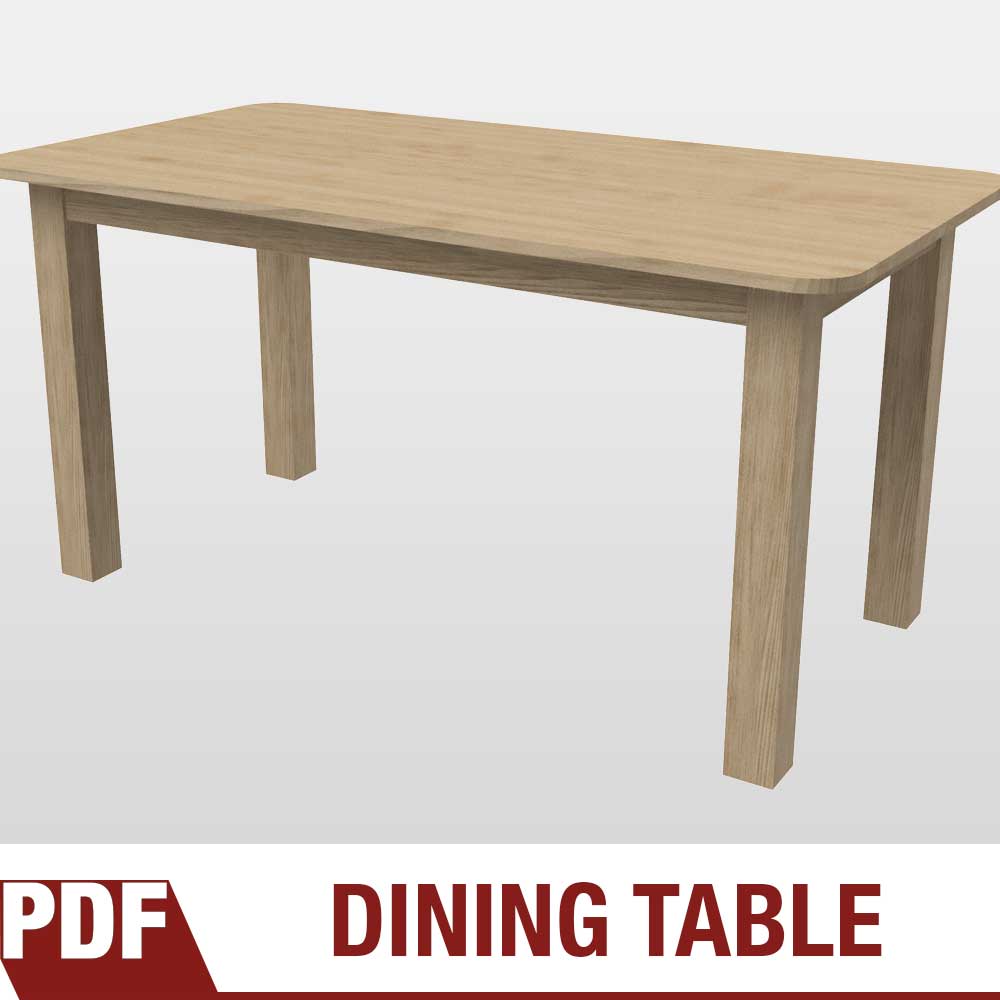
In this woodworking tutorial I show a very simple way to make a beautiful dining table out of standard 3/4" thick wood, even those big beefy legs! A dining table is something we all need so why not make your own? Don't let the size of this project intimidate you. All the joinery is simple enough for anyone to tackle. I'm using hickory that I got from my local hardwood dealer but you could just as well use wood from a home center like Home Depot or Lowes. Just be selective of the boards you choose and look for the straight ones!
Tools & Supplies Used in This Woodworking Project


How to Make a Filing Cabinet Using Walnut Plywood
Making a pair of walnut file cabinets out of plywood and solid wood.
Woodworking Tutorial on Making a Modern File Cabinet
I’m working on building my dream office here at Make Something HQ, and this tutorial is the latest installment in that series. The two walnut file cabinets I’m making in this video are going to serve as the base for my desk, but the plans also allow them to be built as free-standing units.
This how-to walks you through every step of the build using basic woodworking tools, from cutting the carcass to specs to putting the file folder slip-ons in place. I’ll be using walnut plywood for the top, sides and drawers, as well as creating a bottom footer with a router profile. Because you want your drawers to slide with maximum precision, I’ll also show you how to use a universal drawer slider jig.
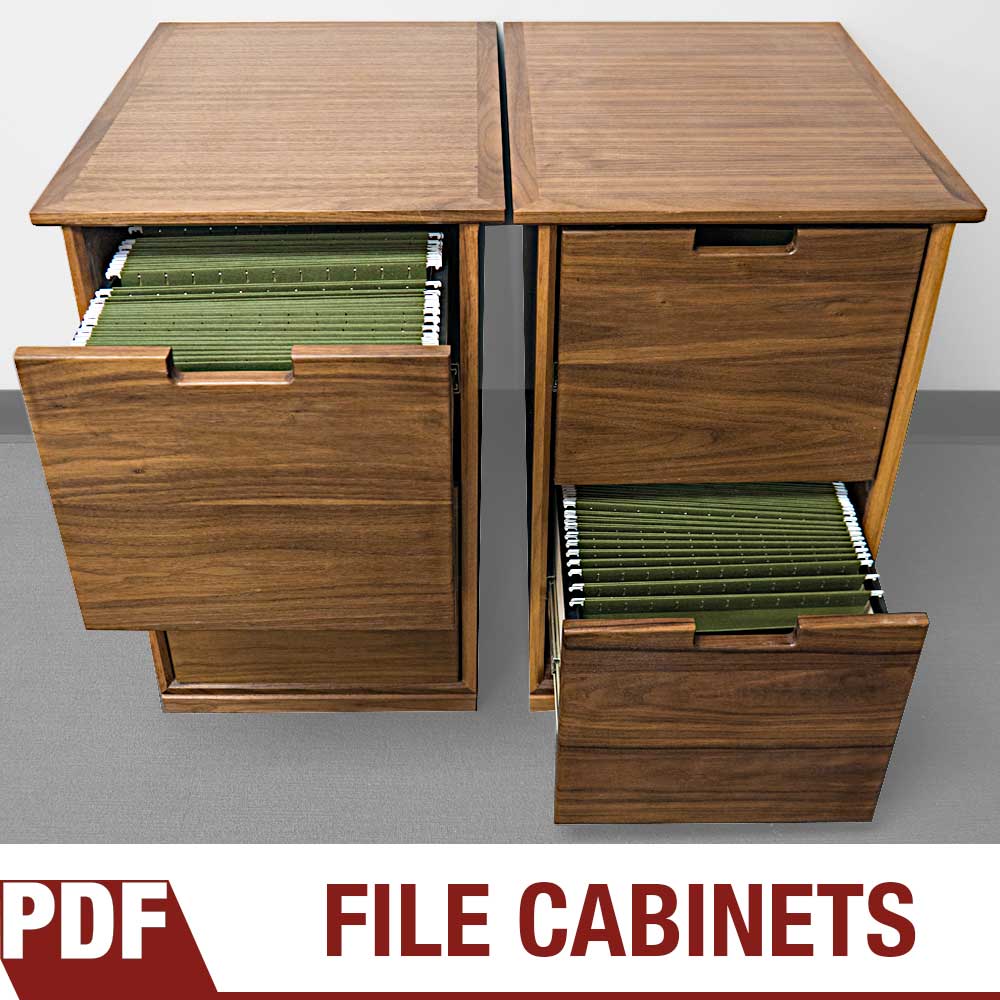
Along the way, I’ll give you a quick glimpse into my shellacking process, so you can get just the right finish for your filing cabinets. Plus (spoiler alert) I’ll even show you how to work through a minor woodworking mistake. Whether you’re planning to use hanging filing folder cabinets as the base for an awesome dream office desk or just create a place to put all those papers that are piled up all over your floor, this is the tutorial that can get you started.
Tools and Supplies Used in the Woodworking Project


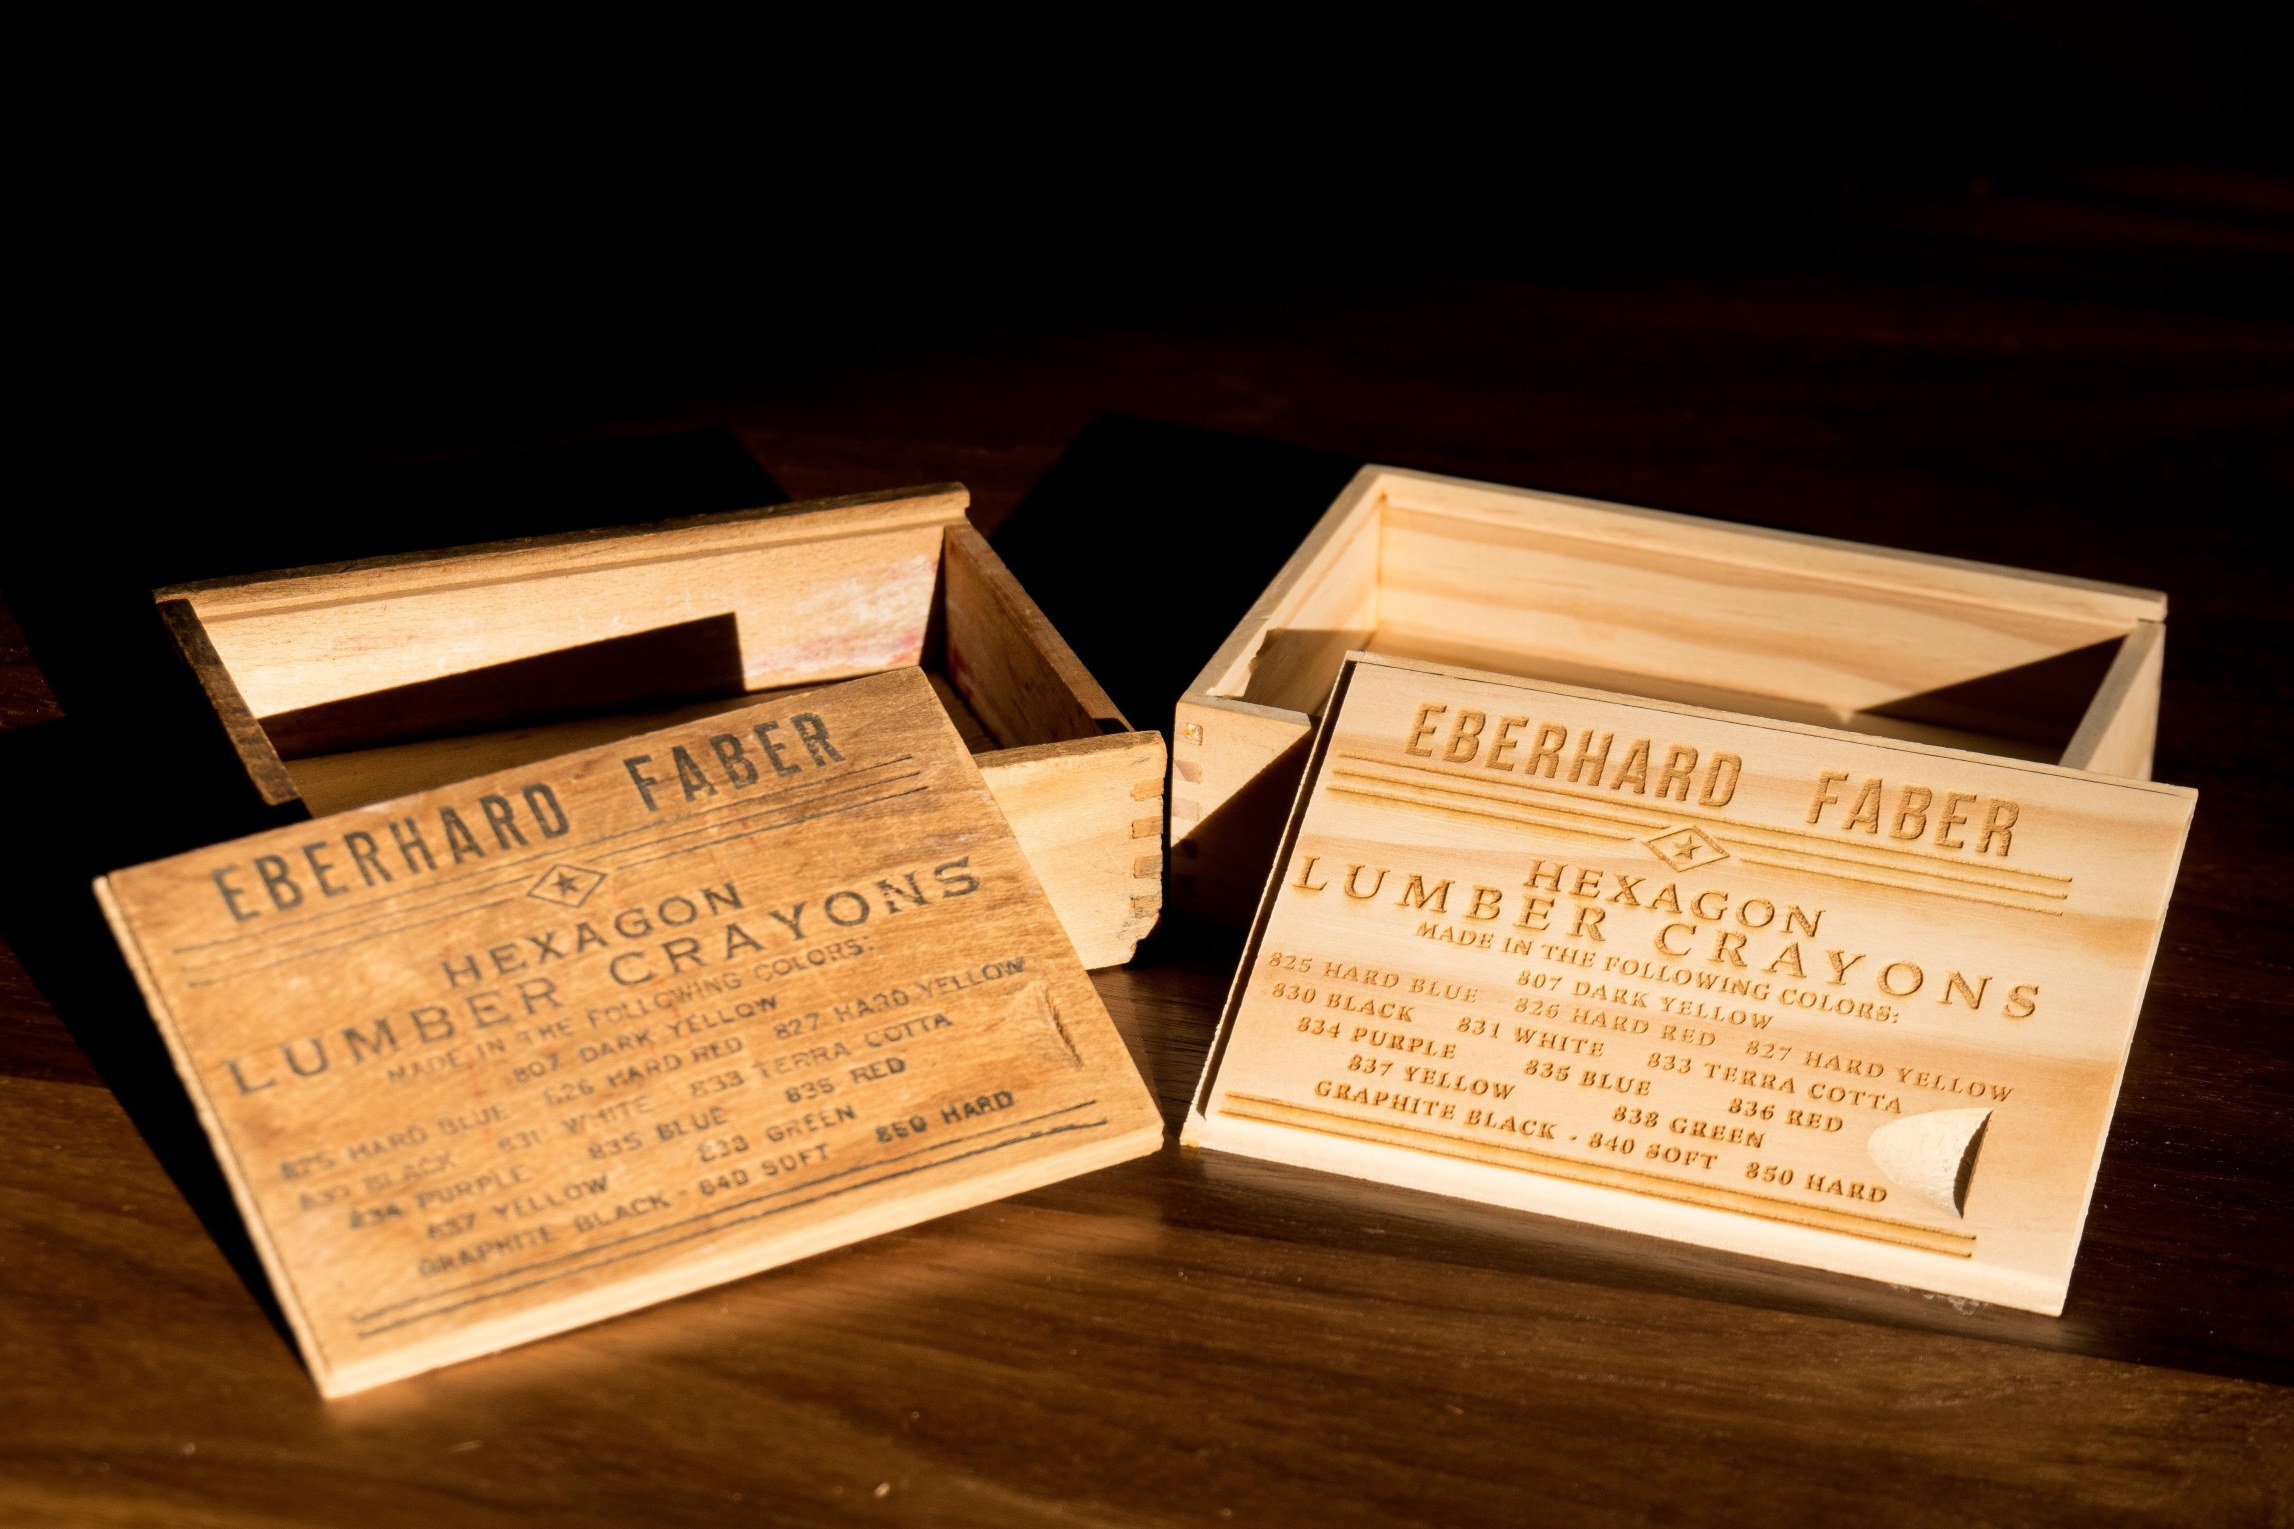
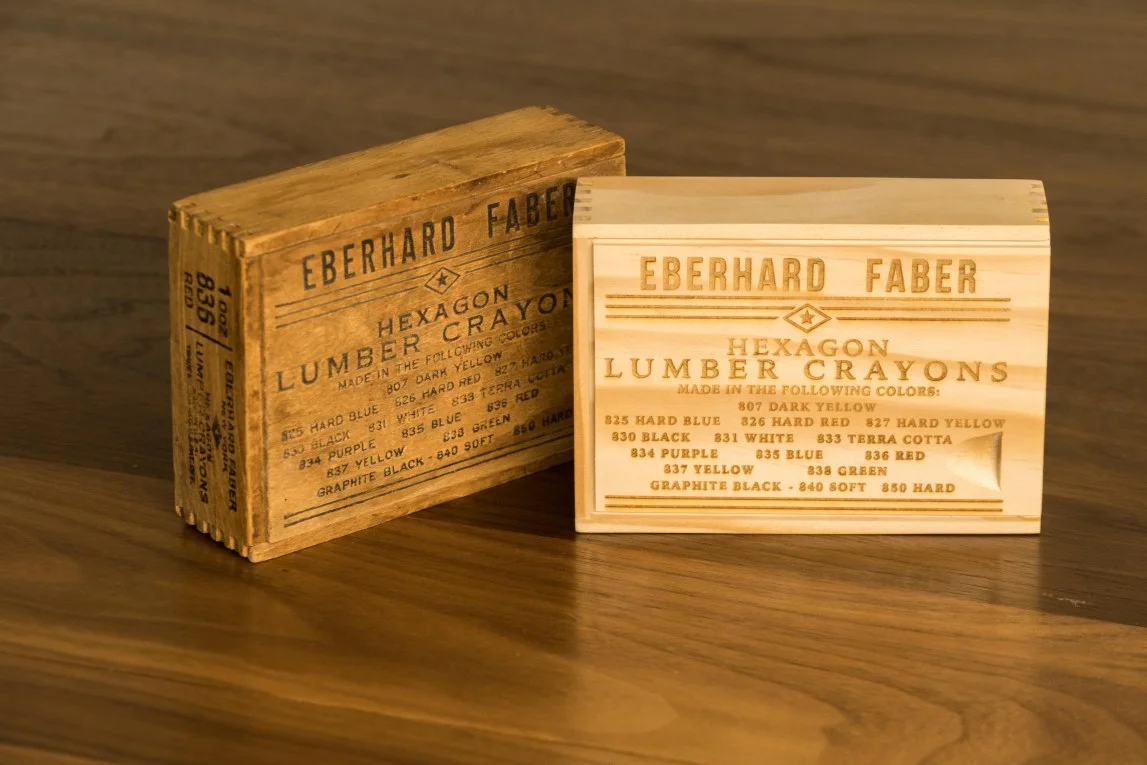
Recreating a 100 Year Old Finger Joint Box
Deconstructing a vintage Eberhard Faber Lumber Crayon box and making a replica.
Box Joints and Finger Joints Made Easy
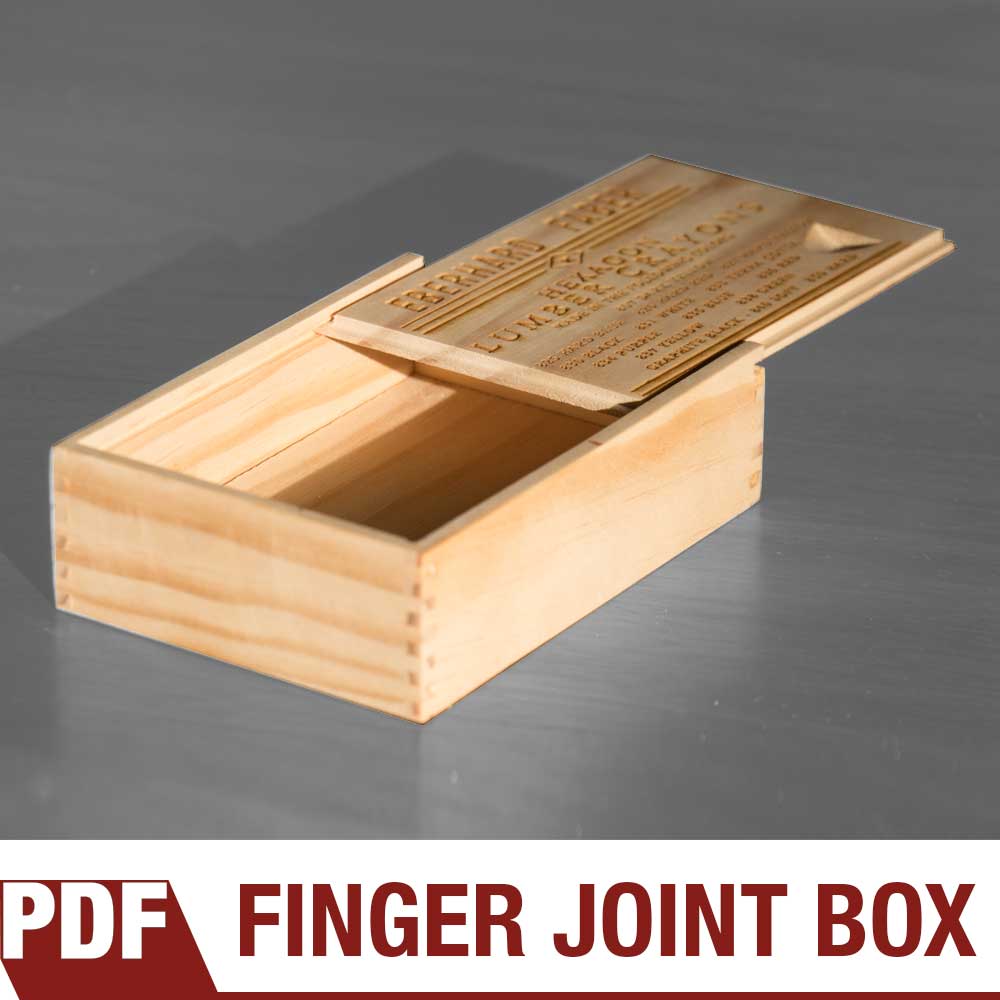
Deconstructing a vintage Eberhard Faber Lumber Crayon box and making a replica. This classic box features box joints (also called finger joints) and a sliding lid complete with engraved and branded lid. Makes for a great woodworking project you can sell at craft fairs.
Tools and Supplies Used In This Woodworking Project


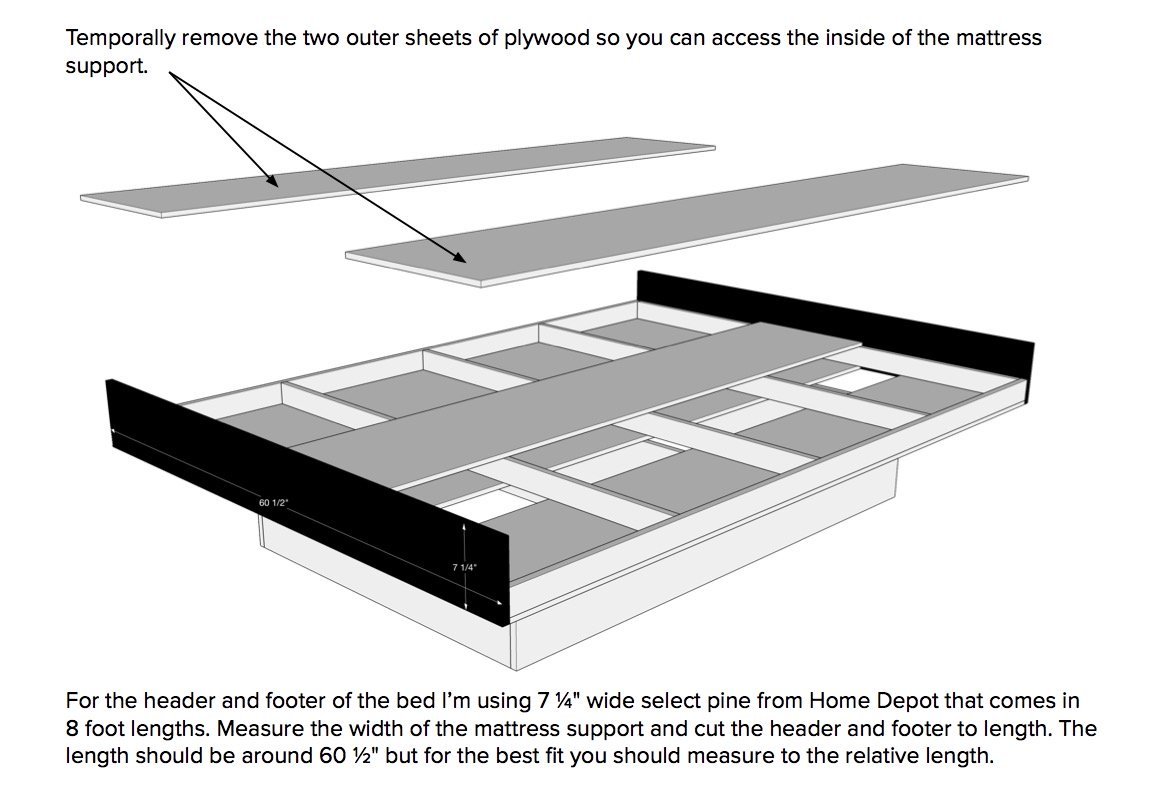
How to Make a Queen Platform Bed | DIY Project
I designed this queen size platform bed based on lumber that can be purchased at your local home center.
Make This Platform Bed With Limited Tools and Lumber from Home Depot!
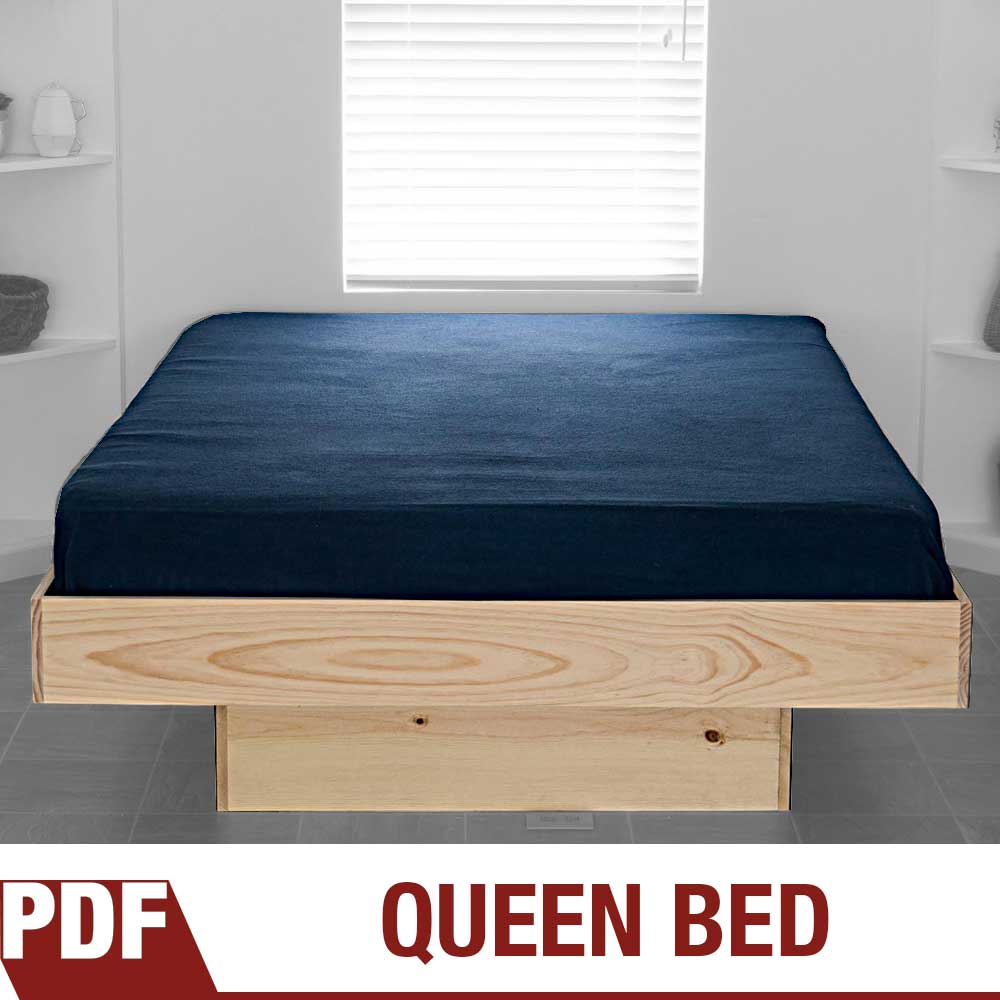
I designed this queen size platform bed based on lumber that can be purchased at your local home center. All of the boards I bought came in pre-cut widths so all I had to do was crosscut to length and screw them together. You don’t need many tools to complete this project since all that really needs done is some basic crosscutting and drilling and screwing.


How to Make a Modern Retro Magazine Rack
How to make a vintage modern magazine rack. Easy woodworking project that can be made in a couple of hours with very few woodworking tools.
Simple Woodworking Project with Limited Tools
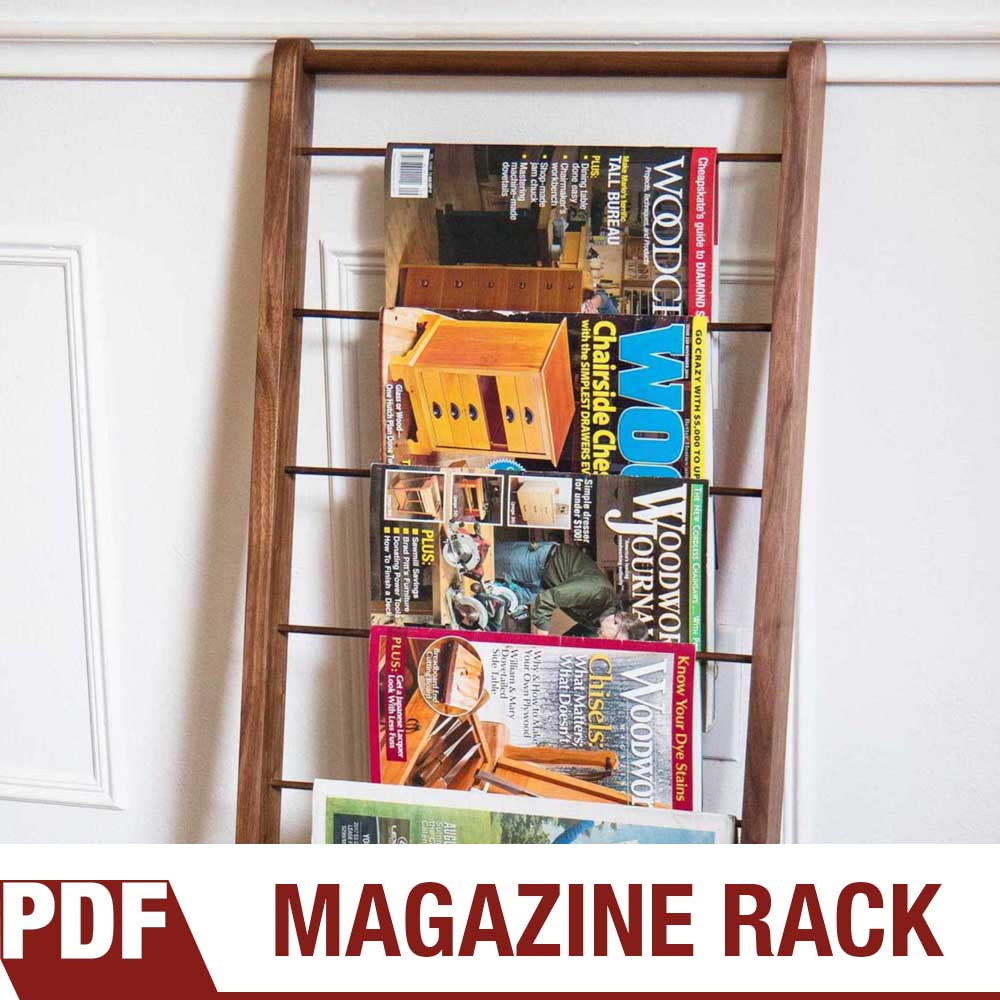
Detailed, step-by-step instructions on how to make a simple magazine rack. Requires very little wood and a few pre-made dowels. Watch the video below to see how easy it is!
How to make a vintage modern magazine rack. Easy woodworking project that can be made in a couple of hours with very few woodworking tools. Even though we live in a digital age I’m a firm believer in holding physical books and magazines. There’s something special about turning through the pages and the effortlessness about picking up a magazine and flipping through it. Here’s a great way to showcase and store your favorite newspapers and magazines!
If you’d like the free plans for this woodworking project, fill out the form on the bottom of this page and you’ll get immediate access to the 8 page PDF with step by step instructions.
Tools and Supples Used in This Woodworking Project


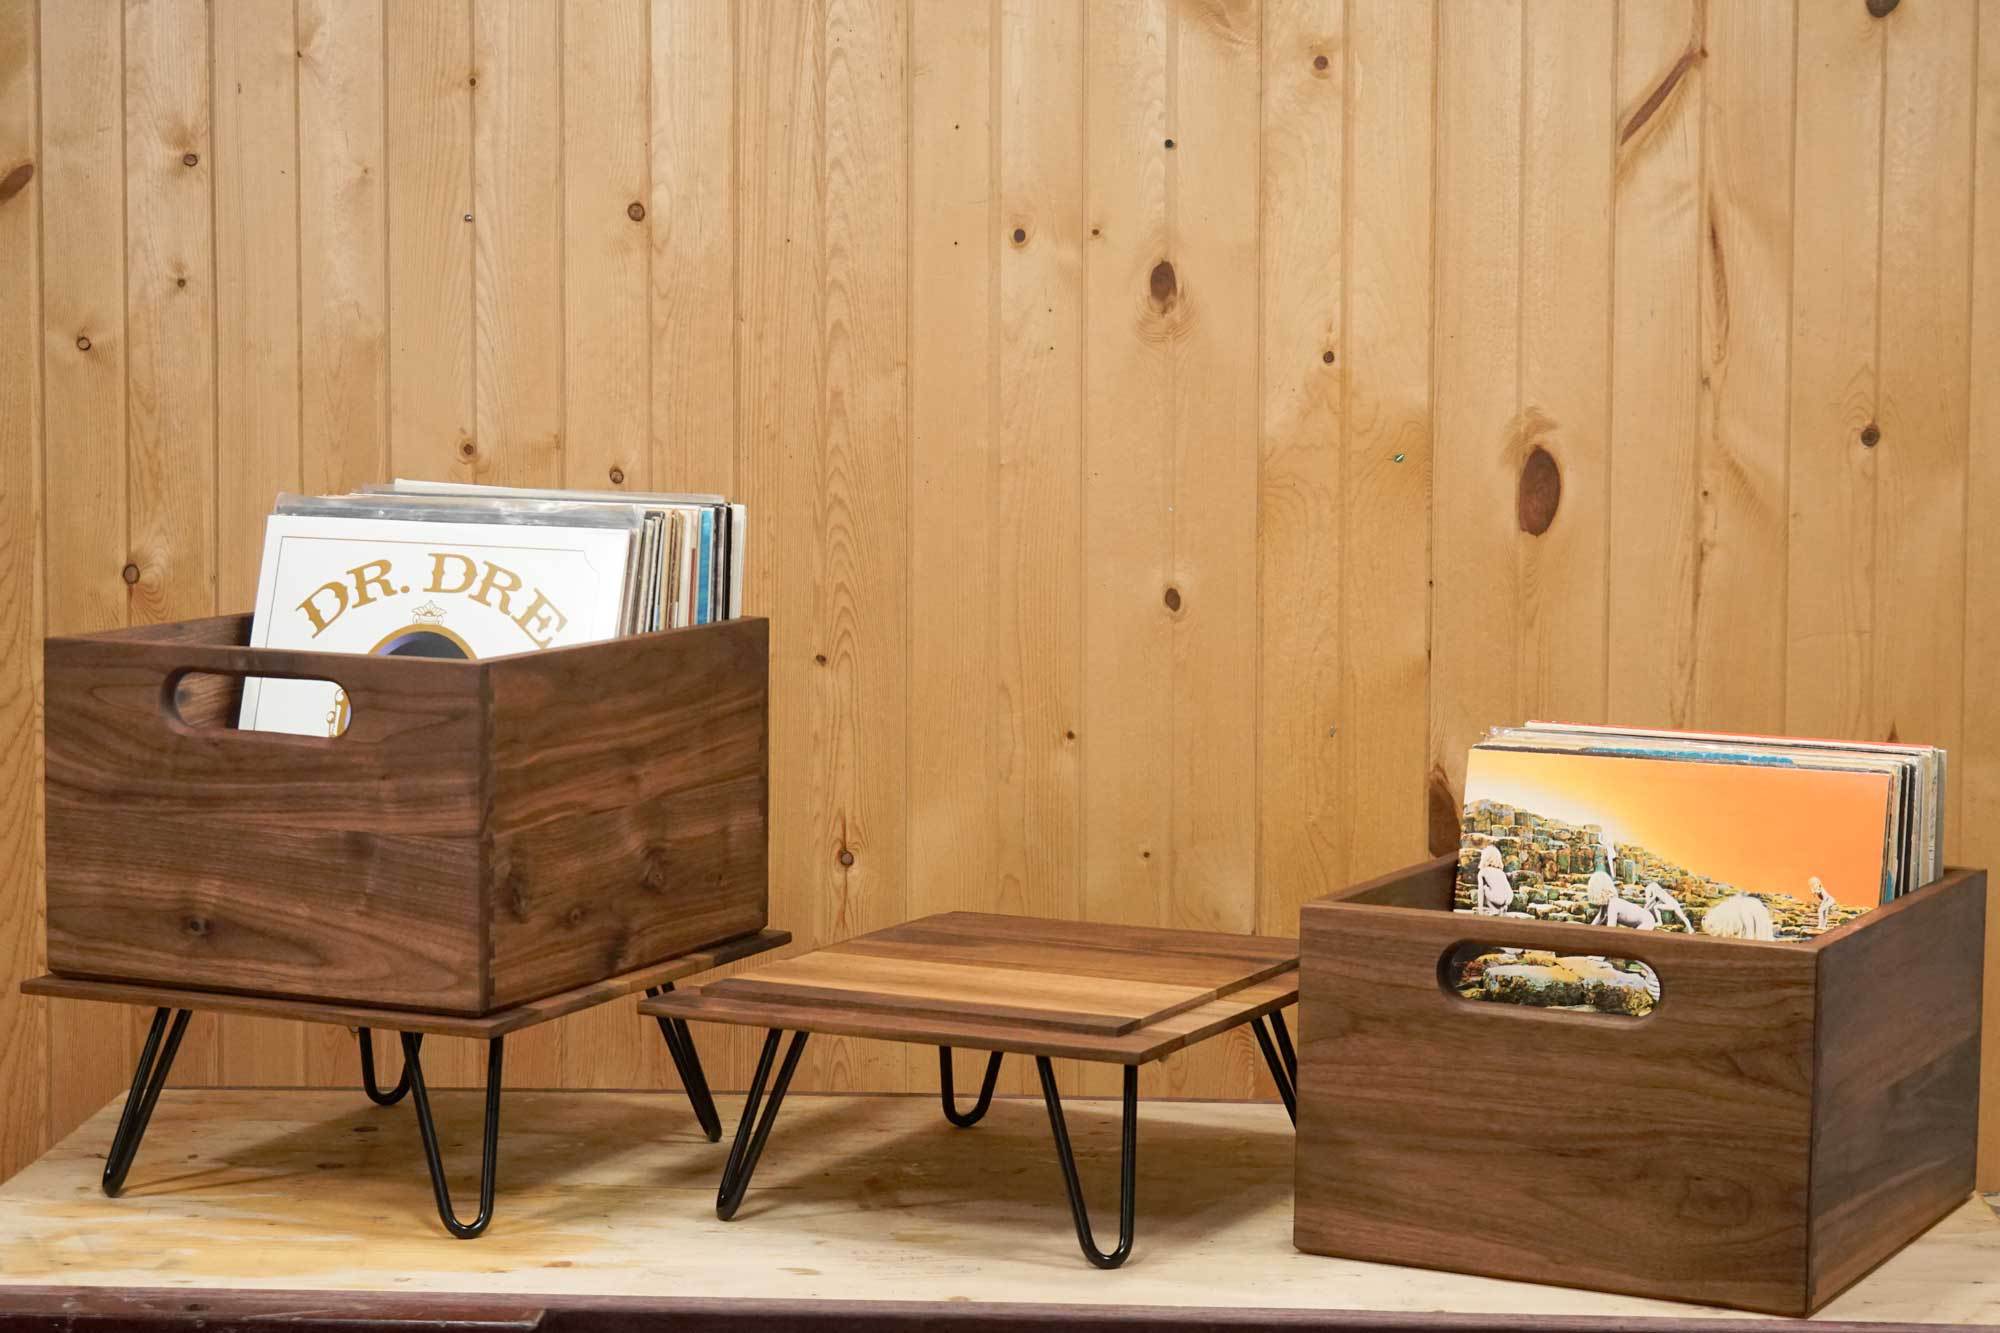
How to Make Classic Record Crates
Making a modern style wood record crates.
Walnut Wood Record Crates
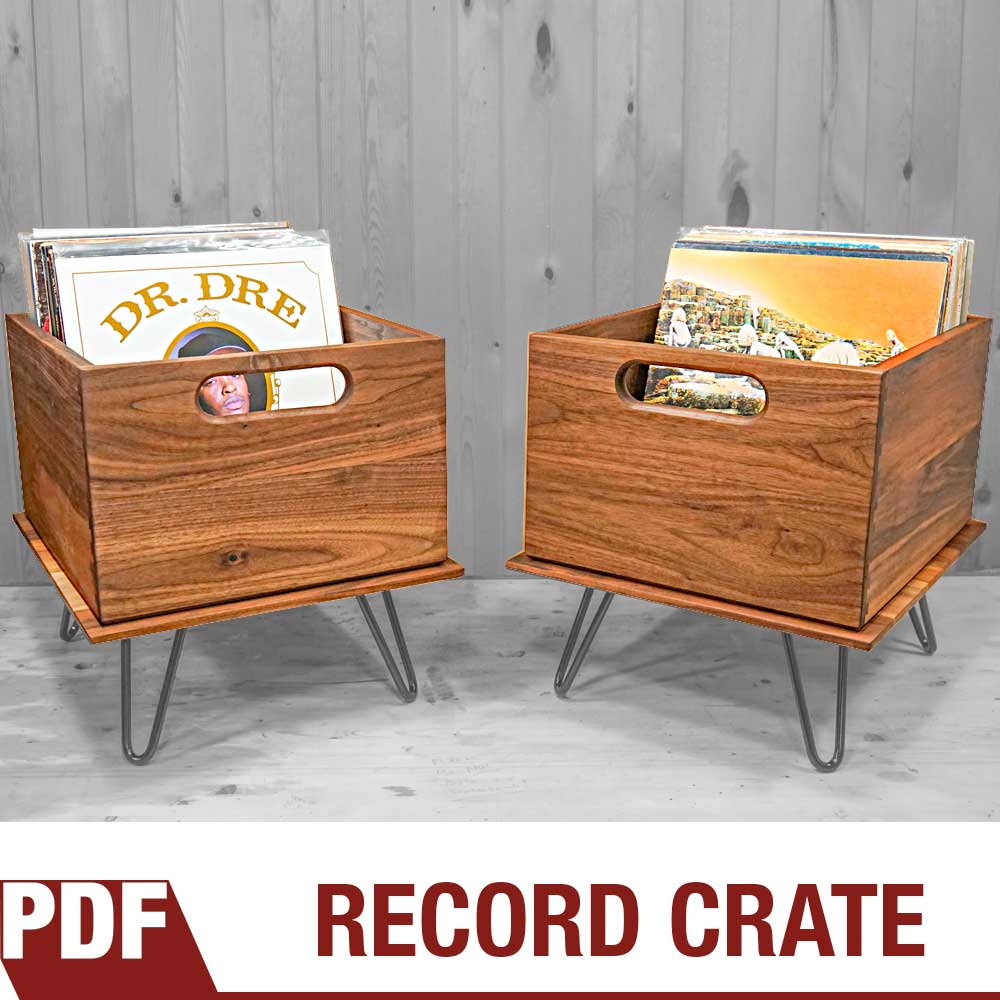
When it comes to music I am a total nerd. I have a decent vinyl record collection and needed a way to store it and show it off at the same time. I wanted something that looked vintage and thought walnut and hairpin legs were the way to go. The crate and base are two separate parts meaning you can remove the crate and go DJ that next gig. Everything is made from solid walnut and used router cut dovetails for joinery. You can find plans for this project here.
Tools and Supplies Used in this Woodworking Project


How to Make a Corner Cabinet
How to make a matching pair of corner cabinets with removable glass doors.
How to make a matching pair of corner cabinets with removable glass doors. A simplified woodworking project with tongue and groove joinery, face frame, flush glass doors with removable back panel and easy to make drawers. These two cabinets were made specifically for my music room to hold up my PA speakers. One cabinet has glass doors with a removable back panel and the other cabinet was made to hold my rack mountable music gear. The removable back panel behind the glass doors allows you to personalize the cabinet. In the video I experimented with three options; clear glass so you can see the contents of the cabinet, black counter laminate that shows of the etching of the glass and a baltic birch wood back that coordinates with the overall design.
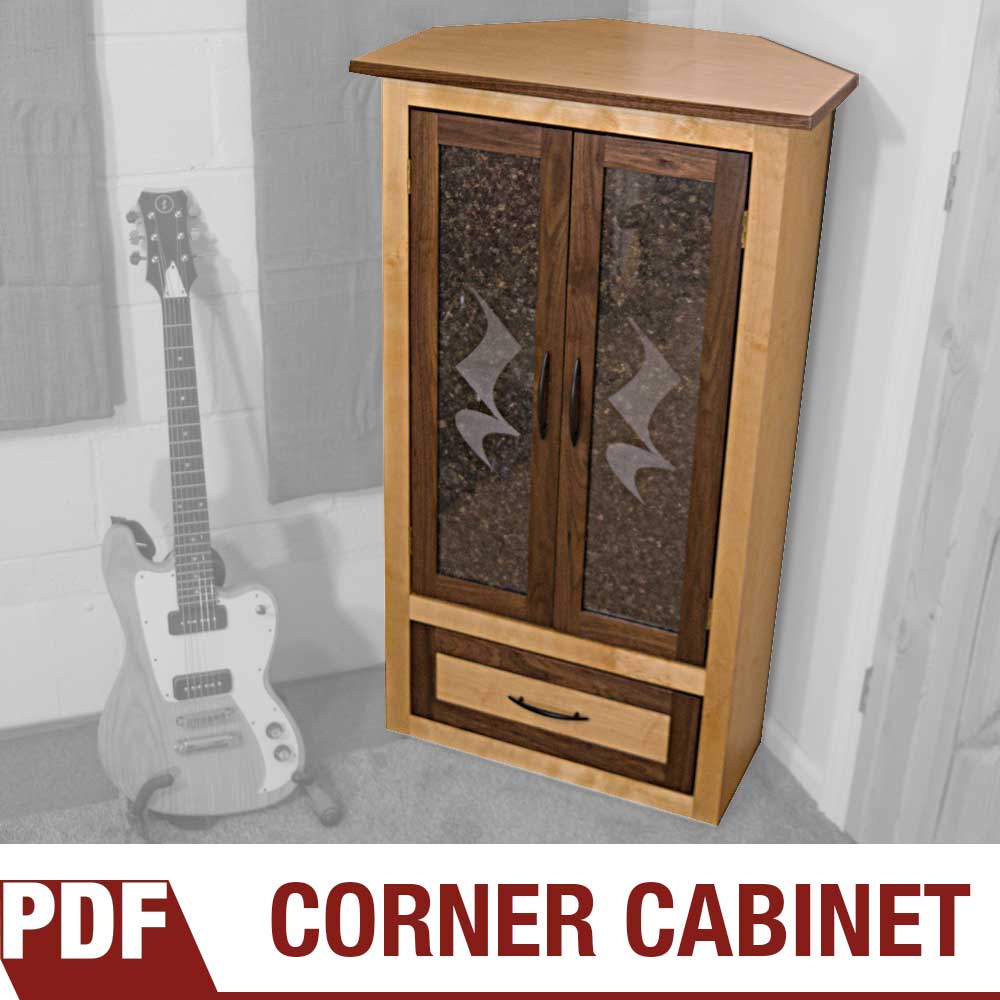
The PDF plans contains 21 pages of detailed step-by-step instructions on how to make a corner cabinet with removable glass doors. A simplified woodworking project with tongue and groove joinery, face frame, flush glass doors and easy to make drawers.


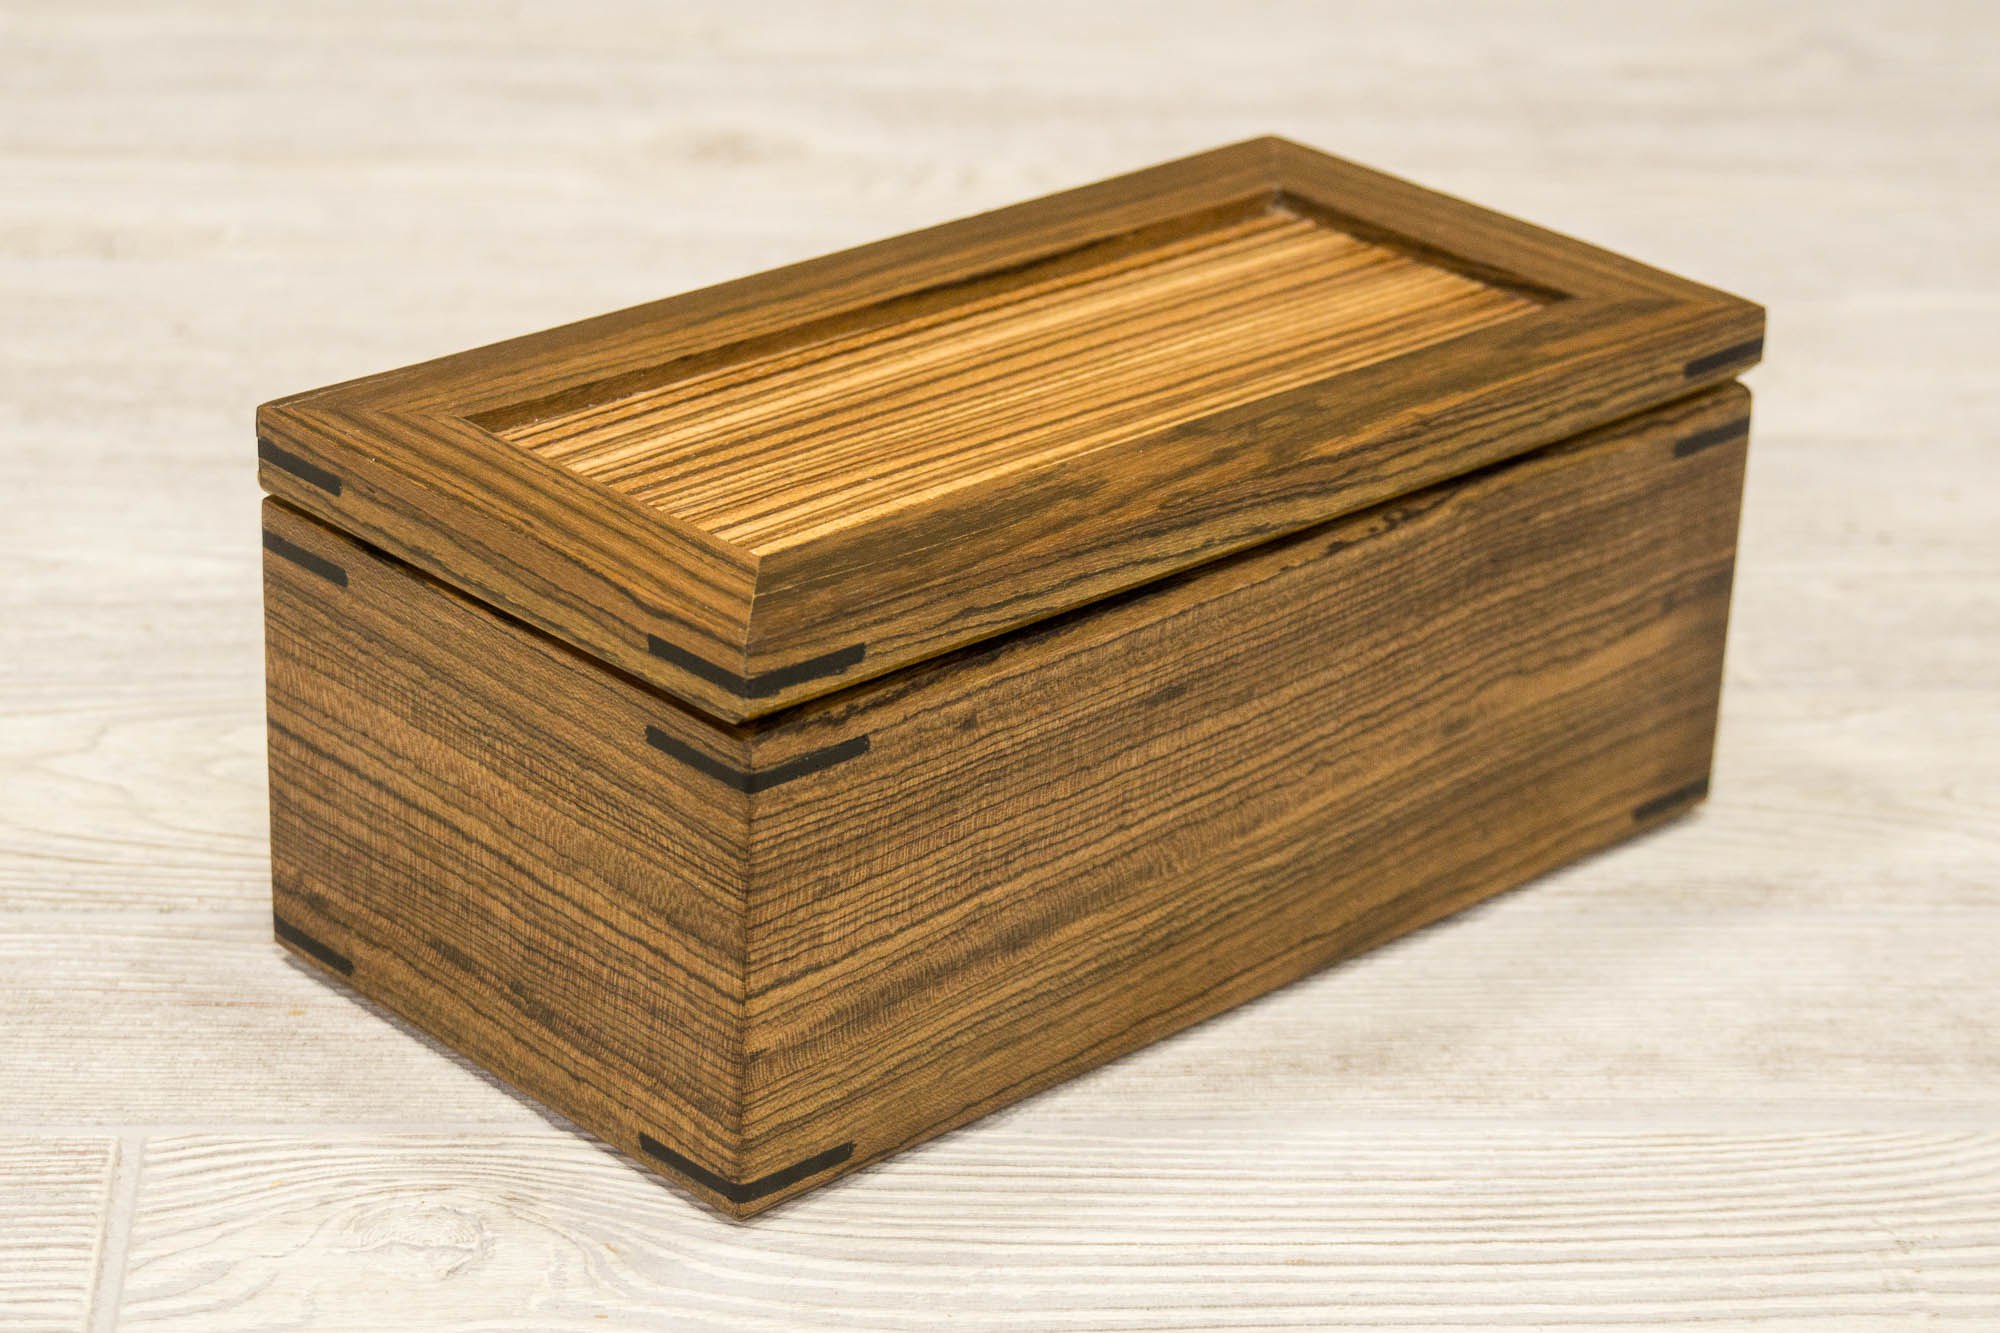
Making a Box with Hidden Compartment
This box that we’re about to make has mitered corners that can easily be done on the table saw and reinforced with easy-to-make splines.
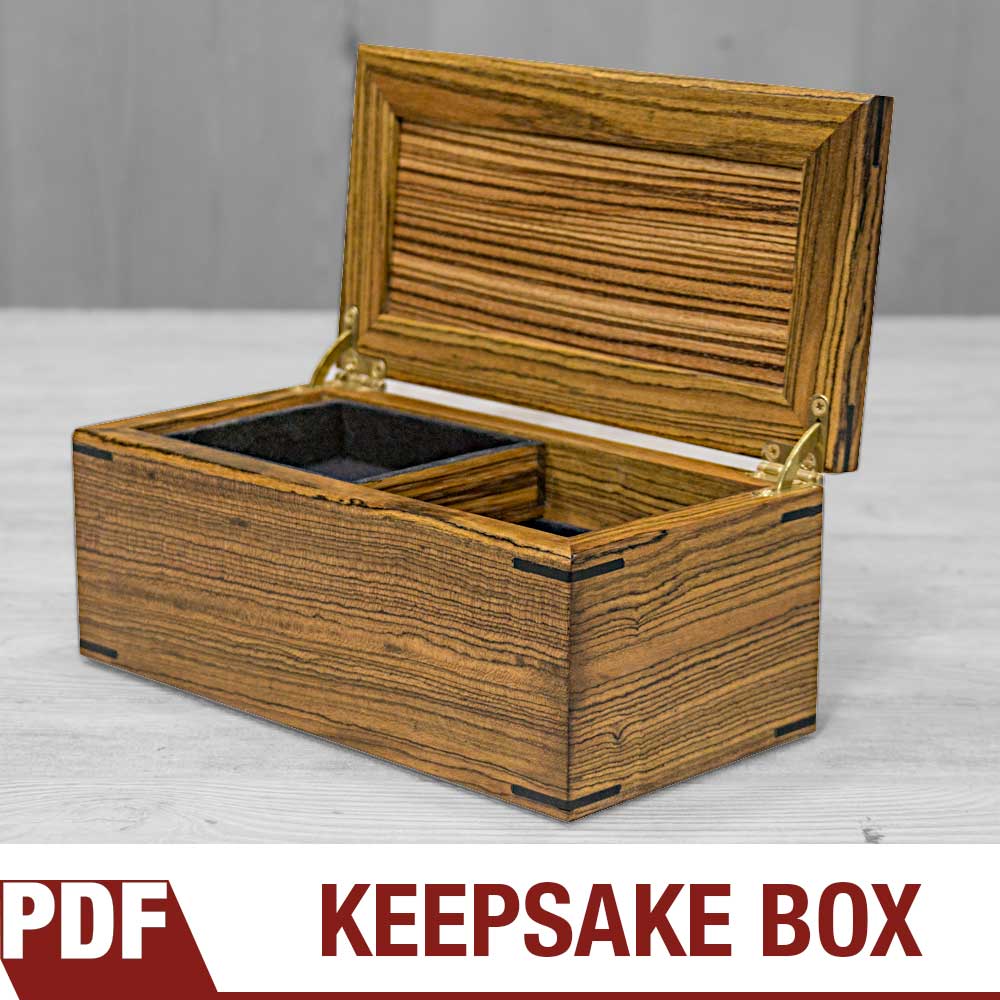
This box that we’re about to make has mitered corners that can easily be done on the table saw and reinforced with easy-to-make splines. The inside has a top sliding tray that when moved left and right reveals two trays below it. When all the trays are lifted out, a hidden compartment is revealed underneath to hide your valuables. All these trays are lined with a soft flocking that feels like velvet and I’m using solid brass quadrant hinges with lid support from Brusso Hardware. For this box I wanted to use special exotic woods so I went to Kencraft, my local hardwood dealer and picked out some Bocote for the sides, Zebrawood for the top and bottom and ebony for the splines.
Although I can’t give you an exact amount of hours it took to make this I can tell you that if well planned this could easily be made in two days. On day 1 all the pieces can be cut and glued together. On day 2 the splines, chamfers and hinges can be added. If you choose to use a lacquer finish you could also get multiple coats done on the second day as it will dry fast. The tri-blend finish I recommend on exotic woods takes 4 days but each day only requires a couple minutes of work with a full day to dry between coats. The price of wood can be very dynamic depending on the choice of woods and your location. I chose to get a little fancy and paid $73.58 for the wood used in this project without any leftovers. I also decided to use the well made Brusso hinges that come in at $49.99. Yes, the Brusso hinges cost a pretty penny but you can feel the difference in quality as soon as you hold them in your hand. They have high standards and a very good reputation for being the best in the business. So after taxes and shipping the total cost of materials was $135.62 which doesn’t include the flocking and finish.
I’m really happy with the way this box came out. The top tray slides effortlessly across the bottom tray and everything lifts out to reveal the hidden compartment. All of the joinery is mitered corners that are easily done on the tablesaw and reinforced with splines. And the solid brass hinges compliments the exotic woods and the the design. You learn more about the jigs I used as well as the flocking and finishing techniques in the links below. Plans are available in my store. I hope you enjoyed this video as I’ve got a lot more projects like this coming out as well as bigger builds and non-woodworking projects. As always, be safe, stay passionate and make something!
Tools and Supplies
- Micro Jig GB-1 GRR-Rip Block
- Micro Jig GRR-Ripper
- Brusso Solid Brass Quadrant Hinges
- Festool Random Orbit Sander
- SawStop Tablesaw
- Grizzly Bandsaw
- Blue Painters Tape
- TiteBond Glue
- Flush Trim Saw
- Suede-Tex Mini Flocker
- Suede-Tex Undercoat Adhesive – Black
- Flocking Fibers, 3 oz., Black
- Minwax Wipe-On Poly Polyurethane
- Mineral Spirits
- Boiled Linseed Oil
- Dewalt Plunge Router
- JIG IT Hinge Mortising System
- Bench Dog Router Table
Related Resources and Tutorials


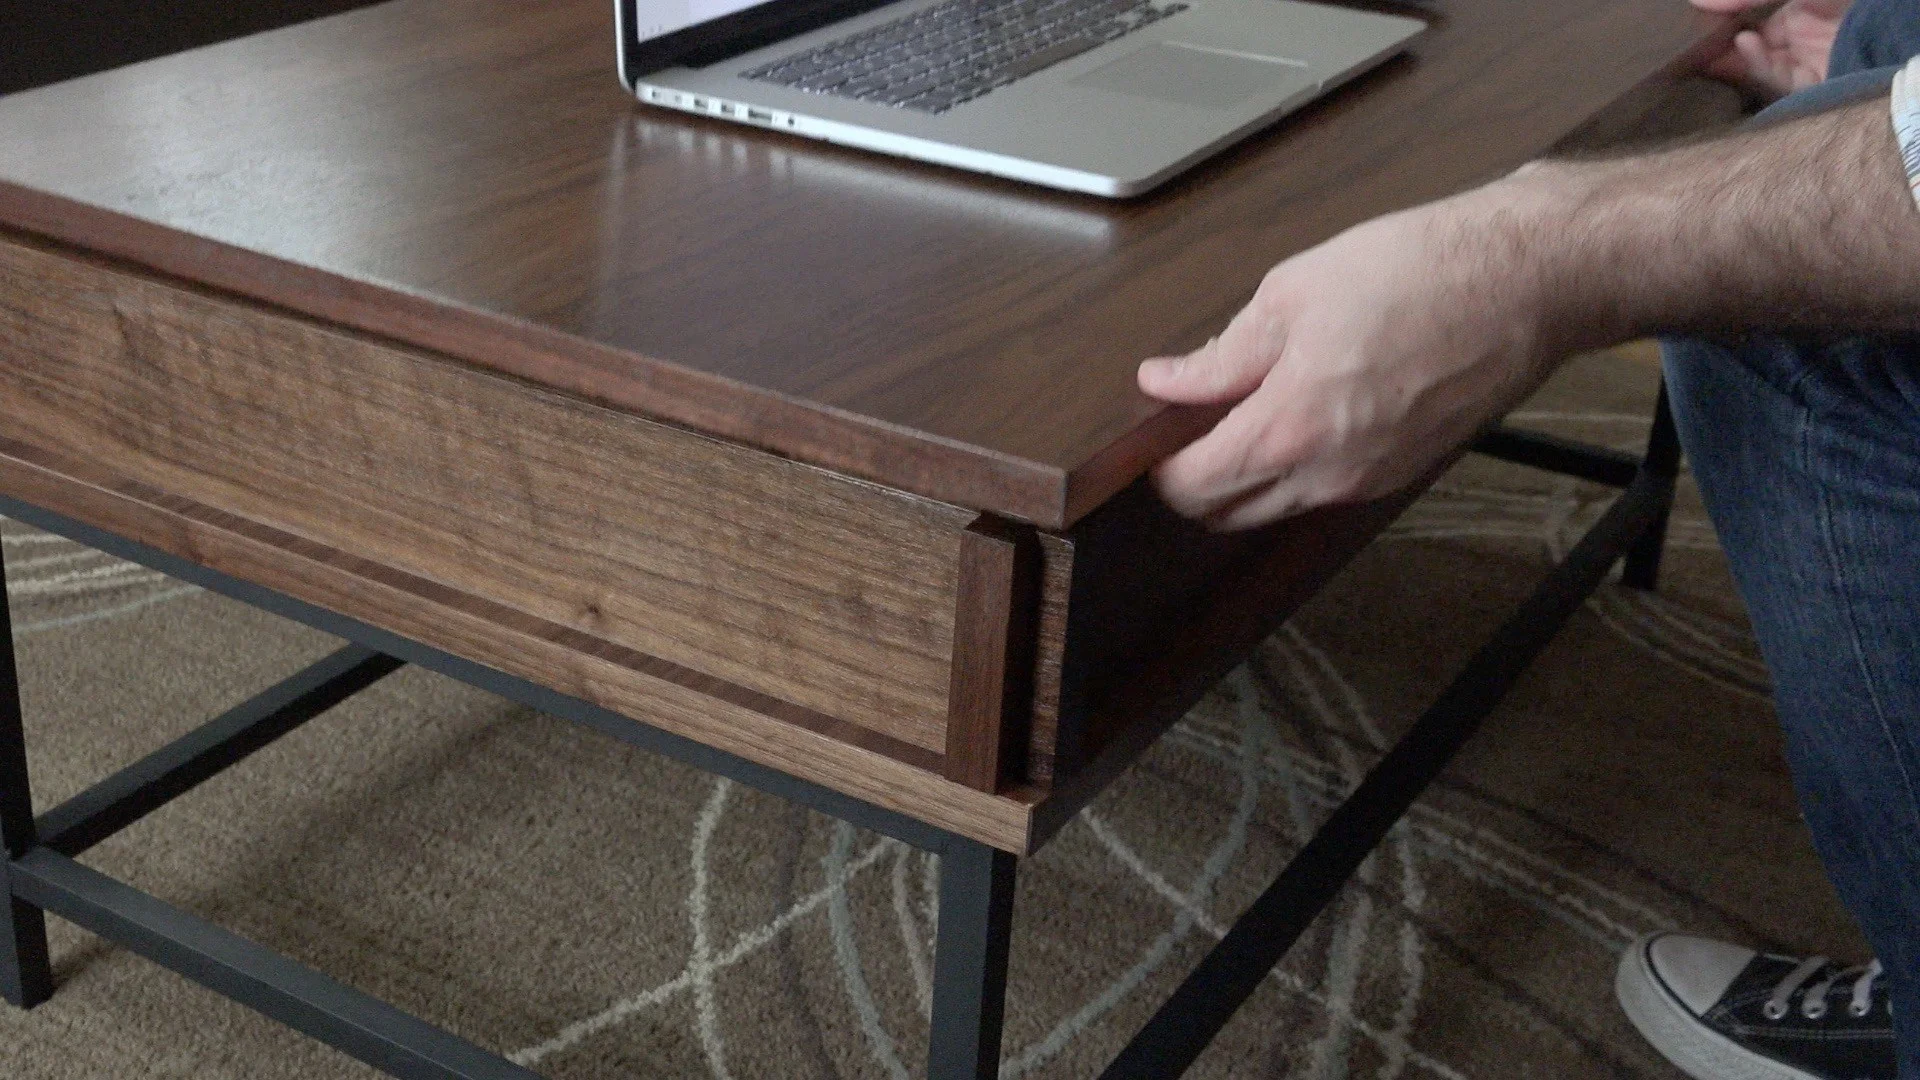
How to Make a Coffee Table with Lift Top
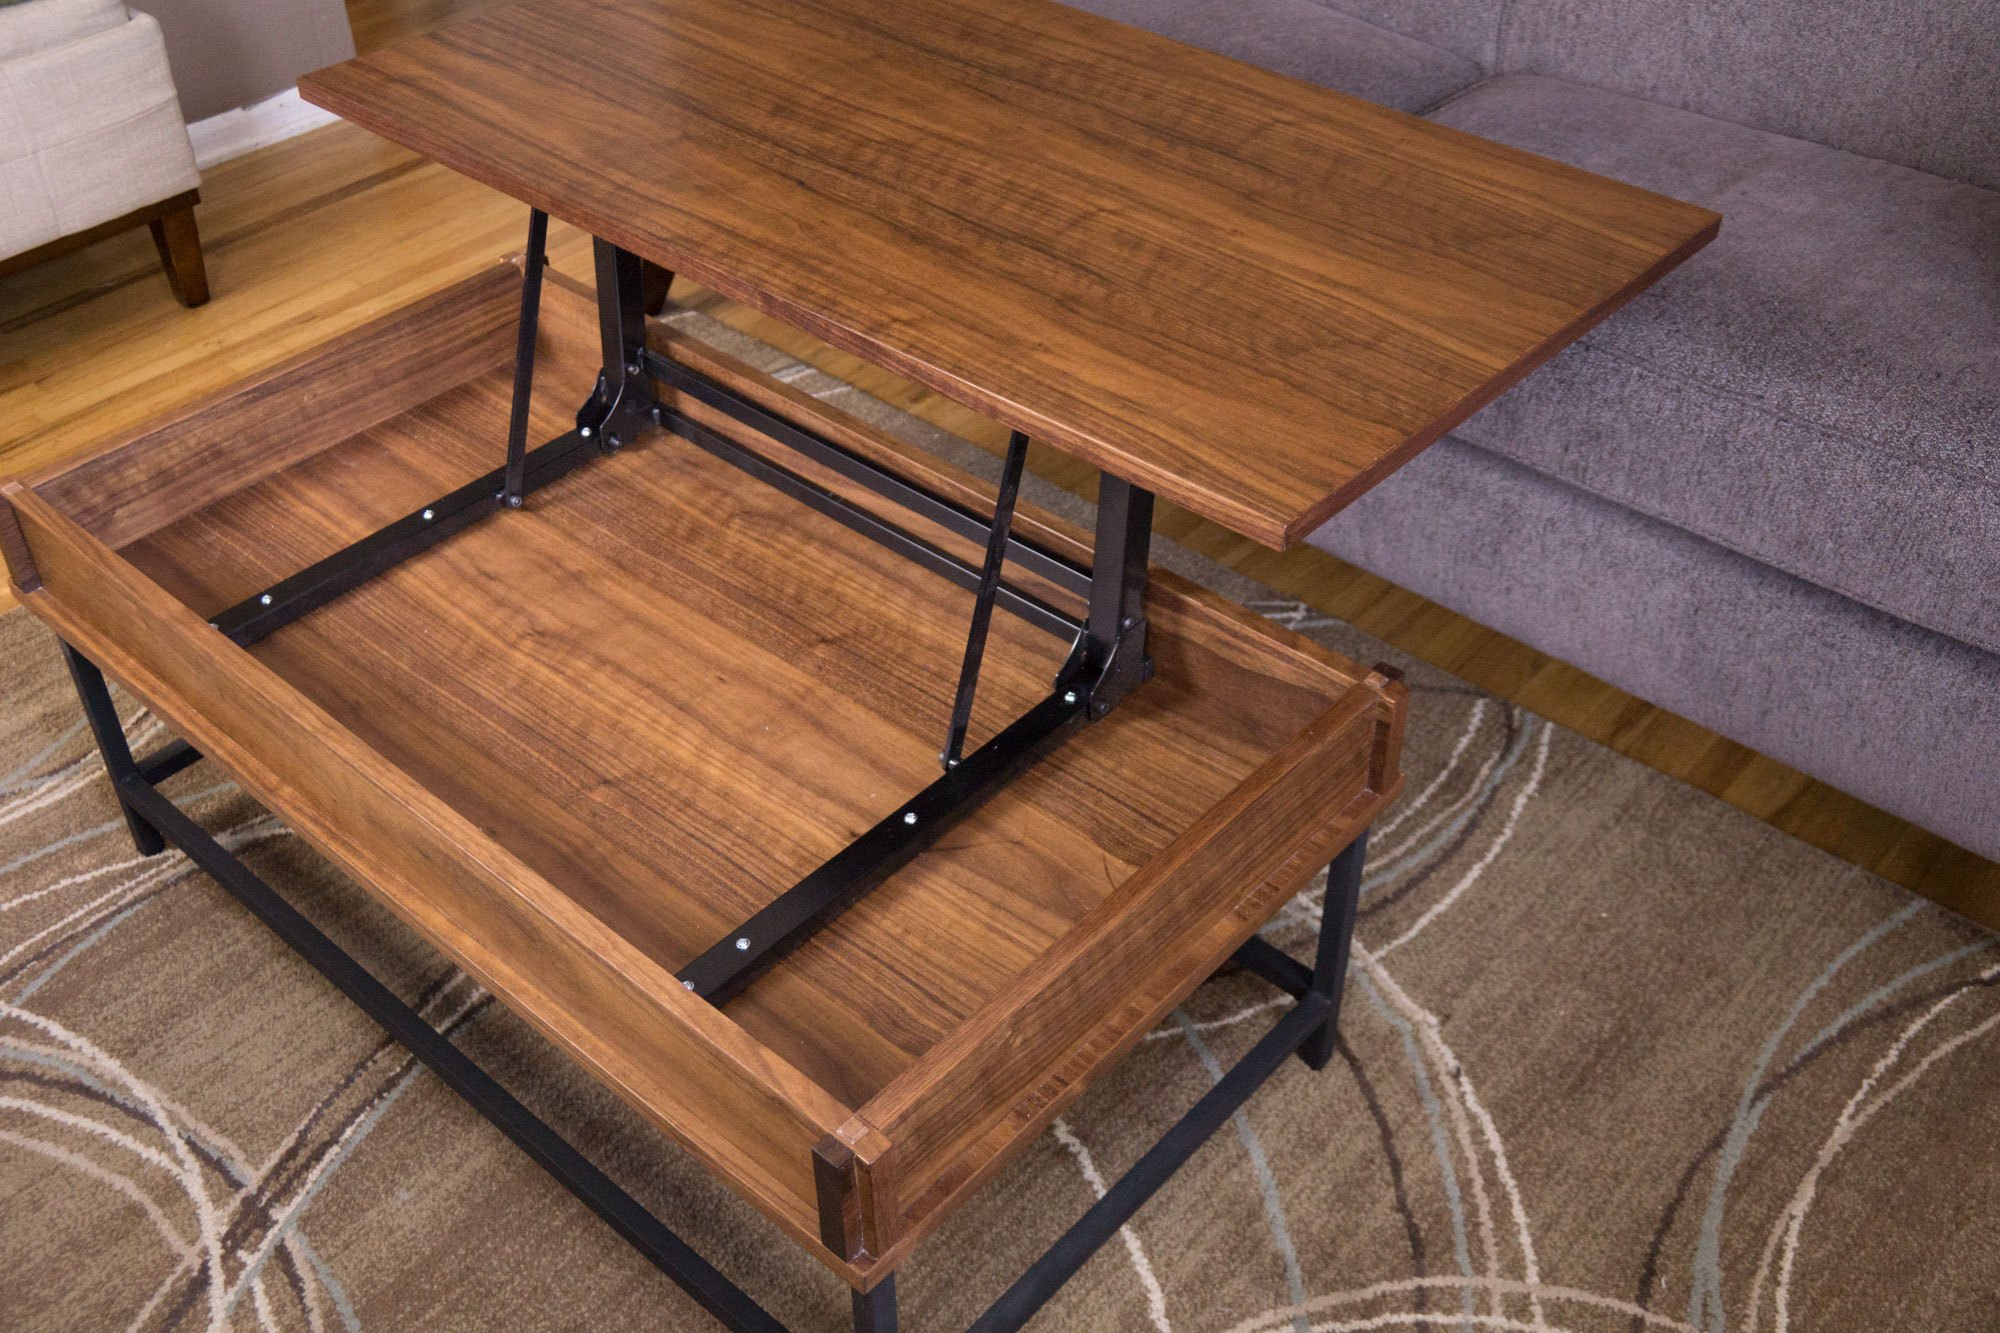
How to make a coffee table with a lift top mechanism.
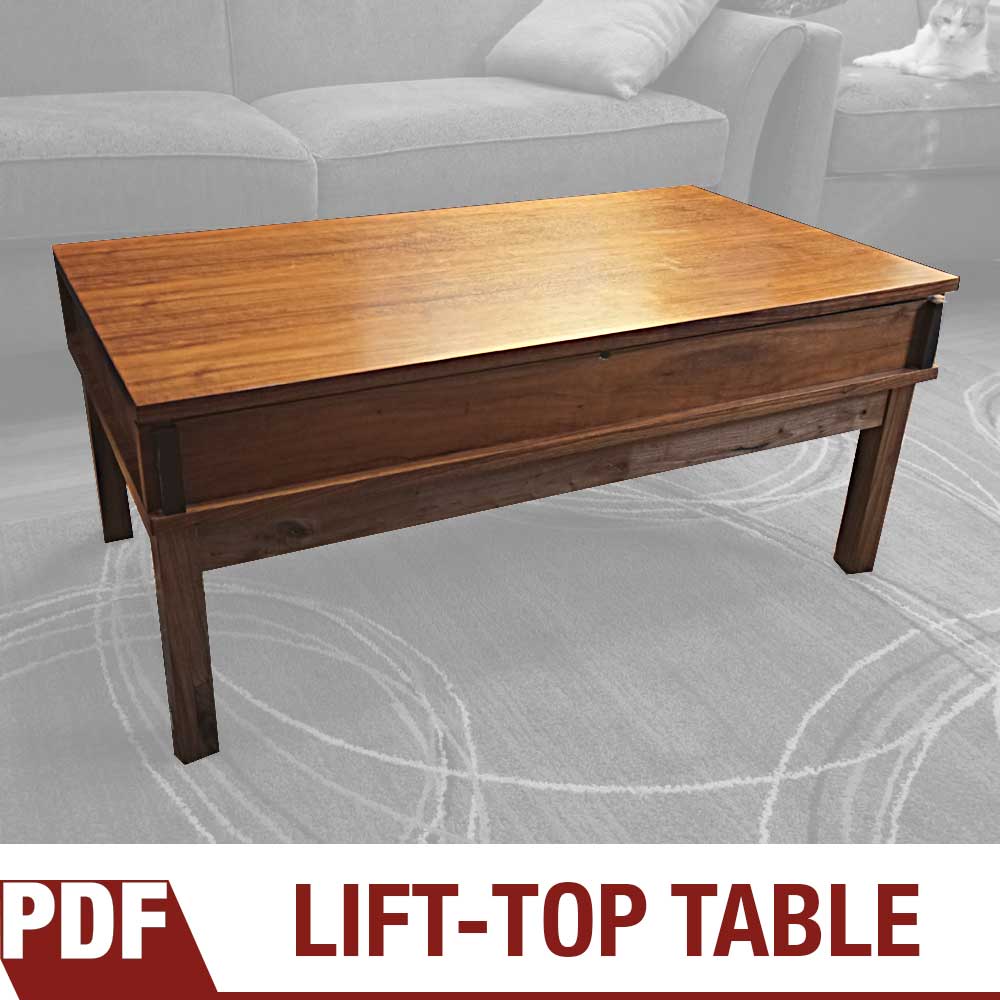
For this easy woodworking project I’m making a coffee table with a lift top mechanism and aluminum legs. The lift-top allows for bringing the table up to perfect height for dining in front of the television or bringing your laptop up to an ergonomic position. This was my first time soldering and brazing aluminum tubing and I’m very happy with the results. The great thing about this brazing technique is there is no need for a welder. All you need is a blow torch and some brazing rods. The lift-up table mechanism from Rockler raises the table 6 1/2 inches and has a forward travel of 17 inches. The top is made mostly from one sheet of 3/4 inch walnut plywood except for the corner accents and the edge banding which is made from solid walnut. I finished the table with one coat of boiled linseed oil to bring out the beauty and 4 coats of polyurethane to add a layer of protection. Links to all the tools and supplies are below along with detailed plans to make this yourself. Purchasing through the provided links helps support the content I provide. If you have any questions or comments please leave them in the comment section below. Learn more about the Bora Saw Plate and Clamp Edge used in the video.
Items Used


Mid Century Modern Cabinet
This mid century modern influenced cabinet is made from baltic birch plywood and walnut plywood.
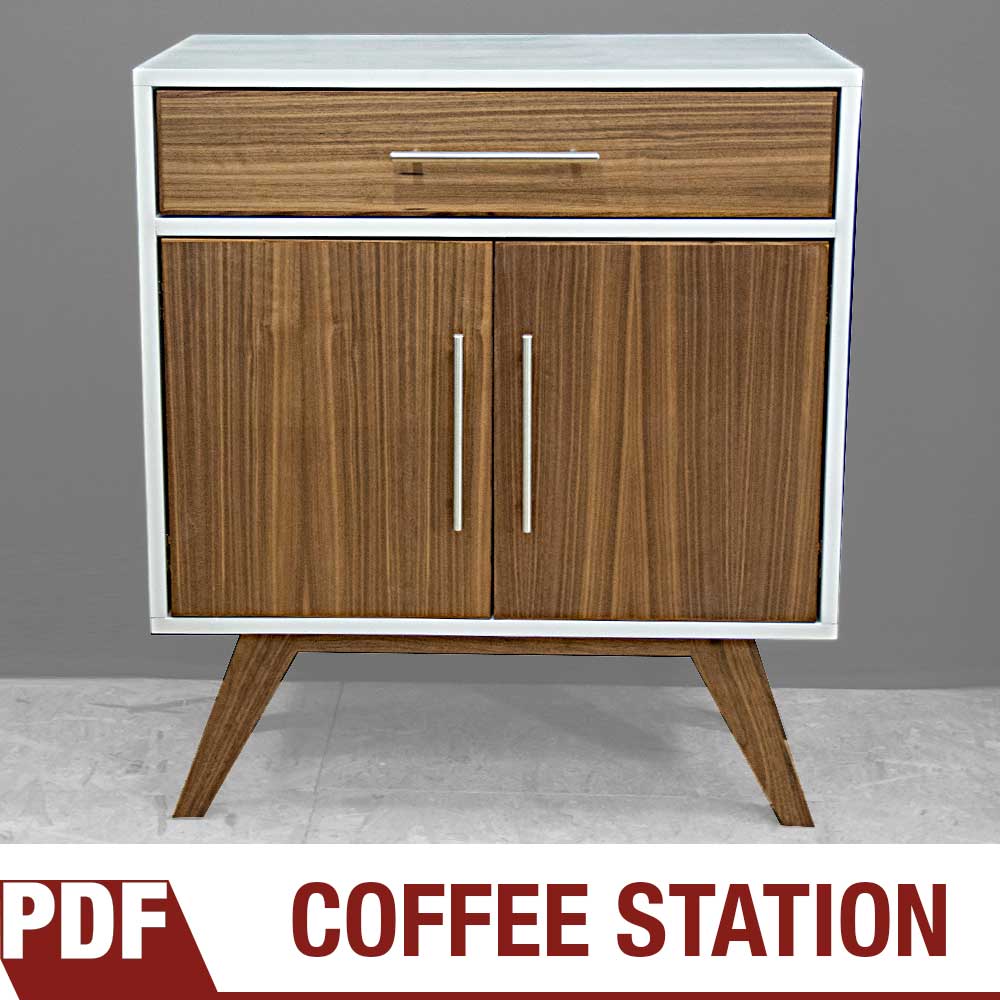
This mid century modern influenced cabinet is made from baltic birch plywood and walnut plywood. The legs on the mid century cabinet are made from 1 1/2″ thick solid walnut and angled for that classic vintage retro vibe. The drawer is custom fitted to hold k-cup coffee packages along with everything else to make a fine cup of coffee. The two hinged doors open up to reveal an adjustable pinned shelf. Iron on edge banding was applied to the baltic birch to hide the texture of the exposed edges and the outer cabinet was painted white with a standard paint roller. The drawer face and two cabinet doors are make from walnut plywood with solid walnut edge banding to hide the plywood edges. Most of the joinery was made from Festool Domino loose tenons which makes for easy alignment when assembling and provides durable long lasting strength.
Products Used in the Tutorial


How to Make a Wood Crate from a 2×6
Each crate is made from a single 2x6 that you can get at your local Home Depot or Lowes.
Making a Wood Crate
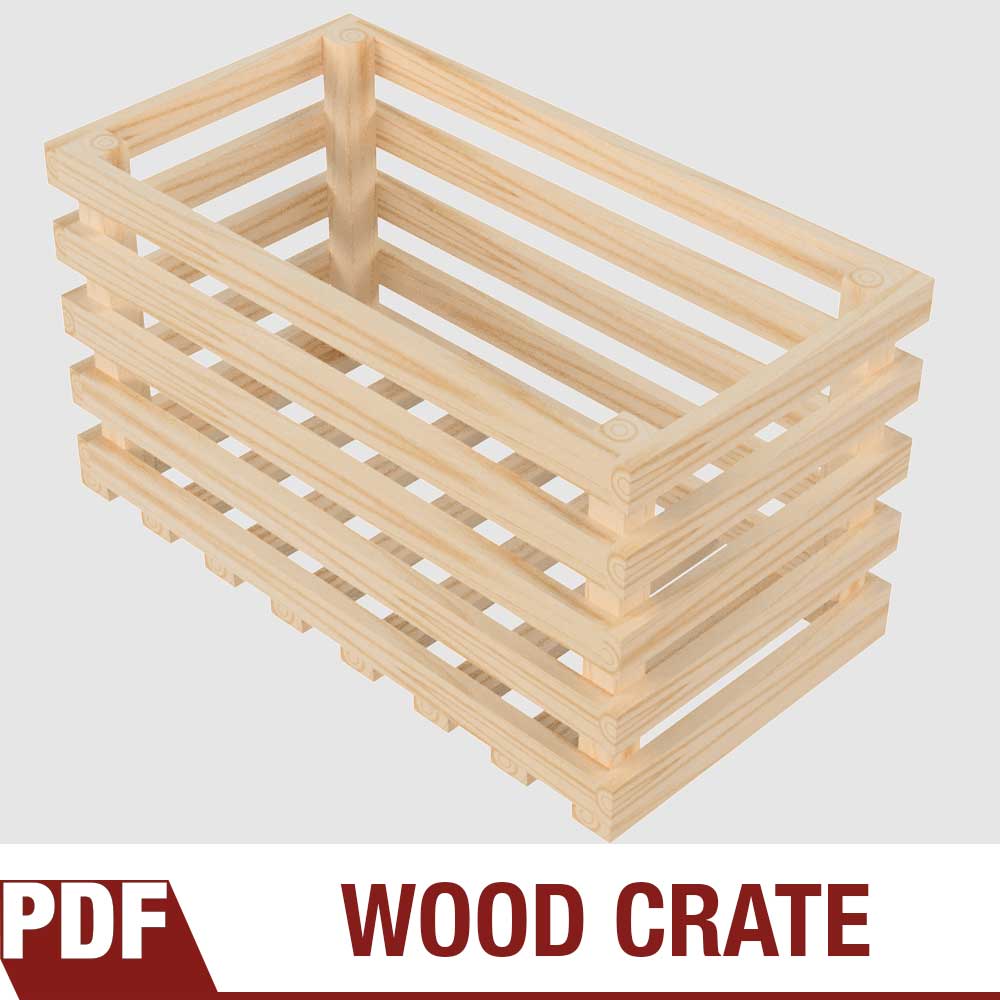
How to make a wood crate from a cheap home center 2×6. This is a super quick and simple process anyone can do with a tablesaw, some nails and glue. I like to take these crates on the road with me and use them for my display stand at craft and handmade shows. Back at home I stack them on their sides and use them like you would a book case. This is one of those projects where accuracy isn’t important and a single crate can be made in under an hour. And since I don’t worry about glue squeeze out and don’t use a finish on them, BOOM, they’re done! In fact I was able to batch out six of these crates in about two hours. Having a pin nailer surely will help save a lot of time but isn’t necessary. You could easily use a hammer or even just screws. Each wood crate is made from one 96” 2×6 and each 2×6 only costs $4 at my local Home Depot. Enjoy, be safe and make something!
Products Used

Woodworking Books

Make Your Own Cutting Boards
15 cutting board projects to make as gifts or sell! Get your signed copy!

The New Bandsaw Box Book
8 bandsaw box projects you can make and sell at craft shows. Signed copies now available!